Usel
Senior member
With the price of the cruise control stalk going up a lot in recent years I decided to look into options to make our own cruise control stalks.
I was browsing the internet and found a forum where members with E46's have used the Z4 stalk on their cars when they have changed the steering wheel to a custom one.
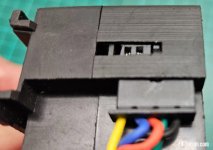
So I thought, if the Z4 stalk works on an E46 then it'll work the other way. However the cruise on an E46, E39, X3 etc... looks like this:
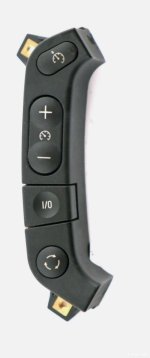
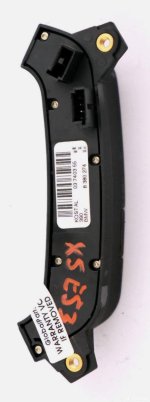
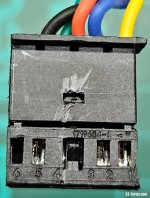
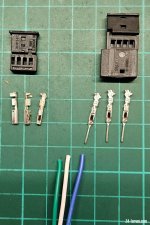
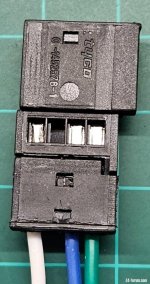
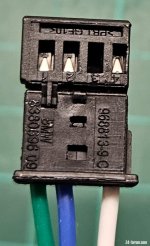
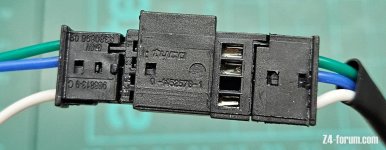
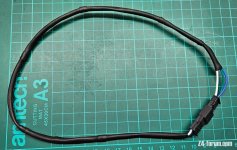
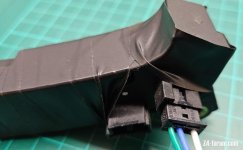
A couple of wires need swapping round so I made up an extension lead and connected it up to the Z4 cruise connector. Went for a drive and all the commands worked. Off, set +, - and resume.
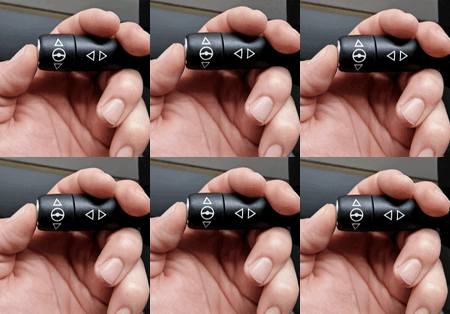
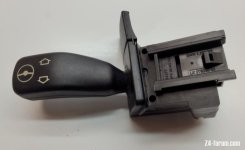
Now to find a way to operate it that will look oem. BMW don't make another stalk which looks like the Z4's with a button so had to opt for the steering wheel adjuster stalk from the E39:
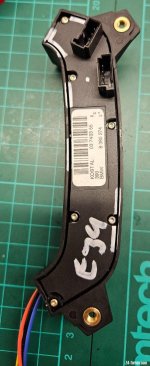
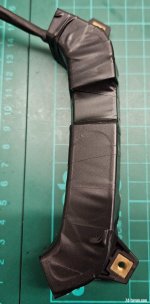
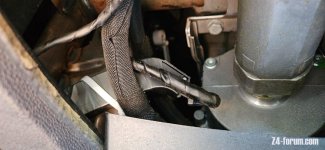
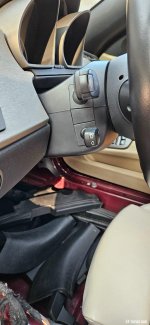
The E39 stalk fits into the Z4 steering wheel cowling perfectly:
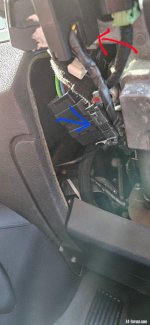
Now to connect the stalk to the cruise unit.
You want to open up the cruise unit by removing the screws and once apart remove all the buttons. With the buttons removed chop put the plastic where the arrows point:
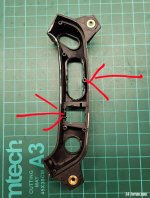
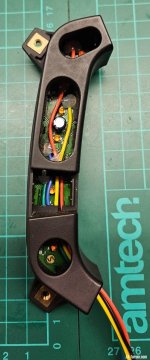
Then drill an 6mm hole on the bottom of the casing (the end opposite to the resume button)
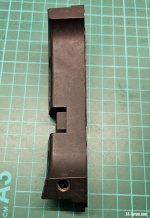
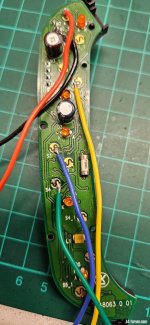
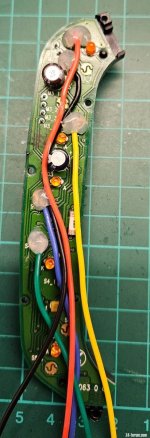
Then using 24awg wire at a length of 40cm solder onto the switch pads on the circuit board. Make sure you only solder onto one half. If you solder other both you'll make a permanent connection and the switch won't work.
Earth goes onto back of the the pin:
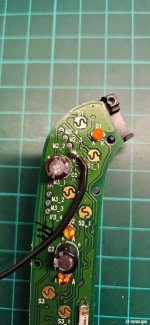
Resume
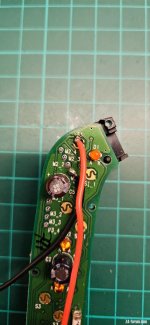
Set +
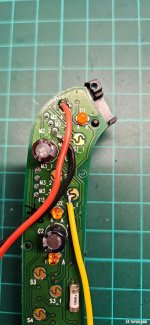
- (minus)
I was browsing the internet and found a forum where members with E46's have used the Z4 stalk on their cars when they have changed the steering wheel to a custom one.
So I thought, if the Z4 stalk works on an E46 then it'll work the other way. However the cruise on an E46, E39, X3 etc... looks like this:


A couple of wires need swapping round so I made up an extension lead and connected it up to the Z4 cruise connector. Went for a drive and all the commands worked. Off, set +, - and resume.
Now to find a way to operate it that will look oem. BMW don't make another stalk which looks like the Z4's with a button so had to opt for the steering wheel adjuster stalk from the E39:

The E39 stalk fits into the Z4 steering wheel cowling perfectly:

Now to connect the stalk to the cruise unit.
You want to open up the cruise unit by removing the screws and once apart remove all the buttons. With the buttons removed chop put the plastic where the arrows point:

Then drill an 6mm hole on the bottom of the casing (the end opposite to the resume button)

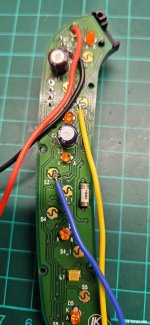
Then using 24awg wire at a length of 40cm solder onto the switch pads on the circuit board. Make sure you only solder onto one half. If you solder other both you'll make a permanent connection and the switch won't work.
Earth goes onto back of the the pin:

Resume

Set +

- (minus)

