ah yes that makes sense, the jack I now have is kinda handy - this was the final driver for actually getting one, does mean from time to time I can take the wheels off and clean them properly and of course if any alloy repairs needed etc.
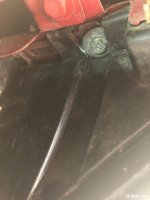
the video I watched was fitted with 19in (i think) wheels and I could had got away with it, just too tight with my socket set and 21's
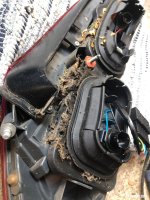
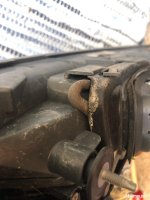
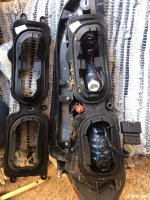
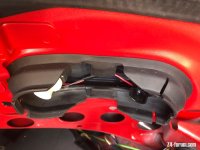
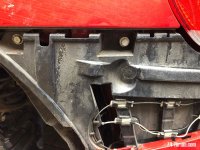
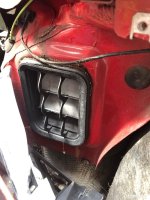
Updates to follow )
)
the video I watched was fitted with 19in (i think) wheels and I could had got away with it, just too tight with my socket set and 21's
Updates to follow
) Attleborough, Norfolk