wet sanding the z4/ detailing engine

mitch_z4.

Member
Suffolk
Hello all, as some might of seen in my first post i am a bit of a ocd person when it comes down to the car :D
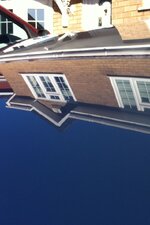
anyway i have started to wet sand the car to remove the orange peel, i plan to get it finished in march as the car is off road now until then so though it would be a good time to start,i started on the drivers side door and moved round to the bonnet and so on, here are some pics of the progress so far:

drivers door:
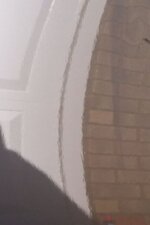
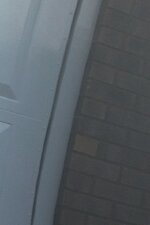
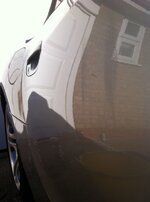
this is showing the orange peel just from the first stroke of the sand paper started with 3000, moved down to 2500, then 2000
excuse the dent this is being removed in the new year
before:
682-3FD71164A59E-1432-000003D5DCE6C89E_zps27177df8.jpg

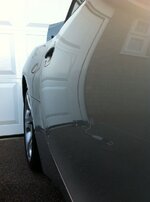
This still requires being cut, polished and refined to bring back the depth and gloss in the paint
after:
5A7-F0CC84910636-1432-000003D3BBCD75B0_zpsdacf437f.jpg

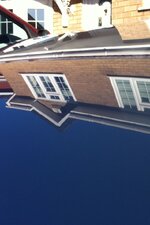
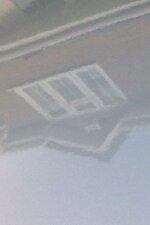
close up of the orange peel:
before:
BD3-A5DFD57975CA-1432-000003D3E0D2CC84_zps8e46e452.jpg
after:
5C3-0D065220811E-1432-000003D3F2133849_zpsc76f4d5e.jpg

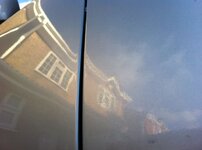
This is a 50/50 of the door and front wing the door still has sanding marks left in there but have now been removed :D
711-CA662AD87A48-1432-000003D3A7906039_zpsfde41b37.jpg

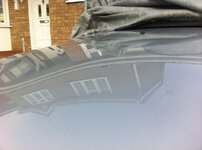
bonnet again started with 3000 grit and moved down to 2500 and 2000;

before:
108-96DB5D792D8B-1432-000003D406AF502A_zps3ed61133.jpg
147-0CA3A1450686-1432-000003D446FB86F0_zpsdd19e668.jpg

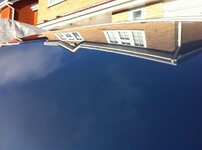
After: still needs to be cut, polished and refined:
CC5-A8564AD37D27-1432-000003D45CDDD225_zps8263d22a.jpg
63E-E695CD57B59F-1432-000003D4A066C505_zps35204423.jpg

close ups:
719-8902E3255BA4-1432-000003D4ACE3A0F0_zpsbb1f0a4d.jpg
63E-E695CD57B59F-1432-000003D4A066C505_zps35204423.jpg

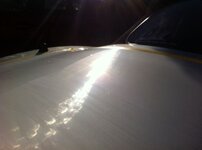
onto the boot top forgot to get a before photo but it was the same as the rest of the car, but did get a during one:
being flattend to remove the orange peel, at this stage just looks like its being scratched to bits:
726-B14C4457F638-1432-000003D512E46702_zps6bc080ab.jpg

being removed 50/50:
18D-045913C405B1-1432-000003D51D992213_zps3cb54aac.jpg

and polished back ready for the 3 stage correction:
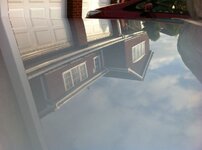
FFD-E54D9026DB5E-1432-000003D52BB366B2_zps7de9c685.jpg

and one more my new sticker for the fourm :D:
9FF-7531D5E1BE4D-1432-000003D53C53F2F3_zpsfb6eaa06.jpg

Thanks for taking time to read this if you have got this far, there is lots more to come soon
many thanks Mitch w
 
That is impressive and courageous too, unless you've had loads of practice, I'd be very interested to learn how you did the final polishing - tools, compounds, polishes used etc.
Looks a highly professional job.
 
Maniac said:
Wow.. impressive stuff!

Thanks maniac :thumbsup:

ekimj10 said:
That is impressive and courageous too, unless you've had loads of practice, I'd be very interested to learn how you did the final polishing - tools, compounds, polishes used etc.
Looks a highly professional job.

Thanks for the comment, the final polishing stange of the wet sand was done using the, megs microfiber system using menzerna 2500 to remove the sanding marks, once the sanding marks were removed i will be using the auto finesse Revitalise system to bring back the depth in the paint and finish.
markeg said:
Very impressive! :thumbsup:


markeg said:
Very impressive! :thumbsup:

Thank you.

Grumpyowl said:
You have a great skill :thumbsup:

Thank you very much

wilbo said:
That looks a brilliant improvement. Are you a detailer by trade or just hobby?

Thanks, nope its just my hobby, learnt all my techniques from home by myself :D

Sent from my iPad using Tapatalk
 
I thought you would have used the wet and dry paper the other way around. As in 2000 then 2500 and finishing with the 3000 so it was smoother to machine polish out. ??
 
I think the idea is to start by removing as little as possible as he did with 3000, therefore removing the least material, if it needs more cutting step down to a courser grade etc etc. just my thought, may be wrong.
 
T2FFN said:
I think the idea is to start by removing as little as possible as he did with 3000, therefore removing the least material, if it needs more cutting step down to a courser grade etc etc. just my thought, may be wrong.


Hmmm nope. That doesn't make sense to me lol. Just going on what I was instructed to do by a custom body shop when I did a couple of projects. But I am happy to learn.
 
From some of the vids I've seen of cutting paint to remove scratches, blemishes etc (ie AMMO NYC) he says start with as little cut as possible. Jumping in at 2000 might take off more than is needed. You can't thicken the paint/clear coat so if you go to far too fast you're screwed.
 
T2FFN said:
From some of the vids I've seen of cutting paint to remove scratches, blemishes etc (ie AMMO NYC) he says start with as little cut as possible. Jumping in at 2000 might take off more than is needed. You can't thicken the paint/clear coat so if you go to far too fast you're screwed.

Ahh I see what you are saying. I used to build custom lambrettas for people. Often using heavy flakes, flips, candy etc and used to lay many coats of clear on. No matter how glossy it looked coming out of the oven always used the same process of wet block sanding back from 2000 up through the grades. It then needed hardly any machine polishing to make it look stunning with a wet gloss look.
 
Stug said:
I thought you would have used the wet and dry paper the other way around. As in 2000 then 2500 and finishing with the 3000 so it was smoother to machine polish out. ??

The 3000 gives a light cut to the paint, 2500 gives light to moderate cut, and 2000 moderate cut some areas of the car only needs up to 2500 and others need the 2000, but always start with the light first as said you want to remove as little clear coat as possible.
 
Back
Top Bottom