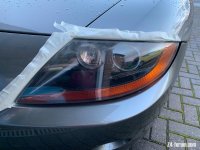
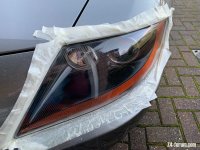
A week off work and I got round to doing the headlights which were a little dull. I used the autoglym kit and the sealer that amazon said everyone else bought at the same time.
Never having done this before I watched several YouTube videos and read the instructions. The first light took me over an hour, the second about 20 mins.
Here’s what I learnt
If your drill doesn’t tell you the speed then 1200-1600rpm is slower than you think. Too fast and you smear bits of molten plastic over the surface of the lens.
You need to mask more than you think or you scratch the bumper while trying to get into the awkward bottom inside corner.
You really don’t have to press very hard, if you do you scratch the lens
You have to keep the drill moving in long movements, too Little lateral movement and you get scratches and molten plastic
Whatever you do during the first few stages can be rectified with the polishing compound
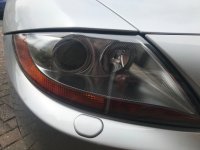
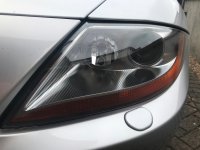
Here’s some before and after pictures, the difference doesn’t really show that well in the photos. It was worth doing though.
Before:
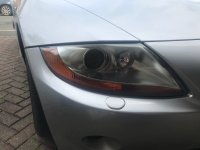
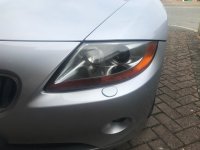
After:
Never having done this before I watched several YouTube videos and read the instructions. The first light took me over an hour, the second about 20 mins.
Here’s what I learnt
If your drill doesn’t tell you the speed then 1200-1600rpm is slower than you think. Too fast and you smear bits of molten plastic over the surface of the lens.
You need to mask more than you think or you scratch the bumper while trying to get into the awkward bottom inside corner.
You really don’t have to press very hard, if you do you scratch the lens
You have to keep the drill moving in long movements, too Little lateral movement and you get scratches and molten plastic
Whatever you do during the first few stages can be rectified with the polishing compound
Here’s some before and after pictures, the difference doesn’t really show that well in the photos. It was worth doing though.
Before:


After:


