Scottish Borders
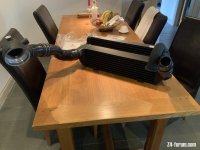
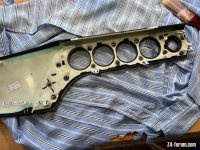
So the little critter now installed behind the HVAC control panel..very pleased with myself till I realised I'd forgotton to plug the mic in..
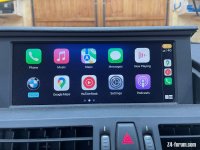
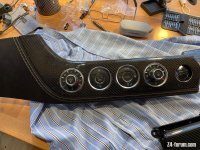
Functional test all seems good with radio back in place..
The re-assembler is on his way..
Functional test all seems good with radio back in place..
The re-assembler is on his way..
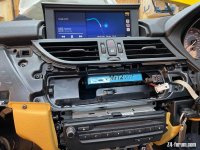
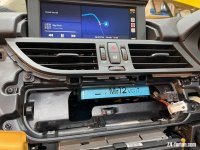
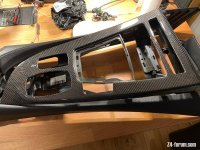
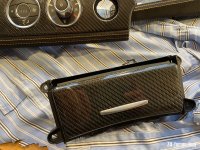
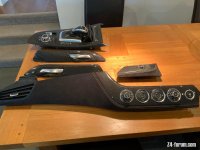
 the MMI box placement is neat but will be a pain to get to in the future if you ever need to.


 Scottish Borders