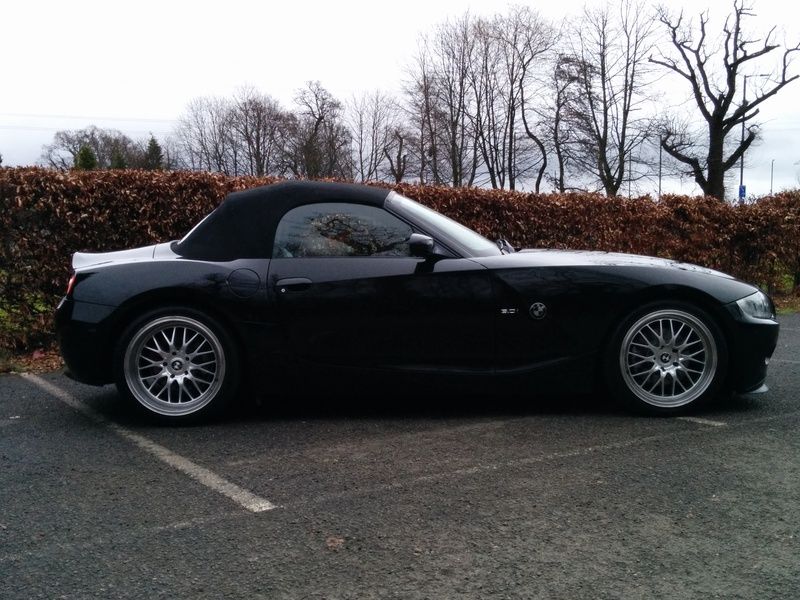
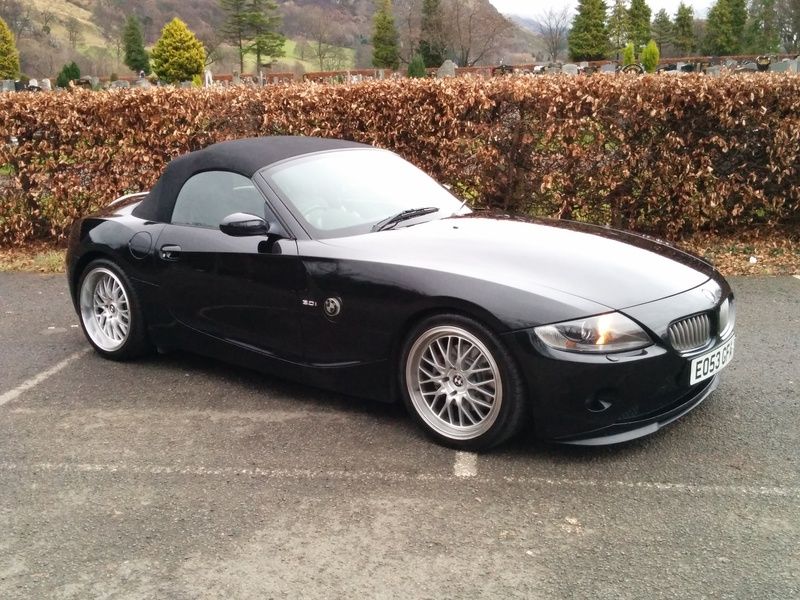
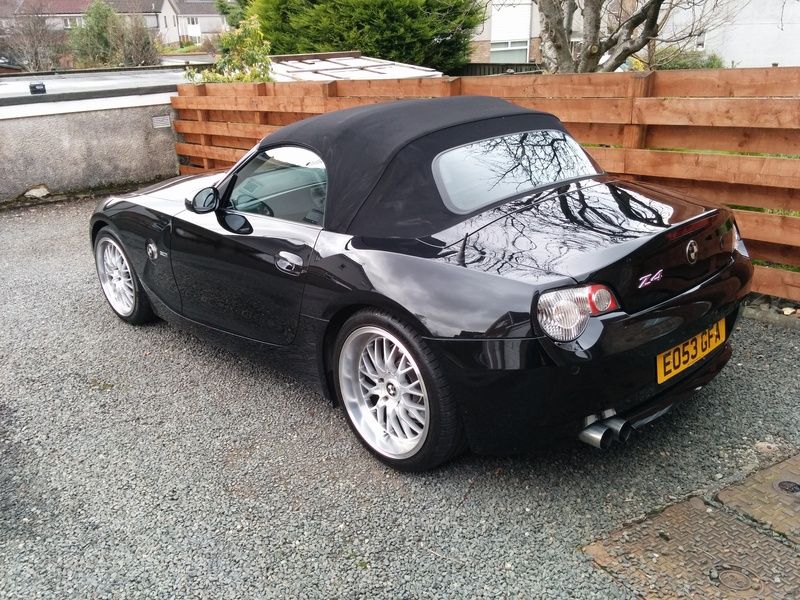
Scooobys Progess Thread

scooobydont

Member
 Central Scotland
Hi Folks,

Following on from my post in the newbies section, I thought I would create my own thread of my new car. George, the cars previous owner also had his own progress thread on this forum and too me it made a great read showing what had been done previously to the car, his thread is here:

http://www.z4-forum.com/forum/viewtopic.php?t=65922

I picked up the car a little over a week ago from George.
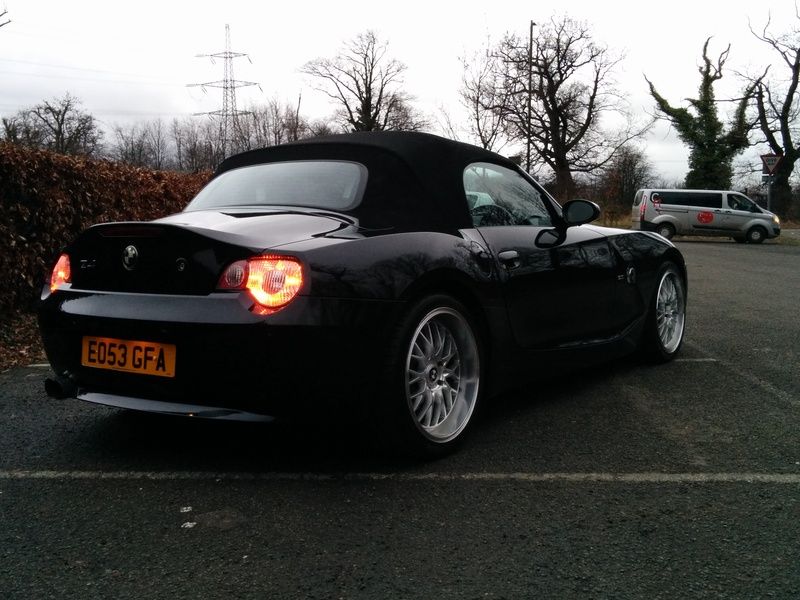
IMG_20170219_170401_zpspjwnipur.jpg


IMG_20170219_170414_zpsgtb0tahm.jpg


IMG_20170219_170428_zps1dbh7fss.jpg


IMG_20170219_132338_zps1fydqrqj.jpg
 
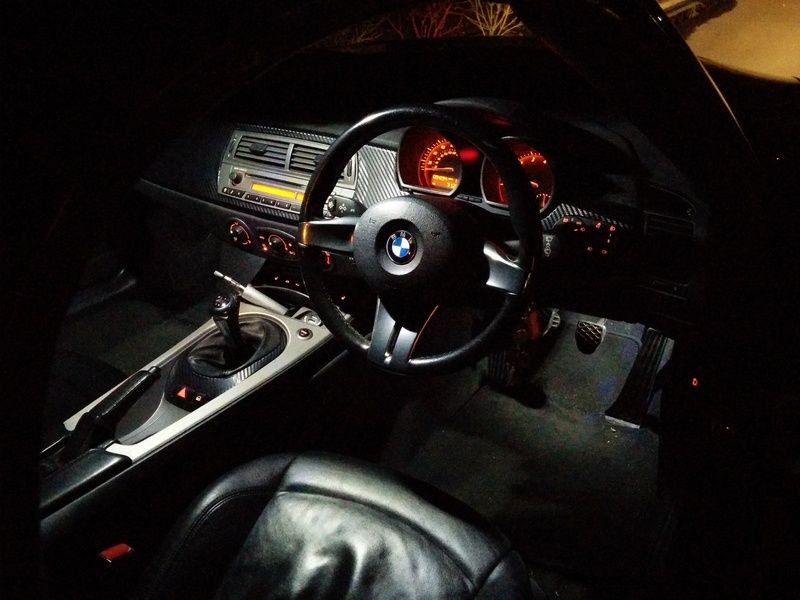
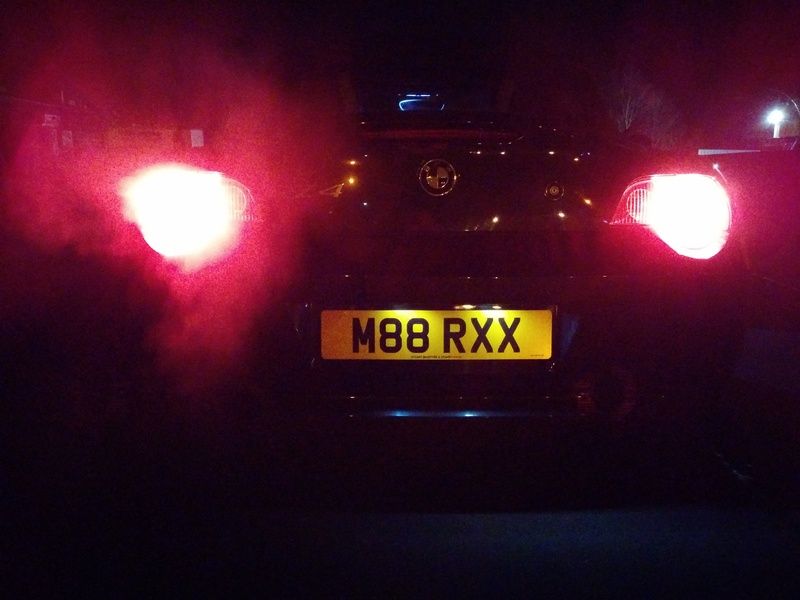
First upgrade is some white LED interior and number plate lights. Bought these:

http://www.ebay.co.uk/itm/252078949390?_trksid=p2057872.m2749.l2649&ssPageName=STRK%3AMEBIDX%3AIT

I do not have any before pics but, anyone with a z4 with normal bulbs will be familiar with the standard look. Fitting is very straight forward, old bulbs out and new ones in although the LED's will only work one way, ie if it doesn't light up, take the bulb out again and spin it 180 degrees.

Its the first time I have done this on any car and the results are fantastic, it will be one of the things I do from now on and it only cost £20 (and have spare LED bulbs left over bizarrely :P . I only had to replace the 2 in the footwell, the 3 over head ones and 1 in the boot. The centre bulb in the over head doesn't fit through the standard hole where the bulb was so had to unscrew the clear plastic from the light and fit the bulb in from the front, was very easy though.
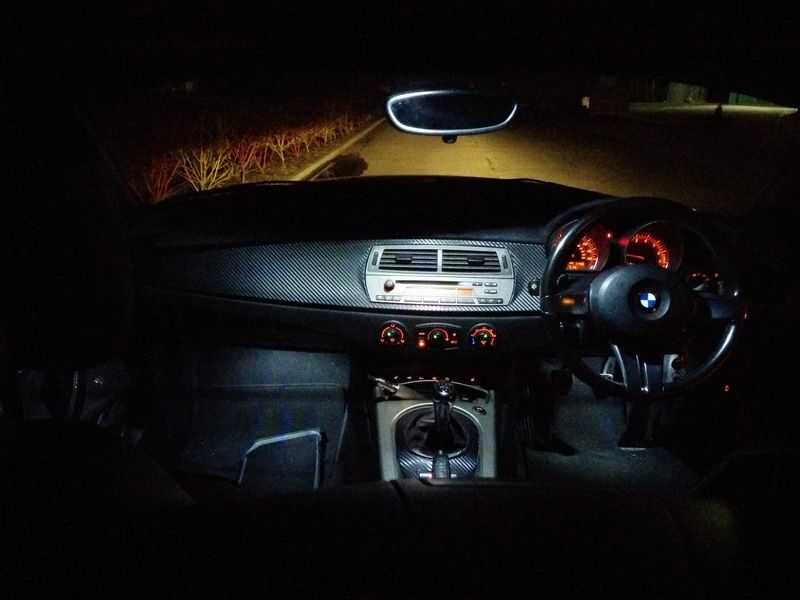
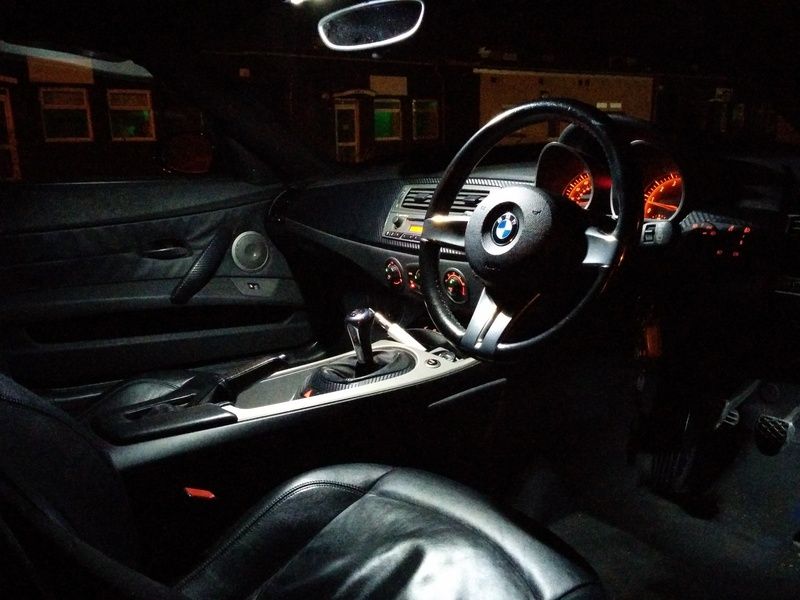
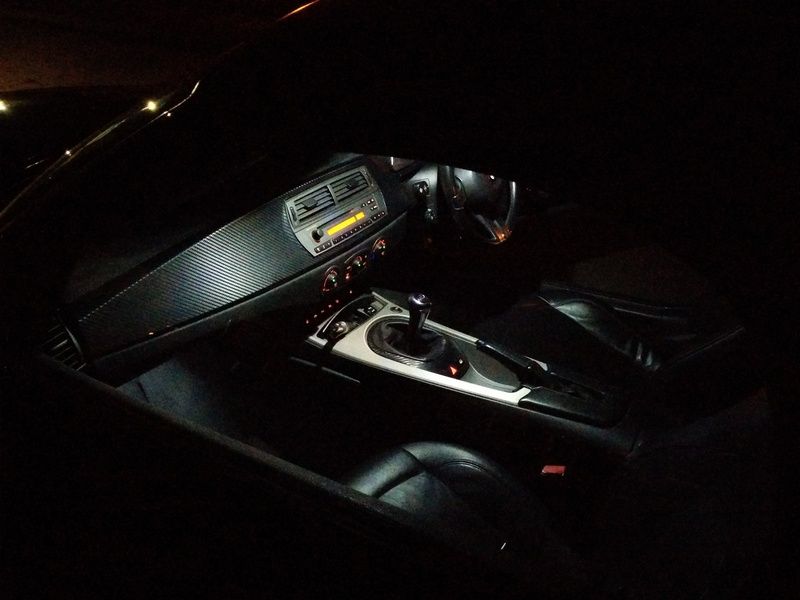
Overall, very impressed, although the number plate lights are not as bright as i hoped.

After Piccies:

IMG_20170225_191612_zpskwn1j4ou.jpg


IMG_20170225_191518_zpssho7ettt.jpg


IMG_20170225_191321_zpsxcmsjeye.jpg


IMG_20170225_191304_zpsao1lz6dr.jpg


IMG_20170225_191350_zps7pcstofo.jpg
 
That's it for now apart from a clean tomorrow. Will leave this video here though, I should have a new video as a comparison later in the week...

[youtube]ppimg-t-A8Q[/youtube]
 
Smartbear said:
Smart, how are you finding the zed driving experience?
Rob

It is lovely, a lot smoother and more refined than the Z3. It is the 3rd roadster I have had, mx5 2.5, z3 and now z4. All different in their own right. The z4 is feels the most solid and stable on the road, engine growl is heaven, fabulous cockpit, looks like nothing else and of course BMW quality although the mx5 gave me relatively few issues either!
 
scooobydont said:
New stainless backbox fitted, phone is a bit poo for taking videos though

[youtube]sEbZSCKUorA[/youtube]

Nice. Where did you get this done?
 
Read loads of guides, watched lots of vids, today was the day to break my DA virginity and bring out my das6pro. I have short vids, before, 1st pass and 2nd pass.

Car did not get a complete wash as I was only concentrating on the one area to get a feel for it. Boot was washed. dried, clayed before proceeding.

I started with a white hex pad but it wasnt doing much, then tried the purple spider pad that came with the s20, still nothing much happening but definitely felt easier to use than any of the hex pads I tried. Finally settled on an orange hex pad, it is the most aggressive one I have at present and did start to see results!

Before:

[youtube]acdLMgfKSkE[/youtube]

I then did 4 passes with S20, 1st pass horizontal, 2nd pass vertical, etc

[youtube]HvLAg9yGxNc[/youtube]

I then did another 4 passes (topped up s20 on pad)

[youtube]pyxhVp6h30g[/youtube]

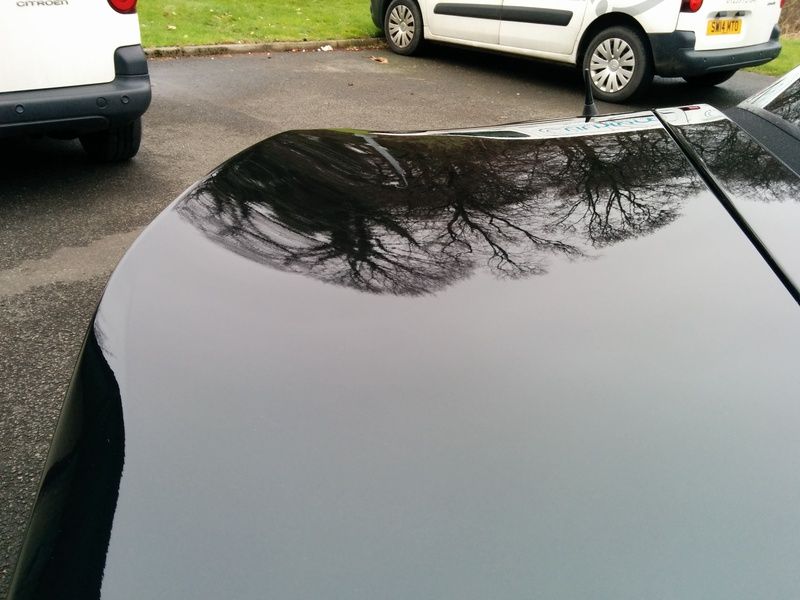
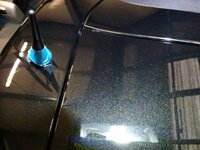
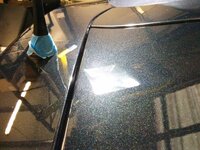
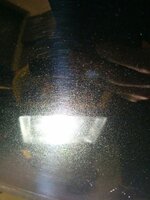
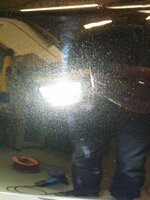
There is a lot of improvement in the paint work, all the cobwebbing has gone but as you can see I still have some rather garish scratches (they have not gone through the clearcoat).

My question is, to remove these would I use a more aggressive pad or a more aggressive polish?

I did finish up with 476s just to keep things sealed (it's weeing it down now)

IMG_20170304_152734_zpsj0iwfkpu.jpg
 
Problem with older paintwork when detailing is the chips n scratches. You can get rid of swirls and holograms with the buffing. Wash and clay with lube. When you start to buff with buffer using cutting compounds through to optical polishes the chips n scratches fill up with the residue of the compounds leaving them highlighted in white. A couple of really good jet washes normally gets most of this out. I detailed my z and knew the outcome was going to leave the white stuff. To finish off I find on older paint that either T cut 365 or Turtle wax colour polish does the job well. Turtle wax colour polish is highly underrated imho. I've done quite a bit of detailing and these two products will finish off older paintwork and hide the scratches. Personally I prefer the T cut 365. When I first got the Z I buffed it out from a 34 cutting with an orange pad > 36 with orange pad and finally 38 with white pad. Then hit it with blacklight (chemical guys). It looked good but not as good as when I hit it with the Tcut 365 to finish and seal it up. On a newer car with better paintwork you can finish with a black glaze of your choice, I like blacklight.
But like anything everyone's got their prefs and ways of doing it. IMG_1691.JPG
 
Thanks for the 'detailed' response :D

I think I will try and get hold of some sample compounds and get a more aggressive pad.

I have got poorboys blackhole but want to see if I can eliminate the scratches rather than use a filler. Never though of either t cut 364 or turtle wax, will add them to the potentials list.

You are right though, everyone seems to have a different way of doing it and with different products, its a minefield, lol.
 
Thats a very good improvement, personally I would not advise on chasing perfection when detailing. It can be very easy to get carried away, do you have a paint depth reader by any chance?
 
Sold my old exhaust so that I could purchase a paint reader!

Good to go :D

IMG_20170311_151437_zpstukghyii.jpg

Purchased 5" and 3" navy spider pads and went with the s20 again, initially didn't actually notice much difference, I then turned up the das from 4 to 5 and voila:

IMG_20170311_171935_zpswwkvwybw.jpg

IMG_20170311_172020_zpsghaumdh1.jpg

Measured the paint afterward and was at low to mid 120's.

Moved on and did the back quarters, again with navy pad and speed 5 (after apply polish with speed 1):

Before:

IMG_20170311_142342_zps38u2pnol.jpg

IMG_20170311_142337_zps6y9laeqw.jpg

During:

IMG_20170311_144833_zpsjllh6tnj.jpg

After:

IMG_20170311_172035_zps6oxkg1ap.jpg

IMG_20170311_172117_zpsciol0k0q.jpg

IMG_20170311_174024_zpsqqbereka.jpg

[youtube]rz2pIBePi2M[/youtube]

All in all delighted with the progress, not 100% but a vast improvement. It seems that with clearing up all the small issues, it makes the deeper scratches more noticeable!

Quick shot of the battleground (big thanks to my work for letting me use the worskhop at the weekend!)

IMG_20170311_172501_zpsatsnirf5.jpg
 
Which paint depth reader did you go with? Have thought about getting one myself, but there's quite a price range and I'm unsure if some of the more affordable ones for the hobbyist are any good?
 
This one:

http://www.ebay.co.uk/itm/332147869409?_trksid=p2060353.m2749.l2649&ssPageName=STRK%3AMEBIDX%3AIT

It is the one recommended over on the detailing forums.
 
scooobydont said:
This one:

http://www.ebay.co.uk/itm/332147869409?_trksid=p2060353.m2749.l2649&ssPageName=STRK%3AMEBIDX%3AIT

It is the one recommended over on the detailing forums.

Excellent - thanks! :thumbsup:
 
Back
Top Bottom