Sacramento, CA
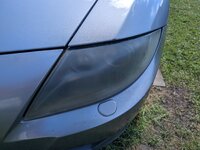
This summer, my front left headlight started yellowing very bad. No idea why. It was perfect when I acquired the car in January. Seems like it got exponentially worse during summer while being parked outside in 100F+ days (still doesn't explain why only one side is heavily yellowed and other side is fine).
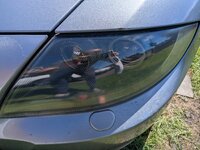
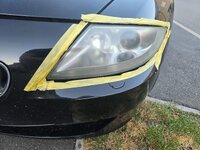
Anyways, I tried using a headlight restoration kit from an auto parts store. Used an oxidation wipe + 3 different grit sandpapers + ceramic coating to finish.
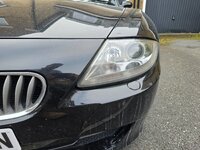
Here's before and after. As you can see, its much less yellow but still foggy. Wondering if anyone had any tips or ideas as to why it is still foggy. (I'm afraid that the fog could be on the inside of the plastic lens, but not sure)
.jpg")

Anyways, I tried using a headlight restoration kit from an auto parts store. Used an oxidation wipe + 3 different grit sandpapers + ceramic coating to finish.
Here's before and after. As you can see, its much less yellow but still foggy. Wondering if anyone had any tips or ideas as to why it is still foggy. (I'm afraid that the fog could be on the inside of the plastic lens, but not sure)
 Attleborough, Norfolk
 Gloucester
 Edinburgh