
and so after a total of 5 hours trying to adjust and adjust and adjust the bumper and eventually the headlights, i'm a bit happy with my diy.
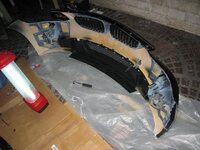
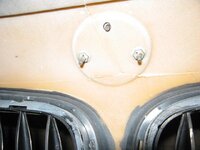
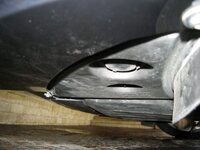
the aerokit bumper isn't a straight swap, for instance, i took out 7 hex screws at bottom mount points from the original bumper and only 4 hex screw holes for the aerokit. as you can see in the pictures the bottom isn't flushed well and there's bending on the end most mount points :?
basically all you need are:
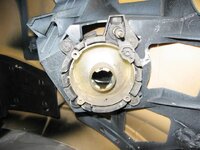
torx 20 for the headlight adjustment
allen wrench set
precision screw driver set
hex set, or actually only hex size 8
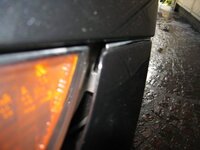
pictures are during the diy and as you can see from the initial installation the gap of the headlights and bumper was just too wide. problem with the zed is you have to take off the bumper to adjust the headlights so there was a lot of trial and error since i don't have a measuring device at hand.
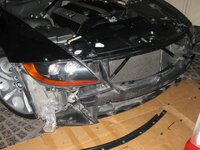
the gap:
not a perfect fit:
adjusted:
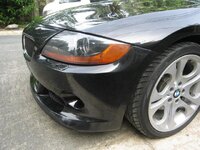

anyway next step is off to the detailers to polish off the paint on the aerokit bumper...
the aerokit bumper isn't a straight swap, for instance, i took out 7 hex screws at bottom mount points from the original bumper and only 4 hex screw holes for the aerokit. as you can see in the pictures the bottom isn't flushed well and there's bending on the end most mount points :?
basically all you need are:
torx 20 for the headlight adjustment
allen wrench set
precision screw driver set
hex set, or actually only hex size 8
pictures are during the diy and as you can see from the initial installation the gap of the headlights and bumper was just too wide. problem with the zed is you have to take off the bumper to adjust the headlights so there was a lot of trial and error since i don't have a measuring device at hand.
the gap:
not a perfect fit:
adjusted:
anyway next step is off to the detailers to polish off the paint on the aerokit bumper...


