E86 Custom Body Work and Paint Project **Pics**

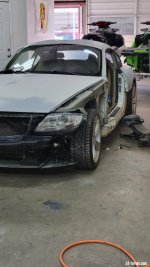
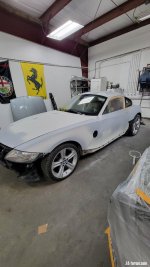
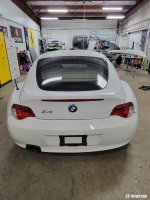
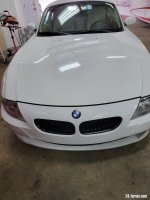
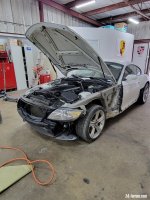
What's up Everyone, just recently sccoped up this E86 for myself

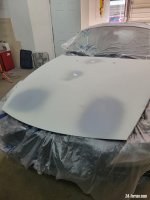
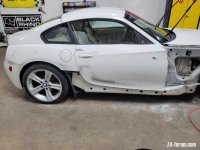
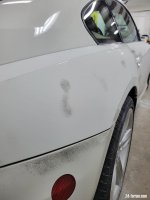
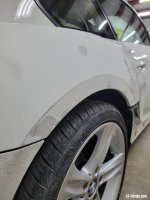
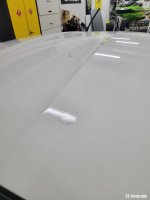
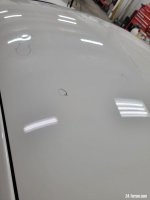
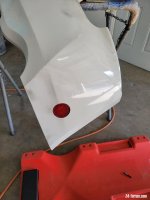
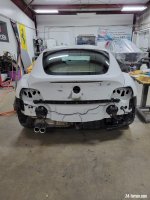
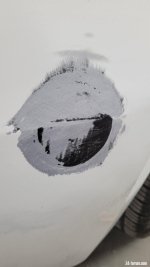
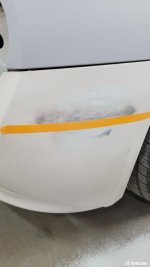
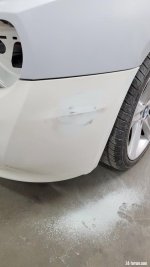
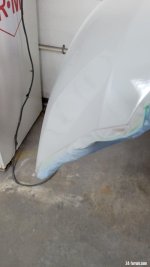
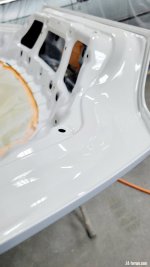
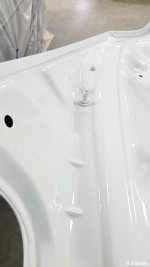
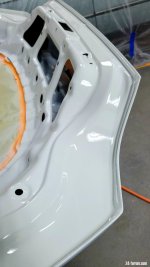
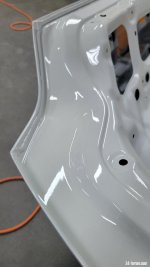
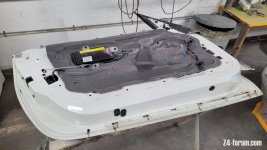
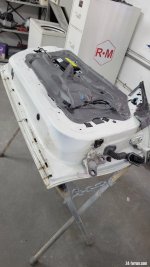
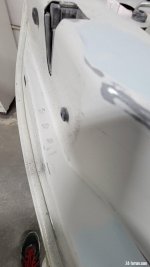
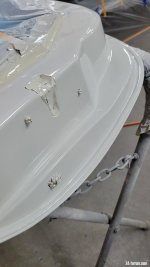
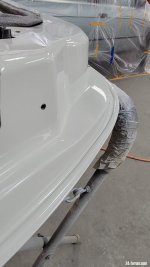
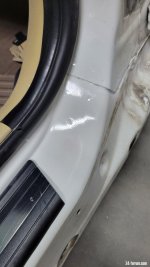
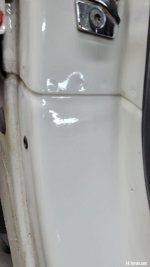
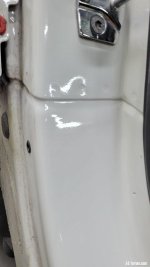
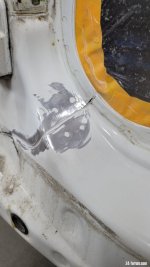
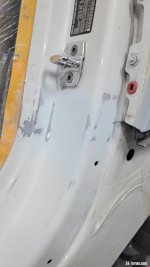
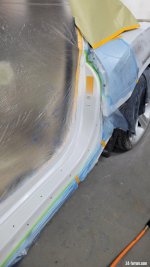
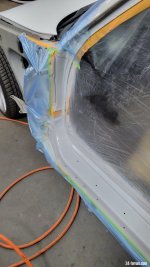
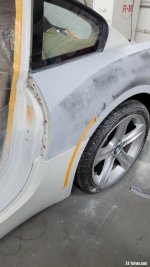
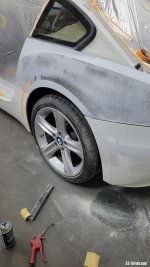
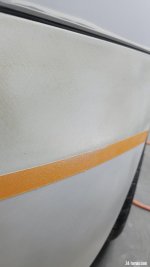
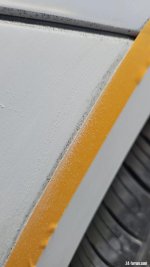
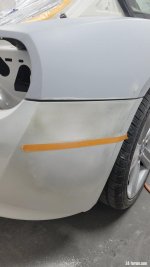
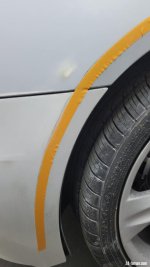
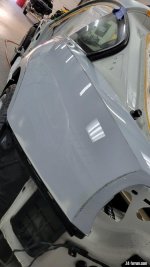
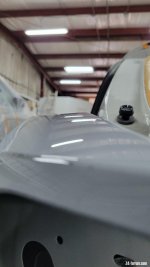
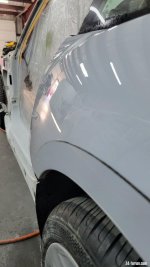
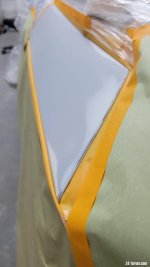
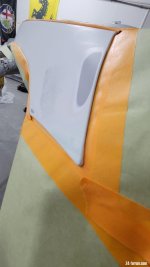
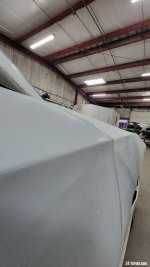
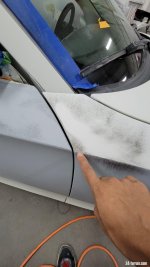
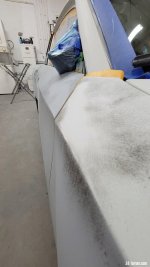
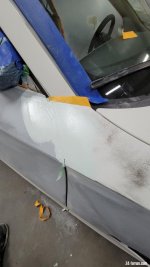
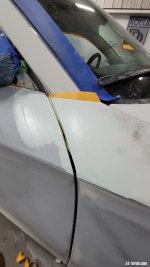
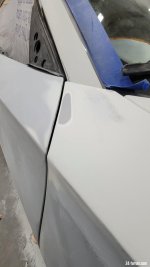
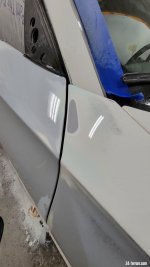
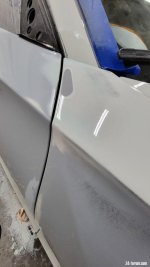
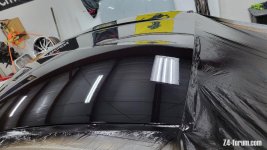
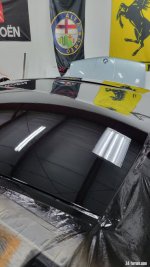
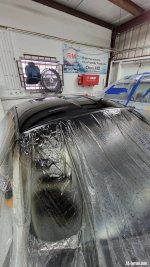
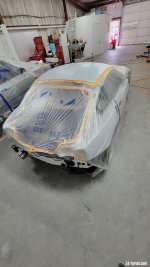
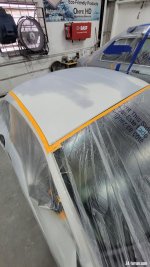
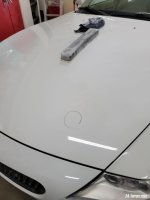
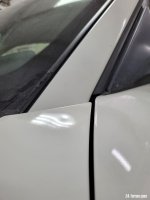
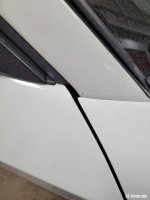
Car is in really good shape aside from a mismatched side skirt & fender, and some dings here and there

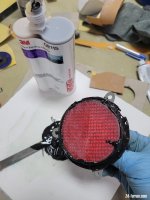
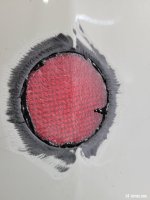
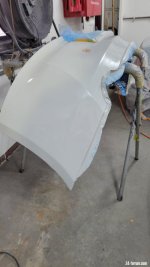
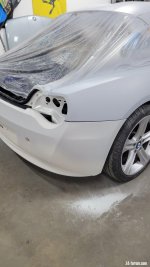
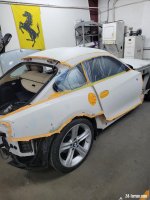
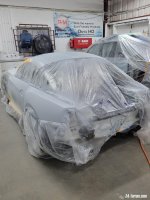
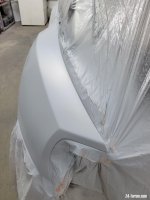
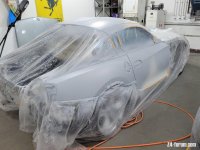
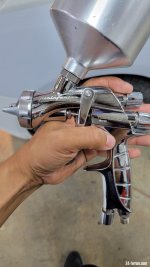
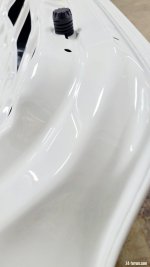
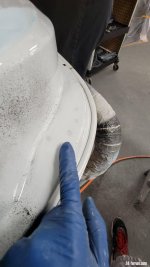
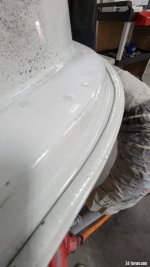
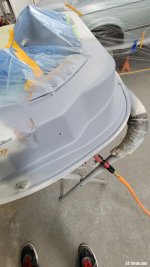
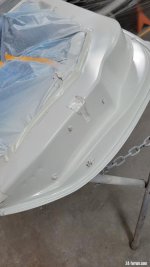
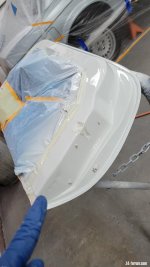
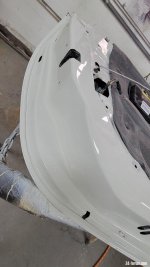
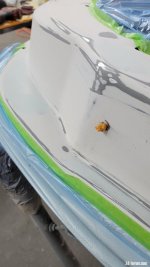
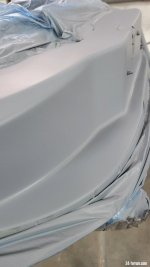
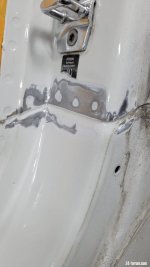
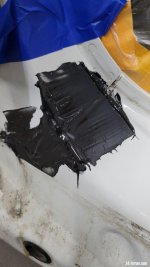
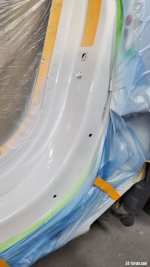
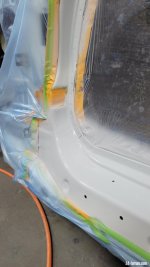
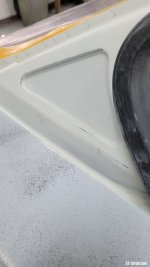
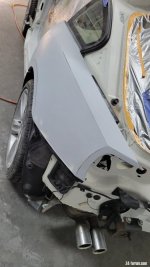
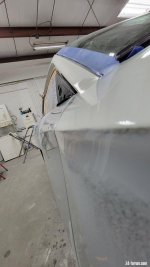
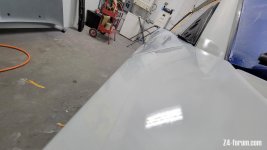
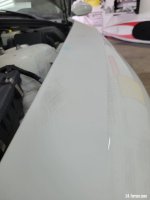
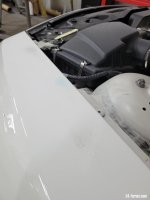
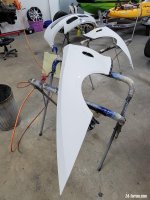
Having previously owned a shop that specialized in exotics, I've decided to tear it all apart, make the panels lazer straigh and give it a ultra glossy paint job

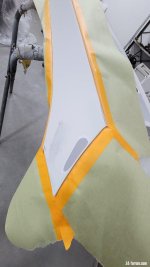
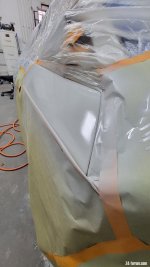
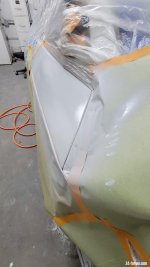
Project is currently ongoing so I will update as I go

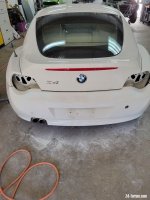
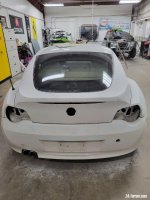
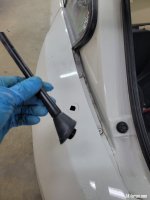
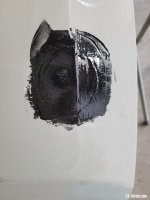
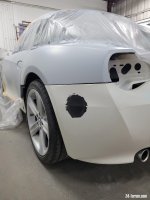
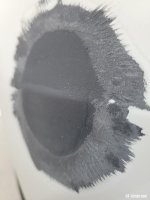
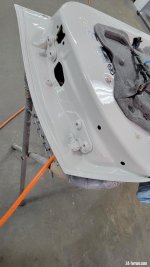
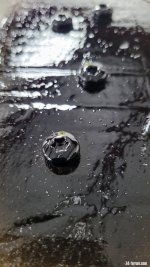
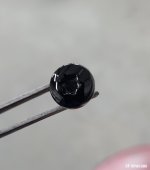
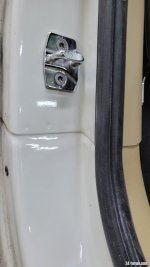
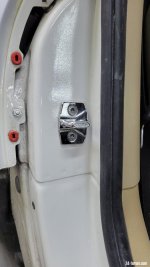
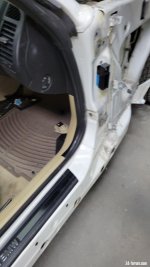
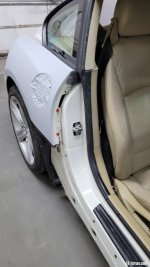
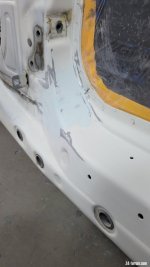
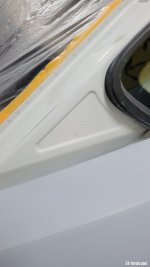
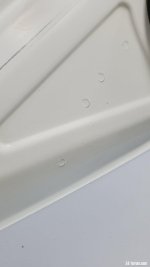
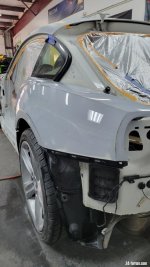
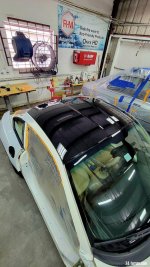
I've decided to delete antenna, delete rear markers from rear bumper, and shave off some spot welds from the door jambs 👌

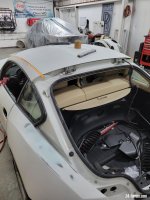
Once that's all complete, moving on to interior for a combination of red, black & carbon
 

Attachments

  • 20220218_184914.jpg
    20220218_184914.jpg
    190.3 KB · Views: 1,280
  • 20220218_105805.jpg
    20220218_105805.jpg
    118.9 KB · Views: 1,280
  • 20220218_174210.jpg
    20220218_174210.jpg
    219.9 KB · Views: 1,280
  • 20220218_110645.jpg
    20220218_110645.jpg
    66.6 KB · Views: 1,280
  • 20220218_140300.jpg
    20220218_140300.jpg
    126.2 KB · Views: 1,280
  • 20220218_141354.jpg
    20220218_141354.jpg
    68.4 KB · Views: 1,280
  • 20220218_141342.jpg
    20220218_141342.jpg
    70.9 KB · Views: 1,280
  • 20220218_150625.jpg
    20220218_150625.jpg
    91.3 KB · Views: 1,280
  • 20220218_141402.jpg
    20220218_141402.jpg
    74.3 KB · Views: 1,280
  • 20220218_185025.jpg
    20220218_185025.jpg
    196.1 KB · Views: 1,280
This is basic light blocking stage identifying any low spots, waves, and raised areas to get ready to do some light fill work , the goal here is to get a glass like finish, so it's all in the bodywork stage
 

Attachments

  • 20220220_165434.jpg
    20220220_165434.jpg
    109.6 KB · Views: 1,276
  • 20220221_190622.jpg
    20220221_190622.jpg
    155.6 KB · Views: 1,276
  • 20220221_191053.jpg
    20220221_191053.jpg
    97 KB · Views: 1,276
  • 20220221_191107.jpg
    20220221_191107.jpg
    107.4 KB · Views: 1,276
  • 20220221_191113.jpg
    20220221_191113.jpg
    54.7 KB · Views: 1,276
  • 20220221_191127.jpg
    20220221_191127.jpg
    56.7 KB · Views: 1,276
Antenna delete + rear bumper side marker delete 😎
 

Attachments

  • 20220224_163350.jpg
    20220224_163350.jpg
    152.3 KB · Views: 1,275
  • 20220224_184015.jpg
    20220224_184015.jpg
    157.7 KB · Views: 1,275
  • 20220228_175025.jpg
    20220228_175025.jpg
    94 KB · Views: 1,275
  • 20220304_162413.jpg
    20220304_162413.jpg
    187.1 KB · Views: 1,275
  • 20220304_162417.jpg
    20220304_162417.jpg
    86.9 KB · Views: 1,275
  • 20220304_174223.jpg
    20220304_174223.jpg
    127.9 KB · Views: 1,275
  • 20220304_174524.jpg
    20220304_174524.jpg
    127 KB · Views: 1,275
  • 20220304_174727.jpg
    20220304_174727.jpg
    91.6 KB · Views: 1,275
  • 20220304_184325.jpg
    20220304_184325.jpg
    161.6 KB · Views: 1,275
Fugly side marker out
 

Attachments

  • 20220317_193559.jpg
    20220317_193559.jpg
    102.9 KB · Views: 1,269
  • 20220317_193611.jpg
    20220317_193611.jpg
    110 KB · Views: 1,269
  • 20220320_144901.jpg
    20220320_144901.jpg
    61.6 KB · Views: 1,269
  • 20220320_155312.jpg
    20220320_155312.jpg
    50.4 KB · Views: 1,269
  • 20220320_161012.jpg
    20220320_161012.jpg
    80.8 KB · Views: 1,269
  • 20220320_171714.jpg
    20220320_171714.jpg
    82.1 KB · Views: 1,269
  • 20220320_171233.jpg
    20220320_171233.jpg
    59.4 KB · Views: 1,269
  • 20220321_192609.jpg
    20220321_192609.jpg
    104 KB · Views: 1,269
Spectacular attention to detail, really impressive! Looking forward to the end result :thumbsup:
 
Subscribed :thumbsup:

Friend of mine has a small bodyshop and I’m always amazed by what he’s able to do, I’m sure a lot of the prep must be a bit tedious but wish I had this skill set (and equipment) 8)
 
Thank you all! Yes lots of hours but very satisfying to do 😁

First round of primer after some mild filler work, only using a high quality polyester finishing putty that can be applied over cured paint, never apply body filler over paint fwiw

The key is thoroughly, thoroughly sanding and ultra clean before applying

This first round was left to cure for about 3 weeks togive plenty of time to shrink before blocking

Letting all the materials cure and shrink properly will ensure that your final finish stays the same for years with out any sand scratch swelling, loss of gloss ect..

Also testing out the color, Alpine white has about 8 different shades so I went with a brigher shade, not as "cream" looking as the original
 

Attachments

  • 20220316_170307.jpg
    20220316_170307.jpg
    149.5 KB · Views: 1,162
  • 20220312_112118.jpg
    20220312_112118.jpg
    153.9 KB · Views: 1,162
  • 20220316_193541.jpg
    20220316_193541.jpg
    167.5 KB · Views: 1,162
  • 20220316_193546.jpg
    20220316_193546.jpg
    111.6 KB · Views: 1,162
  • 20220316_193553.jpg
    20220316_193553.jpg
    154.5 KB · Views: 1,162
  • 20220321_201903.jpg
    20220321_201903.jpg
    116.3 KB · Views: 1,162
Color test on underside of hatch
 

Attachments

  • 20220324_114921.jpg
    20220324_114921.jpg
    65.2 KB · Views: 1,153
  • 20220324_115008.jpg
    20220324_115008.jpg
    51.2 KB · Views: 1,153
  • 20220324_114101.jpg
    20220324_114101.jpg
    72.6 KB · Views: 1,153
  • 20220324_115336.jpg
    20220324_115336.jpg
    59.5 KB · Views: 1,153
  • 20220324_132942.jpg
    20220324_132942.jpg
    94.5 KB · Views: 1,153
  • 20220402_153824.jpg
    20220402_153824.jpg
    47.6 KB · Views: 1,145
  • 20220402_153602.jpg
    20220402_153602.jpg
    42.6 KB · Views: 1,145
Inner door jambs!

Smoothed out these spot welds, although they are not very visible, is just a simple fill and smooth job, doesn't take much, and the result is just priceless 😁

The other three are covered by the weather strip so didn't bother with those
 

Attachments

  • 20220325_161520.jpg
    20220325_161520.jpg
    119.1 KB · Views: 1,152
  • 20220325_161526.jpg
    20220325_161526.jpg
    105.2 KB · Views: 1,152
  • 20220325_162151.jpg
    20220325_162151.jpg
    119.8 KB · Views: 1,152
  • 20220325_162910.jpg
    20220325_162910.jpg
    103.4 KB · Views: 1,152
  • 20220325_162922.jpg
    20220325_162922.jpg
    84.2 KB · Views: 1,152
  • 20220325_174510.jpg
    20220325_174510.jpg
    73.1 KB · Views: 1,152
  • 20220325_200113.jpg
    20220325_200113.jpg
    113.7 KB · Views: 1,152
  • 20220326_122346.jpg
    20220326_122346.jpg
    77.4 KB · Views: 1,152
  • 20220326_122405.jpg
    20220326_122405.jpg
    83.6 KB · Views: 1,152
Inner door jamb final result
 

Attachments

  • 20220326_140711.jpg
    20220326_140711.jpg
    79.3 KB · Views: 1,150
  • 20220326_140749.jpg
    20220326_140749.jpg
    95.5 KB · Views: 1,150
  • 20220326_144452.jpg
    20220326_144452.jpg
    118.6 KB · Views: 1,150
  • 20220326_144502.jpg
    20220326_144502.jpg
    105.4 KB · Views: 1,150
  • 20220326_144507.jpg
    20220326_144507.jpg
    99.4 KB · Views: 1,150
  • 20220327_152800.jpg
    20220327_152800.jpg
    85.9 KB · Views: 1,147
  • 20220327_153858.jpg
    20220327_153858.jpg
    62.5 KB · Views: 1,147
  • 20220331_183625.jpg
    20220331_183625.jpg
    123.1 KB · Views: 1,147
  • 20220331_183719.jpg
    20220331_183719.jpg
    63 KB · Views: 1,147
On to one of my favorite parts of this project!

I think BMW failed miserably here with the fit & finish

So I decided to smooth these two areas on the door jambs where the panels meet and these spot welds are visible ✌️
 

Attachments

  • 20220326_191425.jpg
    20220326_191425.jpg
    85.3 KB · Views: 1,143
  • 20220326_191432.jpg
    20220326_191432.jpg
    74.8 KB · Views: 1,143
  • 20220326_191436.jpg
    20220326_191436.jpg
    94 KB · Views: 1,143
  • 20220326_191441.jpg
    20220326_191441.jpg
    50.7 KB · Views: 1,143
  • 20220326_191445.jpg
    20220326_191445.jpg
    56.5 KB · Views: 1,143
  • 20220326_191452.jpg
    20220326_191452.jpg
    84.1 KB · Views: 1,143
  • 20220326_191448.jpg
    20220326_191448.jpg
    82.2 KB · Views: 1,143
  • 20220401_190235.jpg
    20220401_190235.jpg
    89.6 KB · Views: 1,143
  • 20220401_190239.jpg
    20220401_190239.jpg
    76 KB · Views: 1,143
Door Jambs cont'

Used panel bond, structural adhesive to fill in the bulk of it, then thin layer of poly to smooth everything out
 

Attachments

  • 20220401_190235.jpg
    20220401_190235.jpg
    89.6 KB · Views: 1,138
  • 20220401_190239.jpg
    20220401_190239.jpg
    76 KB · Views: 1,138
  • 20220401_191833.jpg
    20220401_191833.jpg
    83 KB · Views: 1,138
  • 20220401_192915.jpg
    20220401_192915.jpg
    89.2 KB · Views: 1,138
  • 20220402_170309.jpg
    20220402_170309.jpg
    75.1 KB · Views: 1,138
  • 20220402_170313.jpg
    20220402_170313.jpg
    71.2 KB · Views: 1,138
  • 20220406_200415.jpg
    20220406_200415.jpg
    91.1 KB · Views: 1,138
  • 20220406_200410.jpg
    20220406_200410.jpg
    95.3 KB · Views: 1,137
  • 20220406_203202.jpg
    20220406_203202.jpg
    96.3 KB · Views: 1,137
  • 20220406_203207.jpg
    20220406_203207.jpg
    116 KB · Views: 1,137
Sharpening body lines and more spot welds to smooth out !
 

Attachments

  • 20220409_184839.jpg
    20220409_184839.jpg
    98.3 KB · Views: 1,123
  • 20220409_185425.jpg
    20220409_185425.jpg
    146 KB · Views: 1,123
  • 20220410_171033.jpg
    20220410_171033.jpg
    66.2 KB · Views: 1,123
  • 20220410_171036.jpg
    20220410_171036.jpg
    31.6 KB · Views: 1,123
  • 20220411_165113.jpg
    20220411_165113.jpg
    72.1 KB · Views: 1,123
  • 20220411_170341.jpg
    20220411_170341.jpg
    83.2 KB · Views: 1,123
  • 20220411_165117.jpg
    20220411_165117.jpg
    80.2 KB · Views: 1,123
  • 20220411_170336.jpg
    20220411_170336.jpg
    69.8 KB · Views: 1,123
This is after about 3weeks of primer curing and shrinking, hand blocking from 220 - 320- then machine sanding 400 - 600 and spraying some prep solvent to check for straightness

Panels will be looking like absolute glass!
 

Attachments

  • 20220429_123324.jpg
    20220429_123324.jpg
    96.5 KB · Views: 1,121
  • 20220411_190212.jpg
    20220411_190212.jpg
    104.4 KB · Views: 1,121
  • 20220411_190319.jpg
    20220411_190319.jpg
    99.5 KB · Views: 1,121
  • 20220411_190329.jpg
    20220411_190329.jpg
    69.5 KB · Views: 1,121
  • 20220411_190353.jpg
    20220411_190353.jpg
    84.4 KB · Views: 1,121
  • 20220411_190405.jpg
    20220411_190405.jpg
    124.3 KB · Views: 1,121
More fit & finish, gapping everything right, and ensuring that the panels are completely leveled so when the light hits, the reflection throughtout the panel is straight and true

Enhancing that original "Flame-Surfacing" design, yea I'm abit OCD when it comes to panels 🤣

One thing I thiught about doing was tightening the gaps between bumpers -fenders - rear quarters - rocker panels, but it would have added a ton of hours and decided to pass on it and leave as is
 

Attachments

  • 20220418_203129.jpg
    20220418_203129.jpg
    116 KB · Views: 658
  • 20220423_111718.jpg
    20220423_111718.jpg
    84.1 KB · Views: 658
  • 20220423_112852.jpg
    20220423_112852.jpg
    99.2 KB · Views: 658
  • 20220423_113037.jpg
    20220423_113037.jpg
    93.3 KB · Views: 658
  • 20220423_111659.jpg
    20220423_111659.jpg
    68.8 KB · Views: 658
  • 20220423_111713.jpg
    20220423_111713.jpg
    64.8 KB · Views: 658
  • 20220423_111715.jpg
    20220423_111715.jpg
    63.9 KB · Views: 658
  • 20220421_195154.jpg
    20220421_195154.jpg
    91.4 KB · Views: 658
  • 20220421_195212.jpg
    20220421_195212.jpg
    83.4 KB · Views: 658
  • 20220421_195511.jpg
    20220421_195511.jpg
    90.9 KB · Views: 658
More surface leveling, it is not noticeable yet, but once the clear lands on it, it will all show properly
 

Attachments

  • 20220421_182141.jpg
    20220421_182141.jpg
    105.7 KB · Views: 656
  • 20220421_184158.jpg
    20220421_184158.jpg
    86.7 KB · Views: 656
  • 20220421_191125.jpg
    20220421_191125.jpg
    97.4 KB · Views: 656
  • 20220421_191215.jpg
    20220421_191215.jpg
    88.7 KB · Views: 656
  • 20220421_195000.jpg
    20220421_195000.jpg
    70.6 KB · Views: 656
  • 20220421_195118.jpg
    20220421_195118.jpg
    88.1 KB · Views: 656
  • 20220421_195125.jpg
    20220421_195125.jpg
    82.3 KB · Views: 656
Thanx boss

Went with Super Jet Black on the roof, I did the roof first so that it has enough time to cure by the time I get to final assembly, the last thing to go on will be the hatch

So just before that will sand the roof down one more time and re clear coat to get that piano finish, the clear coat flow will be ridiculous 👌
 

Attachments

  • 20220429_164420.jpg
    20220429_164420.jpg
    132.2 KB · Views: 620
  • 20220429_164432.jpg
    20220429_164432.jpg
    102.4 KB · Views: 620
  • 20220429_152220.jpg
    20220429_152220.jpg
    198.6 KB · Views: 620
  • 20220429_145714.jpg
    20220429_145714.jpg
    140.2 KB · Views: 620
  • 20220429_145728.jpg
    20220429_145728.jpg
    149.4 KB · Views: 620
  • 20220508_140814.jpg
    20220508_140814.jpg
    181.4 KB · Views: 620
Back
Top Bottom