Usel
Senior member
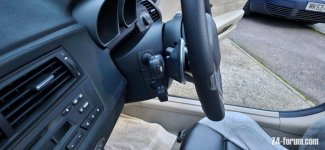
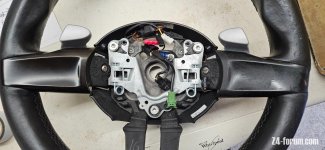
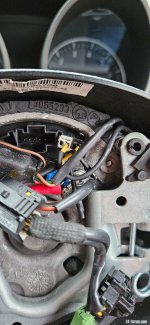
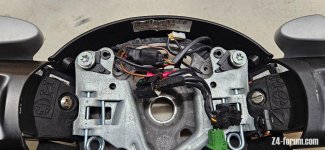
I have been asked to provide some more information on some paddleshifters I have made, it won't be a guide but will do my best with the photos I have:

You will need the following:
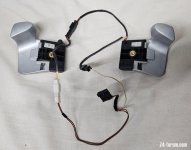
Mini R55 R56 R57 Paddleshift's £20‐£40. They don't sell on ebay very quickly at all so send offers or watch items and wait for offers. Buyers market.
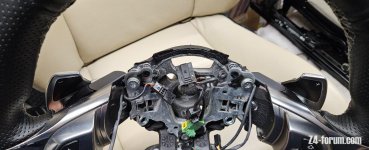
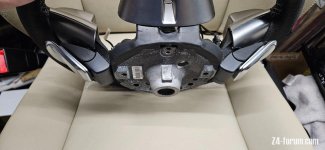
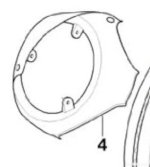
Normal trims for the back of steering wheel:
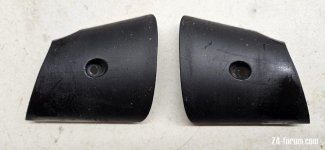
Normal Back cover for steering wheel:
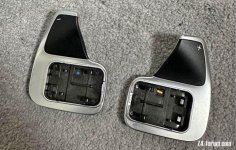
Paddleshift's from a 1/3 etc... series about £30:
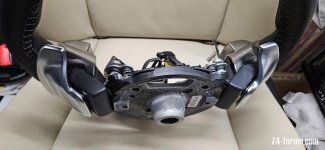
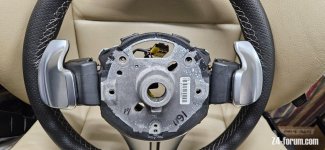
At this stage you can modify the back cover and wheels trims and fit the paddles as they are, they will look like this:
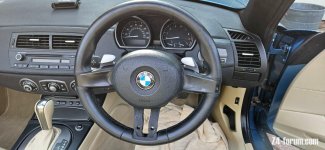
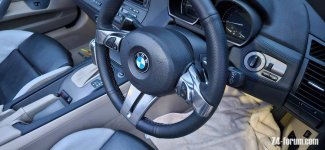
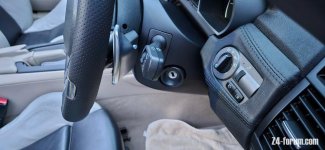
They sit a little higher than oem but could be modified to sit lower. You can also buy black mini paddles if that would match your wheel better.
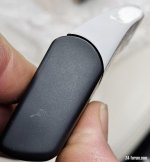
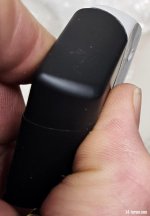
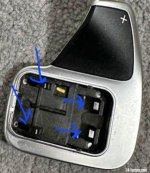
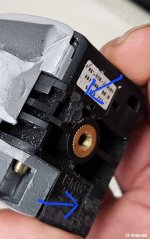
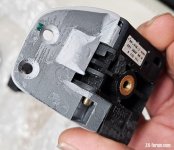
Now onto modifying the paddles. On the black part of the paddle you can remove the top cover where the wires come out. Then you can unscrew the chip with the wires and pull out the brass pin and remove the silver paddle from the black part. This thread will show a little detail on this:
https://www.z4-forum.com/forum/viewtopic.php?t=140682&hilit=Auto+paddle
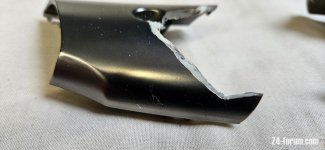
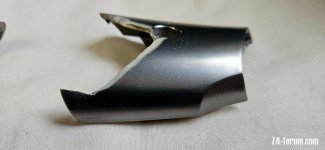
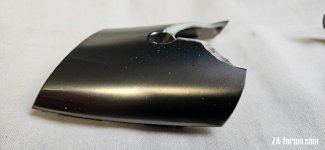
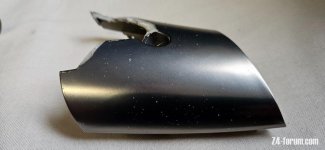
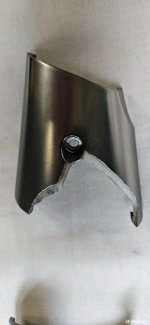
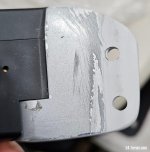
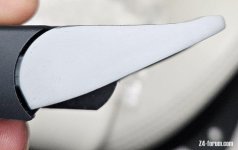
Now to shape the paddle, I used a belt sander, bosch multitool with cutting blade and a dremel.
You want a shape like this:
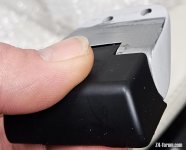

You will need the following:
Mini R55 R56 R57 Paddleshift's £20‐£40. They don't sell on ebay very quickly at all so send offers or watch items and wait for offers. Buyers market.

Normal trims for the back of steering wheel:

Normal Back cover for steering wheel:

Paddleshift's from a 1/3 etc... series about £30:

At this stage you can modify the back cover and wheels trims and fit the paddles as they are, they will look like this:

They sit a little higher than oem but could be modified to sit lower. You can also buy black mini paddles if that would match your wheel better.
Now onto modifying the paddles. On the black part of the paddle you can remove the top cover where the wires come out. Then you can unscrew the chip with the wires and pull out the brass pin and remove the silver paddle from the black part. This thread will show a little detail on this:
https://www.z4-forum.com/forum/viewtopic.php?t=140682&hilit=Auto+paddle
Now to shape the paddle, I used a belt sander, bosch multitool with cutting blade and a dremel.
You want a shape like this:


