
A few weeks back I was on here asking how to put the center console door back together, but it seems that I was the only one who has had this happen to them, LOL go figure, guess I’m blessed with Murphy’s Law (If anything can go wrong, it will).
Anyway, when I was removing the door from the center console these little clips came off their post’s on the door
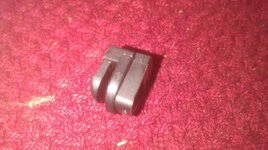
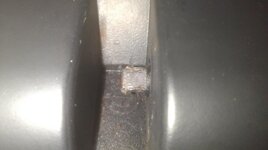
For the life of me I still don’t understand how, as you can see their doesn’t look like there is enough room for them to slide off or fall off.
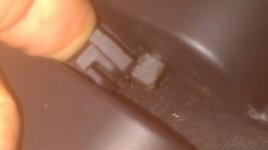
But they did, one of them to be eaten by the Z4 Gremlins living in my car and the other one I managed to break trying to figure out how to get it back on.
So I got on line to ECS Tuning website and ordered a new door, but while I was there I noticed I could buy replacement clips for a couple bucks so I got them ordered too. I didn’t like letting those 2 little clips beat me, but either way I wanted to get the door back on the way it was suppose to be.
I had read somewhere there was a tool you could make to help removing and replacing the console door but I couldn’t find any information on what the tool did or how to use it. But when the new door arrived it had this tool inserted into the left side of the door.
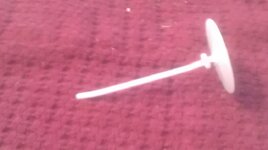

So this is what I’ve figured out:
The clips are designed with a left and a right clip.
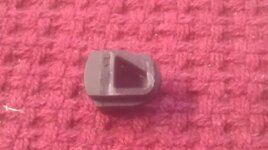
The post’s are triangularity shaped and the clips are rounded on one end so that when they are in place on the console they can not rotate. The post’s are spring loaded so that the door opens slowly instead of just flopping open.
To get the replacement clips back onto the post first you need to compress the clips a few times just to loosen up the plastic pieces and make sure they are warmed a little so they are not brittle.
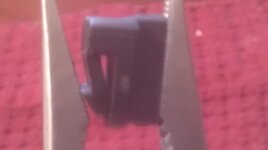
Next wedge the clip onto the post so that the narrow opening of the clip
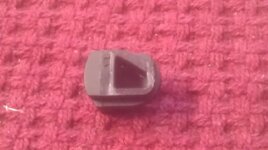
is sliding over the wide end of the post.
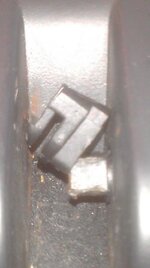
Then force the clip into place on the post.
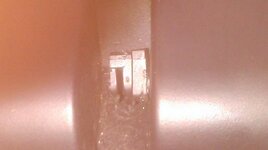
Ok, now for what the tool does. As I said before the post’s are spring loaded and when the door is removed from it’s mounting sockets the posts rotate beyond the slot openings of the door. It’s hard to see this in this picture but the clips are actually rotated so far that there is no way to line them up to put the door back onto the console.
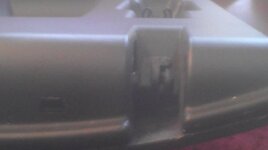
By taking a pair of pliers you can turn the post to line them up with the slots in the door.
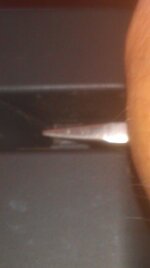
Then take the tool
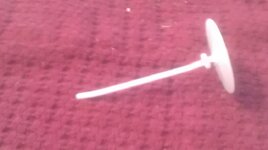
and insert it into the small hole on the left side of the door.

This holds the posts in place and does not allow them to rotate beyond the center point of the slotted openings at the bottom of the door.
After doing this the door easily slides into and out of the door hinges in the console. I’m not sure but I believe the reason it takes so much force to remove the door without using this tool is because of the spring tension trying to rotate while the door is being removed.
I also have the same problem a lot of other people have with the micro switch cam being broken on the door.
And I’ve got an idea how to improve this too but I’ll post that later when I have it all worked out.
Anyway, when I was removing the door from the center console these little clips came off their post’s on the door
For the life of me I still don’t understand how, as you can see their doesn’t look like there is enough room for them to slide off or fall off.
But they did, one of them to be eaten by the Z4 Gremlins living in my car and the other one I managed to break trying to figure out how to get it back on.
So I got on line to ECS Tuning website and ordered a new door, but while I was there I noticed I could buy replacement clips for a couple bucks so I got them ordered too. I didn’t like letting those 2 little clips beat me, but either way I wanted to get the door back on the way it was suppose to be.
I had read somewhere there was a tool you could make to help removing and replacing the console door but I couldn’t find any information on what the tool did or how to use it. But when the new door arrived it had this tool inserted into the left side of the door.
So this is what I’ve figured out:
The clips are designed with a left and a right clip.
The post’s are triangularity shaped and the clips are rounded on one end so that when they are in place on the console they can not rotate. The post’s are spring loaded so that the door opens slowly instead of just flopping open.
To get the replacement clips back onto the post first you need to compress the clips a few times just to loosen up the plastic pieces and make sure they are warmed a little so they are not brittle.
Next wedge the clip onto the post so that the narrow opening of the clip
is sliding over the wide end of the post.
Then force the clip into place on the post.
Ok, now for what the tool does. As I said before the post’s are spring loaded and when the door is removed from it’s mounting sockets the posts rotate beyond the slot openings of the door. It’s hard to see this in this picture but the clips are actually rotated so far that there is no way to line them up to put the door back onto the console.
By taking a pair of pliers you can turn the post to line them up with the slots in the door.
Then take the tool
and insert it into the small hole on the left side of the door.
This holds the posts in place and does not allow them to rotate beyond the center point of the slotted openings at the bottom of the door.
After doing this the door easily slides into and out of the door hinges in the console. I’m not sure but I believe the reason it takes so much force to remove the door without using this tool is because of the spring tension trying to rotate while the door is being removed.
I also have the same problem a lot of other people have with the micro switch cam being broken on the door.
And I’ve got an idea how to improve this too but I’ll post that later when I have it all worked out.