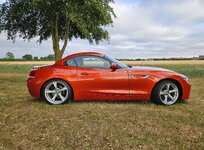
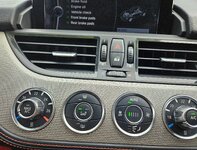
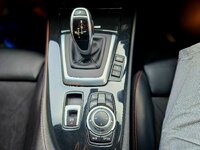
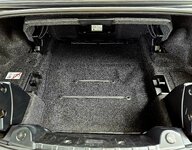
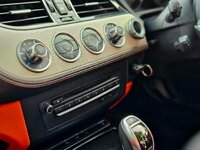
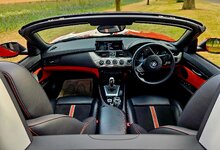
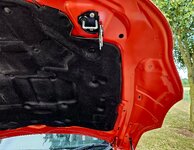
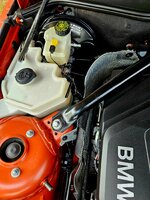
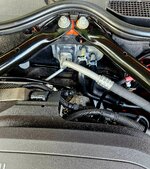
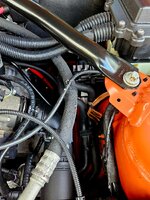
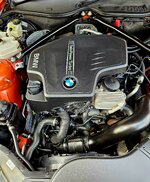
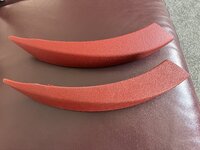
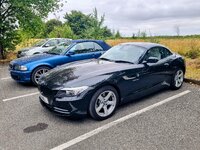
What have you done to your E89 today

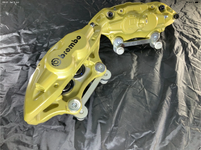
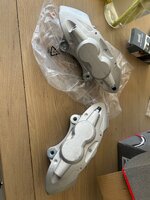
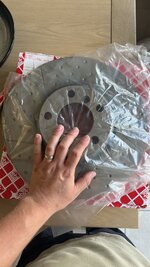
For no good reason other than looks, I’ve decided to purchase all the parts to do the 340mm brake upgrade. Pad retaining clips and pins also purchased but out of screen shot 🙂.

I went for ABS branded calipers, as they proclaim to be refurbished OEM Brembo units, rather than being re-cast to questionable quality.
View attachment 297329
I used ABS they are not recycled Brembos but seem acceptable quality ..I used the adapter brackets to create a 380mm solution..IMG_4409.pngIMG_4409.png
 
For no good reason other than looks, I’ve decided to purchase all the parts to do the 340mm brake upgrade. Pad retaining clips and pins also purchased but out of screen shot 🙂.

I went for ABS branded calipers, as they proclaim to be refurbished OEM Brembo units, rather than being re-cast to questionable quality.
View attachment 297329
An easy upgrade that looks so much better than stock 👍🏻
 
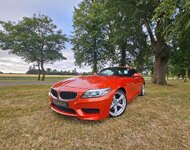
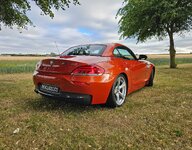
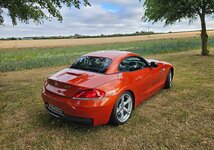
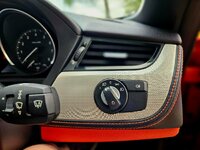
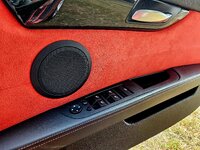
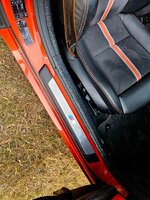
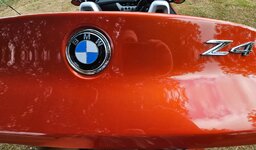
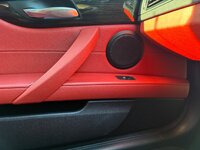
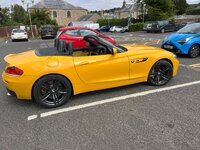
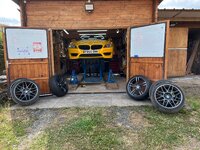
It's taken 10 months, on and off, but I think I've finally finished...
 

Attachments

  • 20260711_192509.jpg
    20260711_192509.jpg
    1.3 MB · Views: 5
  • 20260711_192457.jpg
    20260711_192457.jpg
    1.5 MB · Views: 5
  • 20260711_192221.jpg
    20260711_192221.jpg
    796.5 KB · Views: 5
  • 20260711_192128.jpg
    20260711_192128.jpg
    1.3 MB · Views: 5
  • 20260711_192122.jpg
    20260711_192122.jpg
    1.3 MB · Views: 5
  • 20260711_192111.jpg
    20260711_192111.jpg
    1.2 MB · Views: 5
  • 20260711_192041.jpg
    20260711_192041.jpg
    1.2 MB · Views: 5
  • 20260711_191819.jpg
    20260711_191819.jpg
    636.8 KB · Views: 5
  • 20260711_191649.jpg
    20260711_191649.jpg
    1.6 MB · Views: 5
  • 20260711_191620.jpg
    20260711_191620.jpg
    721.7 KB · Views: 6
  • 20260711_191611.jpg
    20260711_191611.jpg
    1.5 MB · Views: 5
  • 20260711_191507.jpg
    20260711_191507.jpg
    1.5 MB · Views: 5
  • 20260711_191307.jpg
    20260711_191307.jpg
    621.2 KB · Views: 5
  • 20260711_191158.jpg
    20260711_191158.jpg
    667.8 KB · Views: 5
  • 20260711_191101.jpg
    20260711_191101.jpg
    791.2 KB · Views: 5
  • 20260711_191033.jpg
    20260711_191033.jpg
    1.2 MB · Views: 5
  • 20260711_191006.jpg
    20260711_191006.jpg
    964.2 KB · Views: 6
  • 20260711_191002.jpg
    20260711_191002.jpg
    1.7 MB · Views: 6
  • 20260711_190957.jpg
    20260711_190957.jpg
    1.1 MB · Views: 6
  • 20260711_190936.jpg
    20260711_190936.jpg
    1.2 MB · Views: 7
More a question of what I didn't do today..

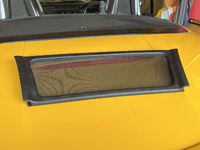
Nobody sets out to test what the wind deflector does. It arrives fitted, it stays fitted, and because it does its job silently you never form a picture of the cabin without it. I found out by accident. The mesh had collected enough dust to turn noticeably opaque — it does this slowly, so you never see it happen — and I washed it in warm soapy water, left it to dry, and forgot to refit it before a shopping run.


The first clue was the mirror. The view rearward was suddenly, conspicuously sharp — which tells you how much light a dust-loaded mesh had been scattering, and for how long I had failed to notice.

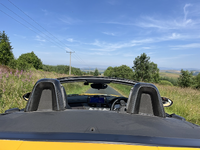
The second clue arrived with speed, and it was not where intuition says it should be. There was no great increase in buffeting around the head and shoulders. Instead the cabin filled from the bottom: a persistent draught pooling across the floor and footwells, then rising up the front of the seats and blowing into my face.

That is not random turbulence — it is the recirculation vortex the deflector exists to interrupt. With the roof down, air spilling over the windscreen header and around the A-pillars leaves a low-pressure void above the cockpit. That void pulls a reverse flow forward from behind the car, and it enters low: over the rear deck, down behind the seats, along the floor, and up into the occupants. Floor first, face second. The head-and-shoulder environment is mostly governed by the screen and side glass, which is why that part barely changed.

The mesh construction is the clever part. It does not work by being a wall. Air passes through it, but the coherent recirculating flow is shredded into fine-scale turbulence on the way, and fine-scale turbulence has no momentum to carry forward into the cabin. A perforated screen achieves nearly the effectiveness of a solid one while avoiding the solid panel's own drawbacks — its buffet contribution and a fully blocked mirror. Drive once without it and the whole design explains itself.



1784294909672.png1784294874969.png
 
Last edited:
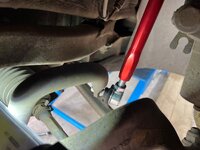
Today I have installed OEM LCI side indicators to my 2009 30i. This was an easy job, 15 mins, just need a long screwdriver or pry bar (I used) to push the clip in from the access under the bonnet, no panels or anything to remove. I put a plastic trim tool under the edge of the old light to give it a bit of positive pressure so It would pop when I pressed the clip in. I personally think they look much better than the white blob, though I have just purchased a small amount of light smoke vinyl wrap to add to the actual flashing bits to make them kind of blend in a bit more with the black and give a contrast to the chrome.

I have also just purchases wheel spacers, 20mm back and 15mm front, I wanted 10mm for the front but didn't find any in my price range, we will see how the 15s do. That's for another post when they arrive and are fitted.

Also, as an aside, my car was back with the dealer a couple of weeks ago for a roof issue (A68D), the car is within 6 months of purchase so they are obliged to fix it, of course it worked absolutely fine with them, they are primarily Mercedes and have a lot of SLK roof experience which is also a bit of a mare so they are experienced with complicated convertibles. Multiple Z4 roof actions over multiple days without issue, they did investigate and strip the right hand loom, they found slight play in a microswitch connector which they changed, though they weren’t really sure what the issue was, so who knows?, they did say there was no cracking or splits in the wiring or hydraulic hoses so that’s a mental positive! It had 8 roof errors logged in 3 days previously and wouldn't open fully or close unless you turned off the engine and let gravity do its thing. Its working perfectly now. Typical! oh well. I'll take a trip up to the Zed Shed sometime this year to get some preventative maintenance done.
 

Attachments

  • 20260718_124404-EDIT.jpg
    20260718_124404-EDIT.jpg
    1.5 MB · Views: 2
Last edited:
Today, I flashed the auto box using xHP to stage 2, then took it a good 70 mile run.

Observations:

Gear changes are much quicker and smoother than before, now with the added grin. 🙂

A tad pricey for what it is, but YOLO 😁

Gratuitous pic

20260718_151156.jpg
 
Today, I flashed the auto box using xHP to stage 2, then took it a good 70 mile run.

Observations:

Gear changes are much quicker and smoother than before, now with the added grin. 🙂

A tad pricey for what it is, but YOLO 😁

Gratuitous pic

View attachment 297656
I am thinking of buying the xHP package for my 2009 30i ZF6HP, I have a few questions if you have the time. What gearbox do you have? How long does it take to flash? Do you use your own laptop/phone or do they send a dedicated box? Are all stages included with the single purchase? Does a stage1 make any difference? What difference if any does it make (Stage 1/2)? Why did you go to stage 2 over 1? Did you have a full ZF gearbox service prior to the update?

Thank you!
 
I am thinking of buying the xHP package for my 2009 30i ZF6HP, I have a few questions if you have the time. What gearbox do you have? How long does it take to flash? Do you use your own laptop/phone or do they send a dedicated box? Are all stages included with the single purchase? Does a stage1 make any difference? What difference if any does it make (Stage 1/2)? Why did you go to stage 2 over 1? Did you have a full ZF gearbox service prior to the update?

Thank you!
I also have the ZF6HP, and once you're past the initial set up, it takes about 5 mins to flash. It's all explained during the process. I used an old Android phone that I had, along with the orange MHD wireless adapter. I went to stage 2 as this was recommended as the sweet spot for these gearboxes. My gearbox was serviced a few hundred miles ago, so all good in that respect. Hope this helps 👍🏻
 
I also have the ZF6HP, and once you're past the initial set up, it takes about 5 mins to flash. It's all explained during the process. I used an old Android phone that I had, along with the orange MHD wireless adapter. I went to stage 2 as this was recommended as the sweet spot for these gearboxes. My gearbox was serviced a few hundred miles ago, so all good in that respect. Hope this
Thank you! Do you feel it made a difference? Does it make a difference in Normal mode or just sport(+)?

Do you feel it was worth it?

Thanks again.

Brett
 
Thank you! Do you feel it made a difference? Does it make a difference in Normal mode or just sport(+)?

Do you feel it was worth it?

Thanks again.

Brett
It tells you to take it easy for the first 50 - 100 miles, so no sports mode attempted as yet. I did really notice the difference in the speed of the changes and how much smoother they were though. It'll no doubt get a bit of a hoon after the breakfast meet tomorrow 😁
 
Back
Top Bottom