So as the title states, it was time for a little Spring clean - by little I mean large... :wink:
So started at 11.20AM Saturday morning and finished the first stint at 7.30PM Saturday evening.
Then started again at 11AM this morning and finished finally at around 1.10PM this afternoon. So a total of just over 10 hours to "Detail" my Zed.
So a little bit of background, I am by no means a professional detailer it's just a hobby that I like to partake in and this is by far the biggest job I have ever had to do and thought I would take a few pics to show you all my journey along the way, so here it goes.
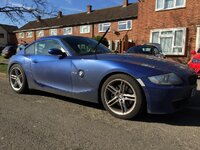
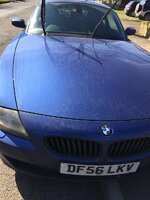
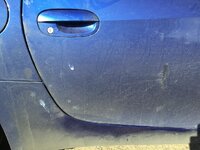
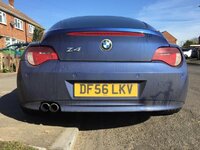
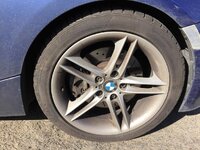
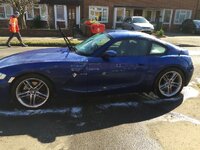
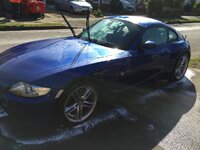
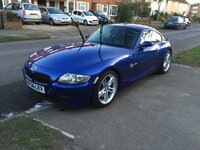
To start these are the before pics, car has covered around 2K miles since it's last wash, and that was literally a wash, not a "Detail".
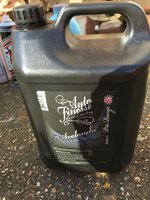
First up I used Auto Finesse Avalanche Citrus Pre-Wash Snow Foam:
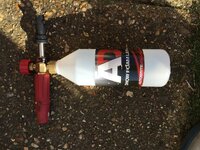
For the lance I used the Autobrite Direct lance:
This is once it was covered:
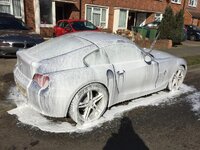
As you can see it has good coverage and good cleaning power but doesn't "Dwell" for all that long.
This was after the pre-wash:
Next step was to use the Autobrite Magifoam:
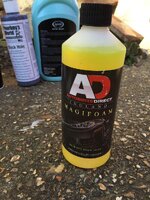
This was how much I used:
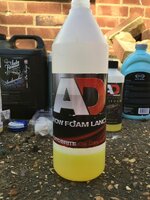
Then filled the rest of the bottle with hot water:
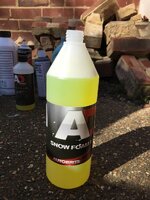
Now was to foam :evil:
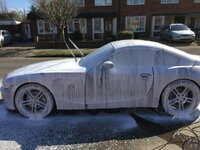
You can see the "Drag" coming off of the wheel arch:
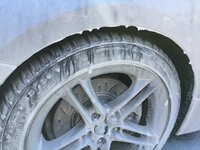
I would highly recommend the AB lance and Magifoam, it's bloody awesome stuff!! However leaves a mess on the driveway 8)
Whilst the car was "Dwelling" I put some Dodo Juice Ferrous Dweller on the wheels, this stuff stinks of rotten eggs, I mean it's awful but by Christ does it work, it's amazing and I would recommend it to everyone!
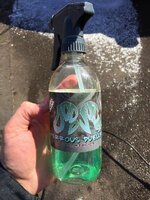
This is what it looks like on the wheels:
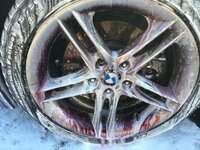
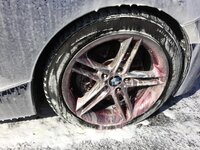
Next was to pressure wash all foam and Ferrous Dweller off.
I then washed the car using Zymol Auto Wash, using the 2 bucket method:
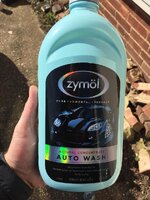
Whilst the car was still wet, I decided to clay it using the G3 Clay Mitt:
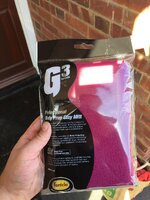
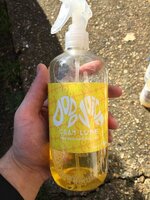
To Help the clay mitt "Glide" I used Dodo Juice Clay Lube:
I then let the car naturally dry as I was going to be prepping the bodywork further.
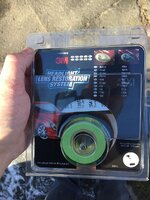
Whilst the car was drying I decided to semi restore my headlights as the drivers side was starting to go cloudy, using this:
Here's the before of my headlights:
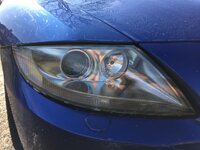
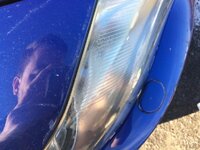
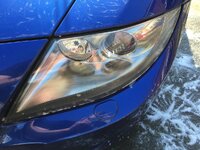
Here's the after:
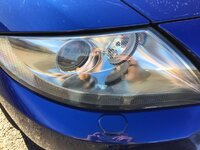
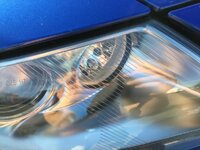
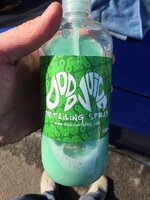
Now I had to tackle the smears from "Air-drying" I used Dodo Juice Detailing Spray:
Before:
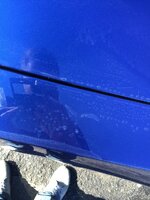
After:
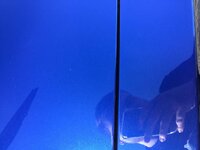
Full shot after QD:
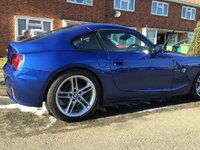
Again:
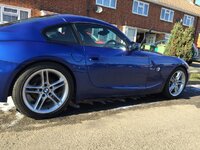
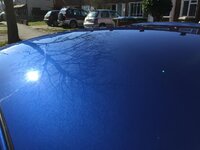
Now you can see the "Swirls" on the roof:
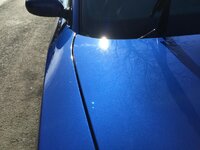
And swirls on the bonnet:
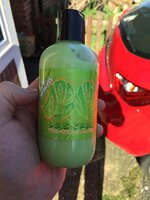
So had to tackle the swirls using Dodo Juice Lime Prime and a rotary polisher:
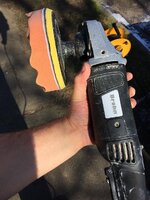
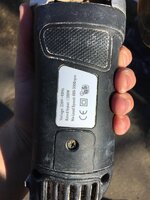
Got to make sure you keep the pad wet due to heat from the rotary, so used the Dodo Juice QD:
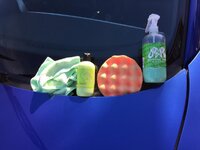
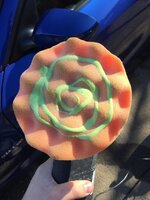
A quick swirl on the pad and we're good to go:
After the first pass on the roof:
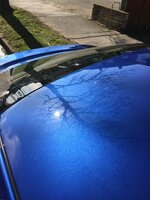
The mess it made:
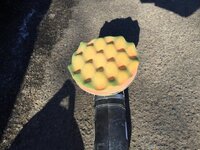
Must make sure you clean the pad after every panel:
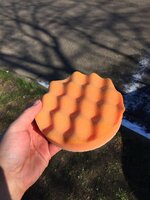
When tackling large panels, be sure to divide them into sections:
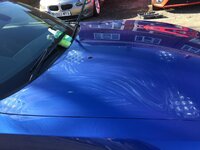
For the Zed I used the following devisions:
Roof - Divide by 3
Rear Hatch - Divide by 3
Bonnet - Divide by 4
Doors - By 2
Front and Rear wings - Done as one, piece by piece.
Bonnet after the first pass:
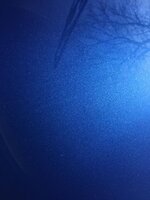
Finished Bonnet:

Finished Rear Hatch:
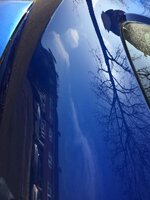
Halfway through stopping for a lunch break:
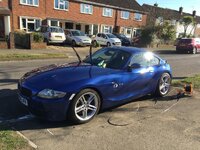
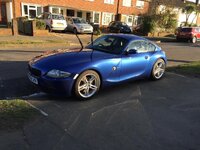
Finished the polishing:
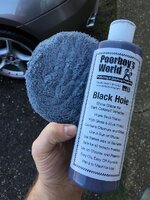
Time for some Poorboy's Black Hole:
Coat the whole car and leave to haze:
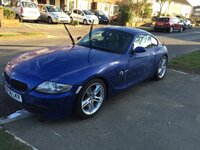
Hazed roof:
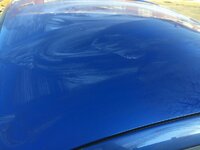
After Black Hole on Roof:
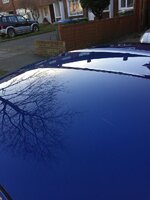
After Black Hole:
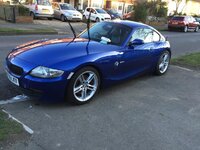
Time for some sealant:
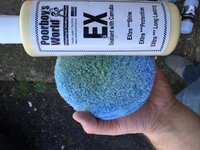
Whilst the sealant was bonding, I decided to tackle my exhaust tips.
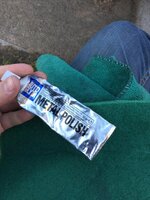
Here's what I used:
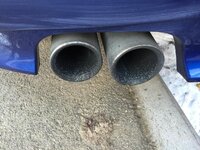
Here's the before:
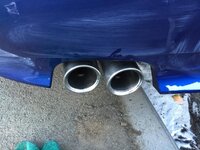
Here's the after shot:
Here's the shot after the sealant had been buffed off:
I then decided to attack the wax, for this I used Dodo Juice Blue Velvet Pro wax and Dodo Juice foam applicator:
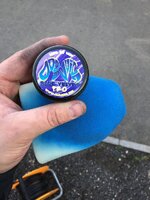
I coated the entire car and waited around 30 mins to haze.
Whilst the wax was hazing I decided to waterproof my windows:
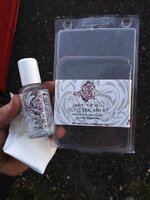
This stuff has the same principles of Rainex but is a semi-perminant solution, by which it is rated to last between 6-12 months. I have used this and before and although it is fairly expensive it seems worth it as on a daily driven Zed it has lasted me around 8 months, around 8 times longer than Rainex
I then buffed off the glass and buffed off the wax, by this time it was dark and was doing the final exterior touches by iPhone torch
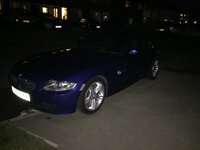
So that was the end to the day, time to resume in the morning...
Good morning Sunday!
Time to tackle the engine bay and interior, I must admit by this time pictures were getting a bit few and far between due me not wanting to use the entire day and I was very achey from Saturday's endeavours.
So the engine bay before:
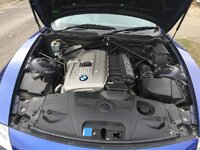
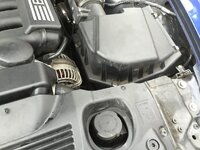
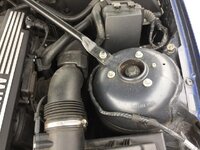
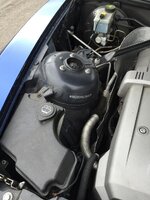
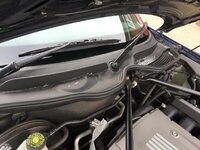
And the engine bay after:
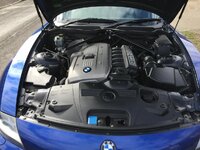
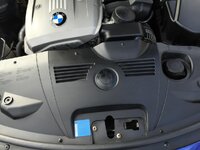
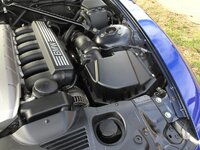
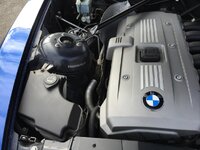
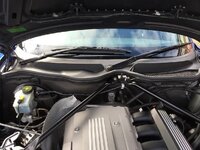
Then I tackled my interior, I did not get any before shots, as I said at this point I was trying to hurry as I had enough and needed to rest my back and legs
After shots of my interior:
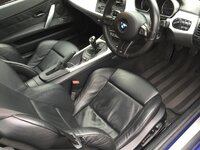
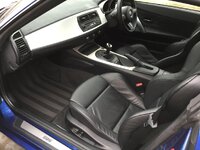
Then some quick snaps of the finished product:

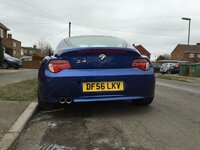
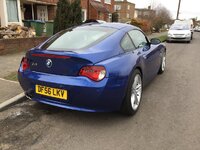
I was going to drive somewhere and get some fancy after shots but then it started to drizzle
So after a long weekend detailing, it's all been wasted due to our great British weather! lol
Also as a side note, all pics were taken with my iPhone, again just to save time and I didn't have my proper camera handy.
Anyways after a lengthy post, this was my Detailing session done and I hope you all enjoy the read!
Cheers,
Dan
So started at 11.20AM Saturday morning and finished the first stint at 7.30PM Saturday evening.
Then started again at 11AM this morning and finished finally at around 1.10PM this afternoon. So a total of just over 10 hours to "Detail" my Zed.
So a little bit of background, I am by no means a professional detailer it's just a hobby that I like to partake in and this is by far the biggest job I have ever had to do and thought I would take a few pics to show you all my journey along the way, so here it goes.
To start these are the before pics, car has covered around 2K miles since it's last wash, and that was literally a wash, not a "Detail".


First up I used Auto Finesse Avalanche Citrus Pre-Wash Snow Foam:

For the lance I used the Autobrite Direct lance:

This is once it was covered:

As you can see it has good coverage and good cleaning power but doesn't "Dwell" for all that long.
This was after the pre-wash:


Next step was to use the Autobrite Magifoam:

This was how much I used:

Then filled the rest of the bottle with hot water:

Now was to foam :evil:

You can see the "Drag" coming off of the wheel arch:

I would highly recommend the AB lance and Magifoam, it's bloody awesome stuff!! However leaves a mess on the driveway 8)
Whilst the car was "Dwelling" I put some Dodo Juice Ferrous Dweller on the wheels, this stuff stinks of rotten eggs, I mean it's awful but by Christ does it work, it's amazing and I would recommend it to everyone!

This is what it looks like on the wheels:


Next was to pressure wash all foam and Ferrous Dweller off.
I then washed the car using Zymol Auto Wash, using the 2 bucket method:

Whilst the car was still wet, I decided to clay it using the G3 Clay Mitt:

To Help the clay mitt "Glide" I used Dodo Juice Clay Lube:

I then let the car naturally dry as I was going to be prepping the bodywork further.
Whilst the car was drying I decided to semi restore my headlights as the drivers side was starting to go cloudy, using this:

Here's the before of my headlights:


Here's the after:


Now I had to tackle the smears from "Air-drying" I used Dodo Juice Detailing Spray:

Before:

After:

Full shot after QD:

Again:

Now you can see the "Swirls" on the roof:

And swirls on the bonnet:

So had to tackle the swirls using Dodo Juice Lime Prime and a rotary polisher:


Got to make sure you keep the pad wet due to heat from the rotary, so used the Dodo Juice QD:

A quick swirl on the pad and we're good to go:

After the first pass on the roof:

The mess it made:

Must make sure you clean the pad after every panel:

When tackling large panels, be sure to divide them into sections:

For the Zed I used the following devisions:
Roof - Divide by 3
Rear Hatch - Divide by 3
Bonnet - Divide by 4
Doors - By 2
Front and Rear wings - Done as one, piece by piece.
Bonnet after the first pass:

Finished Bonnet:

Finished Rear Hatch:

Halfway through stopping for a lunch break:

Finished the polishing:

Time for some Poorboy's Black Hole:

Coat the whole car and leave to haze:

Hazed roof:

After Black Hole on Roof:

After Black Hole:

Time for some sealant:

Whilst the sealant was bonding, I decided to tackle my exhaust tips.
Here's what I used:

Here's the before:

Here's the after shot:

Here's the shot after the sealant had been buffed off:

I then decided to attack the wax, for this I used Dodo Juice Blue Velvet Pro wax and Dodo Juice foam applicator:

I coated the entire car and waited around 30 mins to haze.
Whilst the wax was hazing I decided to waterproof my windows:

This stuff has the same principles of Rainex but is a semi-perminant solution, by which it is rated to last between 6-12 months. I have used this and before and although it is fairly expensive it seems worth it as on a daily driven Zed it has lasted me around 8 months, around 8 times longer than Rainex

I then buffed off the glass and buffed off the wax, by this time it was dark and was doing the final exterior touches by iPhone torch

So that was the end to the day, time to resume in the morning...
Good morning Sunday!
Time to tackle the engine bay and interior, I must admit by this time pictures were getting a bit few and far between due me not wanting to use the entire day and I was very achey from Saturday's endeavours.
So the engine bay before:


And the engine bay after:


Then I tackled my interior, I did not get any before shots, as I said at this point I was trying to hurry as I had enough and needed to rest my back and legs

After shots of my interior:


Then some quick snaps of the finished product:


I was going to drive somewhere and get some fancy after shots but then it started to drizzle

So after a long weekend detailing, it's all been wasted due to our great British weather! lol
Also as a side note, all pics were taken with my iPhone, again just to save time and I didn't have my proper camera handy.
Anyways after a lengthy post, this was my Detailing session done and I hope you all enjoy the read!
Cheers,
Dan
 assuming they are :?