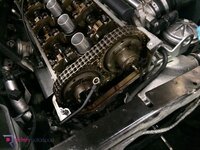
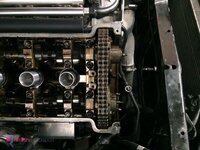
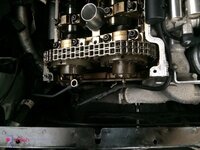
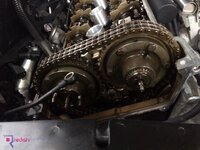
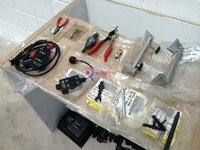
Beisan Systems VANOS overhaul at Redish

AndyBeech

Senior member
 Wiltshire
Hi guys

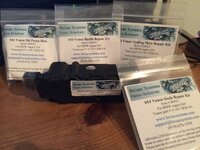
For those interested I'm getting this little lot fitted tomorrow and Wednesday by James at Redish Motorsport:
09DF5AB2-26B2-4BFC-A643-B927CE46D8AC.jpg

Basically the entire VANOS system being upgraded, total list of the work being done:

S54 Seal kit
S54 Sealing plate O-rings
S54 Anti rattle kit
S54 Oil pump disc
S54 Modified Coil Pack
Steel Vanos Gasket
12x S54 camshaft hub bolts (new modified type)
12x S54 vanos gearbox bolts
Chain tensior guide rail & sealing ring
Valve Clearance measurements, replacements, and report,
Timing of the S54 engine
Vanos test report screenshot before & after
Building oil pressure before engine starting

Should come in at around £800 all in parts and labour, costing me less to get the parts myself from Beisan. (You get approx. £190 back from Beisan for sending your old coil pack and oil pump disc back).
Hopefully this should bullet proof the VANOS system for a long time to come as well as doing a few other bits while the VANOS is off (may as well!). With any luck it might cure my slight hesitation issue as well as making the engine feel a lot tighter and how it should. Not that I think there's anything wrong with it anyway, pulls like a train, no EML codes, but it certainly can't hurt to do the above.

I'll post results back on Wednesday, differences etc. And hopefully some pics that James will take along the way of the procedure. I've only heard positive things about getting this done so will be worth it for the cost in my eyes.
My car is an '06 plate on 66k, so will maybe act as a bit of guidance for those considering doing it if I get much difference in engine response.
 
i hear some really good things about redish.... may try them myself next year for some custom fabrication work i want done.
 
It will be interesting to hear about how the garage gets on removing the existing Vanos unit, it's not straightforward due to access issues. Some pics of that bit would be very useful. :thumbsup:
 
Beedub said:
i hear some really good things about redish.... may try them myself next year for some custom fabrication work i want done.

Highly recommended mate, never heard a bad word said about James, apart from you have to book a couple of months in advance as he's so busy! That alone speaks for itself though.

Good point Stratts, I'll ask him if he can get some pics of that, I know the VANOS on the Z4 is quite close to the bulkhead compared to the E46 so probably be a tad more complicated.
 
Yeah I'm doing mine in a few weeks so any professional advice would be really helpful.
 
This is something i'm thinking of doing at some point in the future as it seems to have given good results on the M3-i wouldn't mind betting it helps the hesitation a bit too :thumbsup:

Seems quite a reasonable price too given the work involved-i'd love to have the confidence to go this far with DIY work but i just can't convince myself its worth the risk of ballsing it up!
 
Very nice! :thumbsup:

Although I think I'd be doing the con rod bearings first, that's the common failure point on the S54 rather than the vanos, that was more applicable to the S50 B32.
 
Look forward to the feedback here. Reddish are local to me and my Vanos has been showing symptoms of solenoid failure. I was considering ordering the parts for the solenoid and doing it myself, but for £800 which includes everything it seems like a no-brainer. :thumbsup:
 
Hi Andy, and all others.

Day 1 has gone well and the Vanos unit has been fully resealed including both pistons, hydraulic valve body sealing plate, piston covers, re-drilled oil pump disc, and electric coil pack.
We've also started the Anti Rattle Kit, and upgraded BMW Cam Hub Bolts but need to finish these tomorrow along with the other items.

Pictures is our middle name ;)
We've been taking a full picture diary (as we do with ever car, even if it's a simple Oil & Filter change).
We probably have a good 20 pictures already from day 1, and more coming tomorrow.

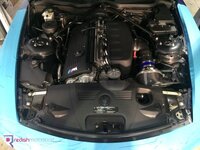
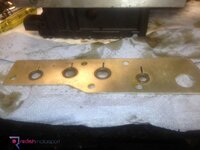
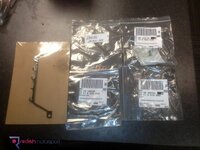
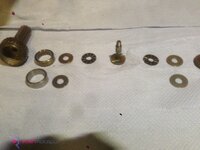
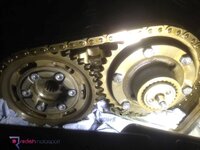
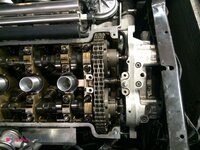
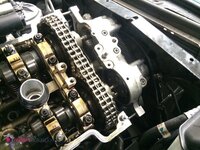
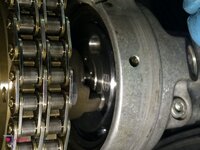
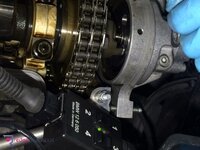
Here's a few teaser pics:

Z4MVanos1.jpg

Z4MVanos2.jpg

Z4MVanos3.jpg

Z4MVanos4.jpg

Z4MVanos5.jpg

Once I've sorted all the pictures I will try to remember to come back on here and upload them all.
Andy will receive them so could always post them I guess?

I will certainly put them on our Facebook page, so keep an eye out http://www.Facebook.com/RedishMotorsport

Best regards,
James :)
 
Awesome feedback and it's great to see such an enthusiastic company willing to take time out to post! It's understandable your waiting list is as long as it is.
 
seriously awesome feedback and i love how the car is totally covered up... now thats how id want to see my car treated!!

Redish..... i think my rather special z4m will be visiting you next summer :-)

nice to see the vanos tabs in good condition, reddish can you confirm that the old style vanos hub bolts were present and if they were loose at all???
 
Is this upgrade only worth doing on 2006 M's?

I've read that 2007 cars already have some updated parts.
 
Mine is a 2007 and is showing early signs of solenoid failure. Its under warranty at the moment so hoping it fails and i can get it sorted FOC. Otherwise i will go knock on reddish door.
 
DPG said:
Is this upgrade only worth doing on 2006 M's?

I've read that 2007 cars already have some updated parts.

The only upgraded part all Z4 M's had was the cam bolts I believe, which I've changed anyway as the cost is minimal and its worth doing while its all in pieces.
The rest of the VANOS is the same through all versions of S54 fitted cars.

I'll report fully on the work done when I've had a chance to drive it properly, first signs are good though, and noticed it's very quiet now straight away! :thumbsup:
 
Hi Andy, hope you and the Z4M are well.

I've processed the 55 pictures from your Vanos Overhaul we did recently.

Andy kindly supplied the Beisan Systems products, and we supplied the BMW consumable items.
On to the pictures of the work carried out for this Z4M S54 Beisan Systems Vanos Overhaul:

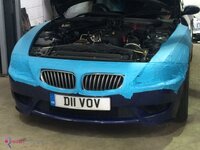
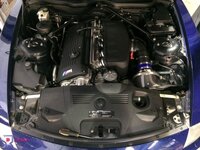
As received:
AndyWatsonE85Z4M1.jpg

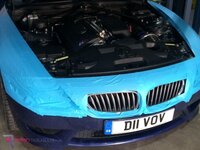
3M protection tape:
AndyWatsonE85Z4M2.jpg

3M protection tape:
AndyWatsonE85Z4M3.jpg

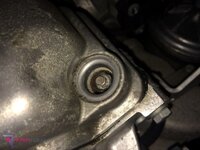
A snapped rocker cover bolt:
AndyWatsonE85Z4M4.jpg

This had been installed so tight that it simply snapped on removal. Poor workmanship from a previous repairer I would imagine:
(Rectified by a replacement)
AndyWatsonE85Z4M5.jpg

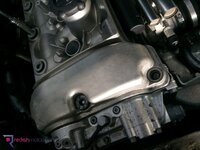
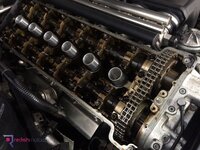
Rocker Cover off:
AndyWatsonE85Z4M6.jpg

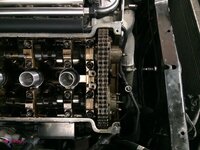
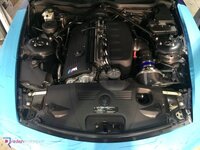
Showing the lack of room to removal an S54 Vanos on a Z4 chassis due to the front panel:
AndyWatsonE85Z4M7.jpg

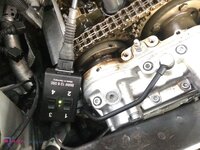
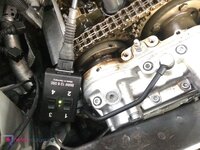
Our Genuine BMW Special tool to vent the Vanos System to allow a non-stressed, and non messy, removal:
AndyWatsonE85Z4M8.jpg

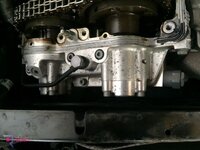
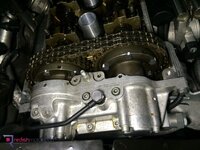
Vanos body removed:
AndyWatsonE85Z4M9.jpg

AndyWatsonE85Z4M10.jpg

AndyWatsonE85Z4M11.jpg

AndyWatsonE85Z4M12.jpg

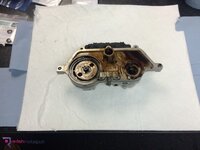
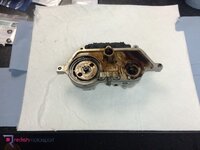
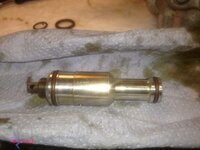
Vanos body & 1st pressure limiting valve laid safe for transport into a cleaner environment for rebuild:
AndyWatsonE85Z4M13.jpg

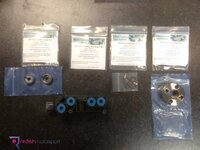
Beisan Systems S54 products:
AndyWatsonE85Z4M14.jpg

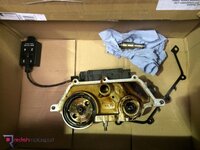
Vanos body ready for work:
AndyWatsonE85Z4M15.jpg

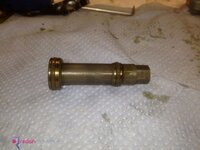
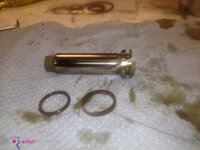
Piston removal with O-ring/Seal replacement:
AndyWatsonE85Z4M16.jpg

AndyWatsonE85Z4M17.jpg

AndyWatsonE85Z4M18.jpg

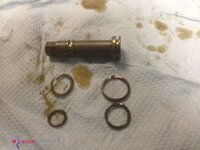
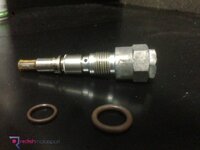
1st Pressure limiting valve O-rings:
AndyWatsonE85Z4M19.jpg

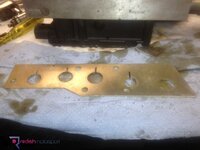
Seal Plate old O-rings removed and new installed:
AndyWatsonE85Z4M20.jpg

AndyWatsonE85Z4M21.jpg

Genuine BMW items:
AndyWatsonE85Z4M22.jpg

Helical gears taken apart and ready for measuring/testing with the Anti Rattle Kit:
AndyWatsonE85Z4M23.jpg

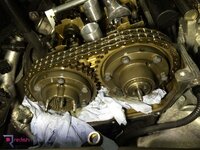
Upgraded BMW Cam Hub Bolts loctited and torqued - showing the Exhaust side here:
AndyWatsonE85Z4M24.jpg

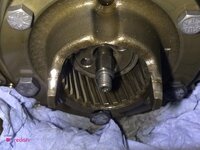
Vanos Gearbox Bolts installed and with both inlet and exhaust helical gears installed in the absolute 1st most available spline, even checking every spline until the best one available is found to allow full depth and therefore full spread:
AndyWatsonE85Z4M25.jpg

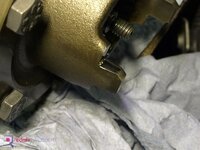
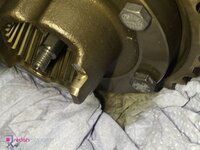
This picture shows how you need to find the 1 and only spline that allows full depth of the helical gear. It's complicated to explain but pictures do help, but don't compare to having the items in your hand to explain it in greater detail:
AndyWatsonE85Z4M26.jpg

Exhaust hub tabs checked:
AndyWatsonE85Z4M27.jpg

AndyWatsonE85Z4M28.jpg

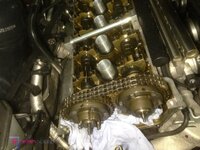
Starting procedure of the engine timing. First the crankshaft has to be locked at TDC (not in view). This is done with a genuine BMW crank pin.
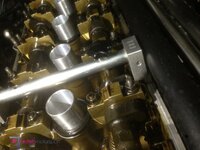
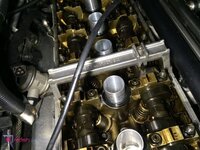
Then the camshaft setting tool is installed with the drop pin perfectly lined inside the inlet cam:
AndyWatsonE85Z4M29.jpg

Whilst touching the cylinder head on both sides:
AndyWatsonE85Z4M30.jpg

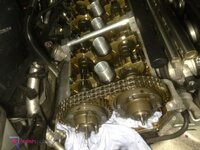
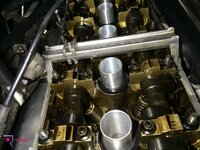
Then timing the exhaust cam:
AndyWatsonE85Z4M31.jpg

Whilst touching the cylinder head on both sides:
AndyWatsonE85Z4M32.jpg

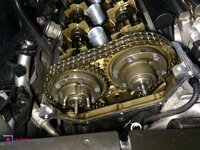
Timed correctly and ready to have the timing case cleaned, new steel vanos gasket, and sealing compound on the join to the cylinder head & rocker cover:
AndyWatsonE85Z4M33.jpg

Offering the Vanos body and 1st pressure valve.
Notice the supporting threads holding the vanos body whilst the helical splined gears are connected/threaded/tightened to the vanos pistons.
This stops cross-threading, as well as excessive weight hanging on the pistons and helical gears. It's simple things like this that make all the difference:
AndyWatsonE85Z4M34.jpg

AndyWatsonE85Z4M35.jpg

Not much room in there!
AndyWatsonE85Z4M36.jpg

Notice the new Beisan Systems re-drilled oil pump disc with the 'BS' engraved:
AndyWatsonE85Z4M37.jpg

Gently installing the Vanos body, using the BMW special tool to vent the oil ways to allow a non stressed, non pressured, installation:
AndyWatsonE85Z4M38.jpg

Another BMW special tool which not everybody has or chooses to use. This is the camshaft timing checking tool. Yes, 1 for setting, another 1 for checking.
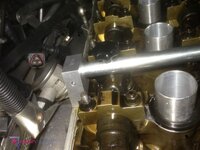
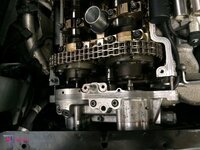
The engine has been rotated 2 rotations at the crankshaft (to allow proper torquing of the vanos gearbox bolts to sandwich the washers) and then locked in TDC again with the special tool/pin.
This shows the inlet camshaft perfectly aligned by the drop pin inside the inlet cam without pressure, whilst resting flat on both sides of the cylinder head:
AndyWatsonE85Z4M39.jpg

This shows the Exhaust camshaft perfectly aligned by the drop pin inside the exhaust cam without pressure, whilst resting flat on both sides of the cylinder head:
AndyWatsonE85Z4M40.jpg

Fully torque checked, marked, and the vanos body and it's components installed:
AndyWatsonE85Z4M41.jpg

2nd Pressure regulating valve O-rings and Vanos Filter being changed:
AndyWatsonE85Z4M42.jpg

--------

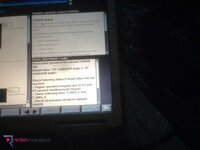
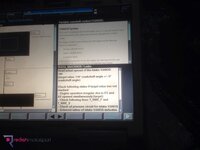
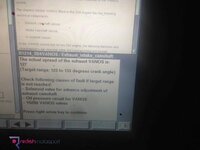
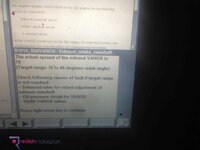
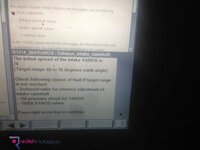
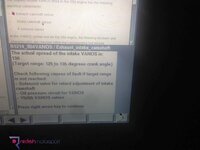
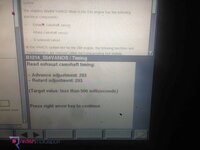
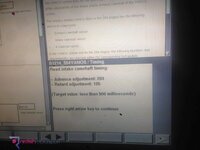
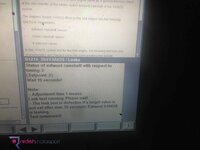
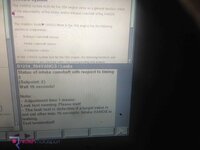
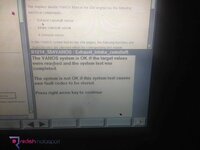
As of yet, nobody has been able to carry out a Vanos test on this particular Z4M. Not the customer, not us trying INPA, not other independents.
However we did get some version of a Vanos test using DIS, but this is laid out different to the E46 S54, and also was tempermental as to when it would produce the test report.
However, we persevered and were able to pictures these sets of results.

This is a report carried out before work started on day 1:
AndyWatsonE85Z4M43.jpg

AndyWatsonE85Z4M44.jpg

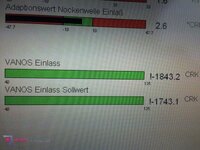
This is an INPA picture showing we also had exactly the same Inlet cam readings as Andy's first pictures. Identical.
This picture of ours was taken before work was started on the morning of day 1.
I might be wrong, but I believe Andy's picture is taken after the work was completed.
AndyWatsonE85Z4M45.jpg

--------

These are the only reports we could get at the end of day 2 after the Vanos Overhaul was completed:
AndyWatsonE85Z4M46.jpg

AndyWatsonE85Z4M47.jpg

AndyWatsonE85Z4M48.jpg

AndyWatsonE85Z4M49.jpg

AndyWatsonE85Z4M50.jpg

AndyWatsonE85Z4M51.jpg

AndyWatsonE85Z4M52.jpg

AndyWatsonE85Z4M53.jpg

AndyWatsonE85Z4M54.jpg

Most of our S54 engine special tools you see laid out here were used for this job.
Genuine BMW Special Tools
Genuine BMW Parts
Genuine BMW Dealer & Factory Training
AndyWatsonE85Z4M55.jpg


If you have any questions please let me know and I'll be happy to answer.
If you don't get a direct response from me, it's because I'm not on the forum daily, therefore please call us in the workshop on 01179 781889.

Best regards,
James :)
 
very impressive!! think ill give you guys a try in 2015 :-) simpson have always been awesome for me but sometimes its good to forge new relationships!
 
Superb work. I'm glad I don't have an //M now, I took me ages on the M54 engine without having to play with the timing.
 
Back
Top Bottom