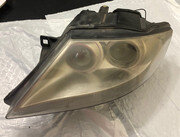
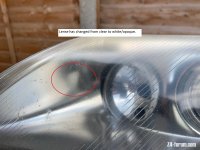
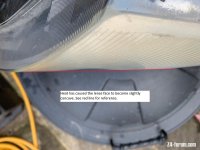
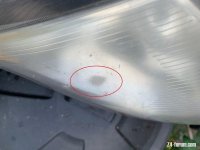
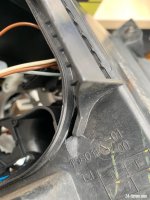
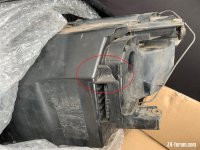
I thought I'd share my work to stop the ongoing and reoccurring water condensation in my 2007 Z4 xenon headlights. Two mechanic shops refused to attempt this, and BMW wants to sell me a complete headlight assembly for $500.00. The headlight works fine. This is a simple $4.00 rubber gasket fix, but that's the BMW way: don't offer an inexpensive remedy when you can sell a $1,000.00 replacement. I wonder why we have a throw-away consumer culture. :|
Lacking a lift, a paid the mechanic for 2 hours of labor to remove and reinstall the bumper and both headlights. I was surprised to see a fair amount of dirt particles and small stones inside the headlight assembly. I got some of them out simply by tilting the headlight this way and that. There was also some old gasket making material (either rubber butyl or silicone) on a portion of each headlight seam. I further noticed what appeared to be mineral buildup on one joint of one headlight, the sort that appears around water faucets from the dissolved minerals in the water. No wonder I had condensation.
I will be sealing:
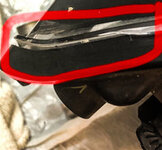
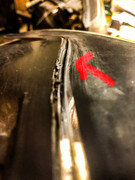
1. The joint around the clear headlight lens,
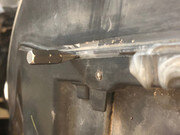
2. the joint around the rear headlight bulb cover (It can be easily slit and reapplied if a bulb goes out),
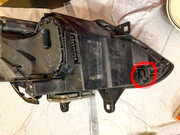
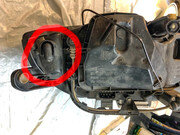
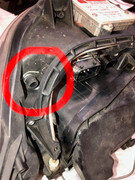
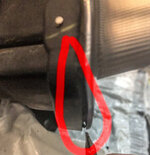
3. the three apparent "weep/air/drain holes" around the top of the headlight. I will circle them in red in the photos. BMW put drain holes at the top, when the water pools in the bottom. Typical BMW move. This is why my convertible roof hydraulic motor continually floods with water: poor drain design and placement.
Things I used:
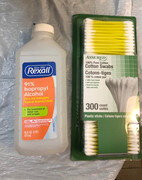
91% isopropyl alcohol to clean up the joints to be sealed.
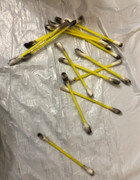
Q-tips to get in the nooks and crannies to ensure they are clean and the silicone will stick.
a cotton rag to cleanup the areas around the joints suing the alcohol.
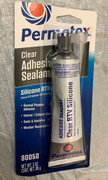
Permatex clear adhesive sealant silicone RTV
I used the rag and q-tips, soaked in a little alcohol, to clean the joints from the bottom up. By that, I mean I cleaned the bottom of the headlight so that any liquid alcohol squeezed off of the q-tip or rag would not drip into the gap inside the headlight. Alcohol evaporates quickly, so by the time I flipped the headlight over to clean the other side, the joint I cleaned was dry.
I then allowed both headlights to sit for a few hours in a warm room, to increase the curing of the slilicone when I apply it. The room was heated to 70 degrees F / 21 degrees C.
I will post photos below once I find a photo hosting site.
I welcome all comments, questions and suggestions. I will update this thread periodically to let you know if my fix worked long term.
