
Before reading this guide and carrying out any work please consult the BMW service manual. Ensure the vehicle is always supported in the safest possible way. Never support a vehicle using a jack, in any circumstances. I accept no liability for the work you carry out based on this guide. Wear eye protection and foot protection at all times!
Before going ahead with this:
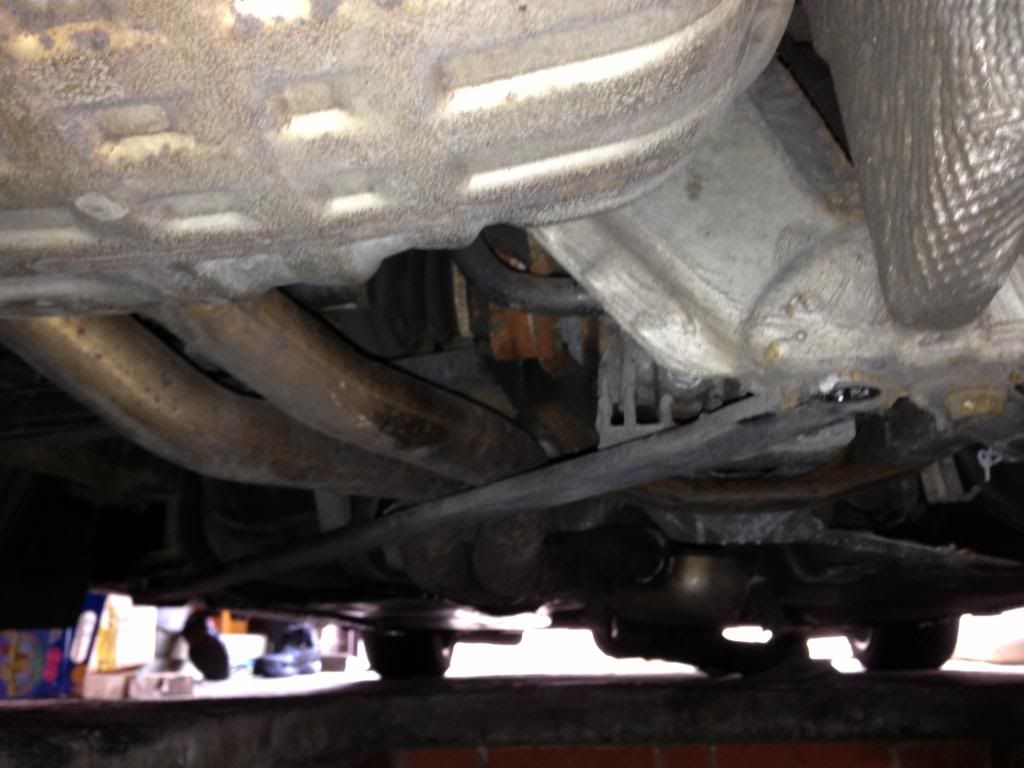
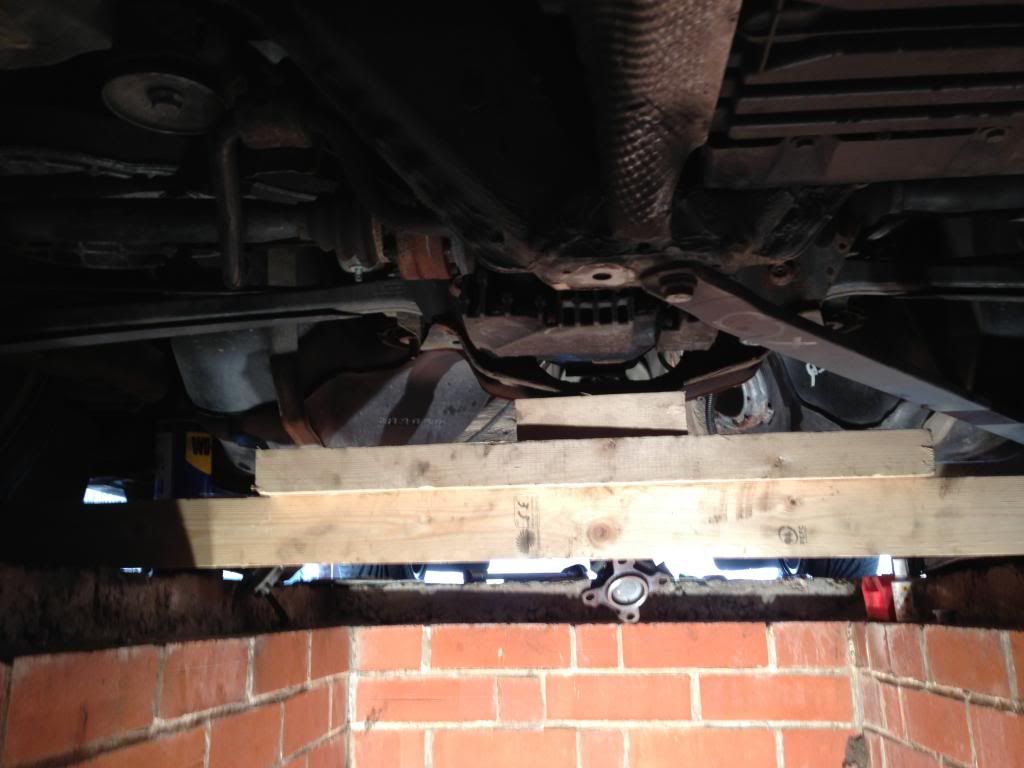
In reality you need a pit of to have it up on ramps to get this done, as you also need to remove the aluminium bracing around the diff housing as this allows the prop shaft to be dropped so you can gain access to the input flange properly.
Removing this bracing requires the removal of the two main support bolts which fasten the diff housing to the subframe - which gives need to support the diff housing (pictured later on).
Notes on the exhaust removal
You will need to remove the full exhaust to do this - its not too bad a job at all - the only bit that's a pain is the following:
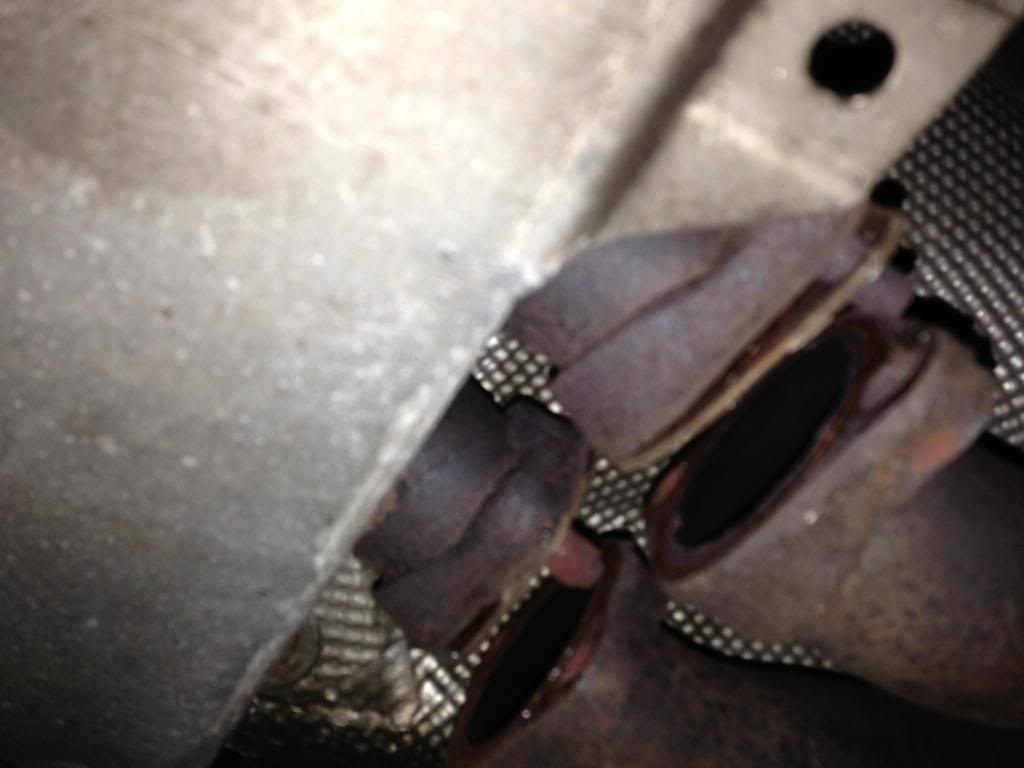
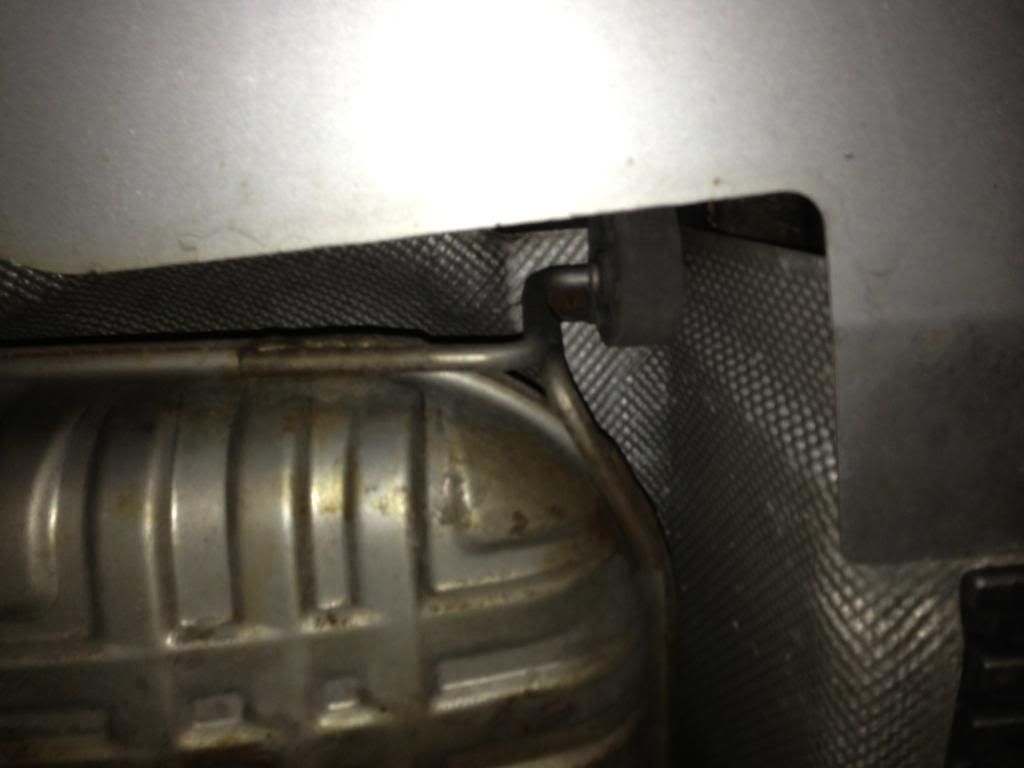
Before you start also be aware that the exhaust flange at the front of the car, under the driver's side (just behind the cat.) can be a pig to remove. An absolute pain. There are 4 studs pressed in. Once removed I fitted 4 off M10 grade 10.9 bolts with nuts, a new gasket and some sealant.
I think the BMW replacement bolt for this are made from a Nickel alloy (probably Inconel or equivalent) and are stupidly expensive. I can't justify this expense. Carbon steel fasteners will be fine. IF for any reason you every need to replace these, they can be easily drilled out unlike the OEM studs.
Changing Diff Oil
Now I changed my diff oil. This is up to you. It is not necessary. Most are sealed for life (mine is but changed for reasons I'll explain later).
The parts you will need are as follows:
For the Diff:
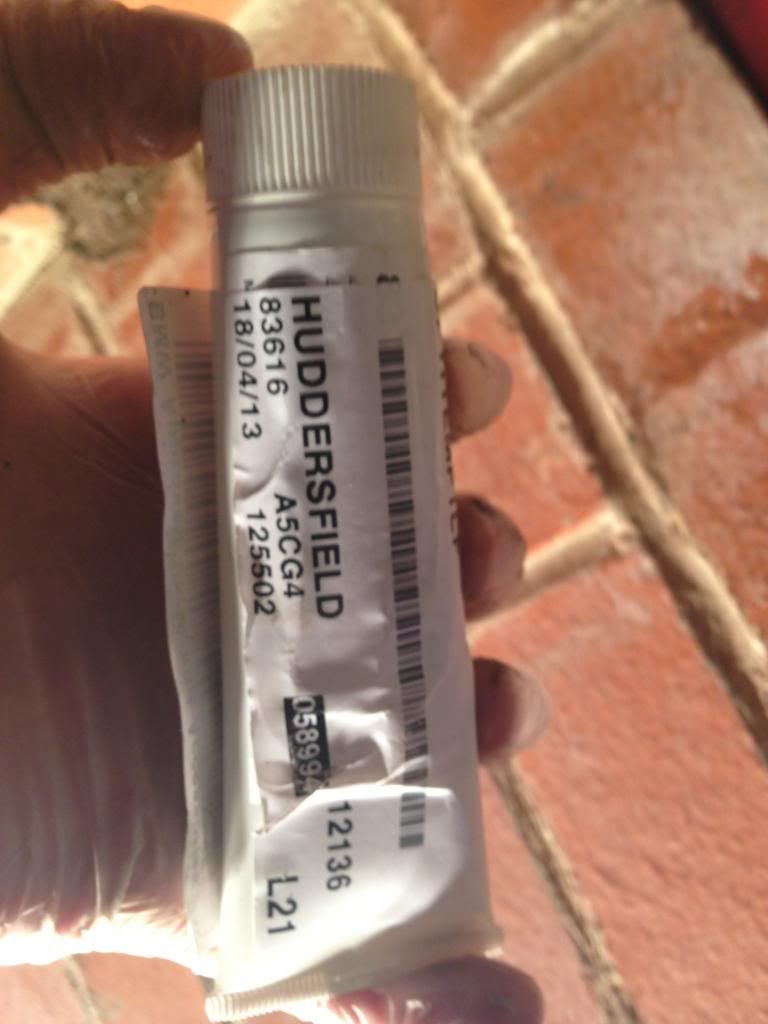
1 x grease (see pic)
1 x securing nut (fits over the locknut) - 23211490120
1 x oil seal (if fitting - check compatibility for your model!!) - 33101214099
4 x prop shaft drive bolts
2 x exhaust gasket - 18107502346
4 x M10 Gr 10.1 Nuts and bolts (need to check lengths)
Here's a pic of the grease
Step 1
Remove all under body panels and heat shield.
Step 2
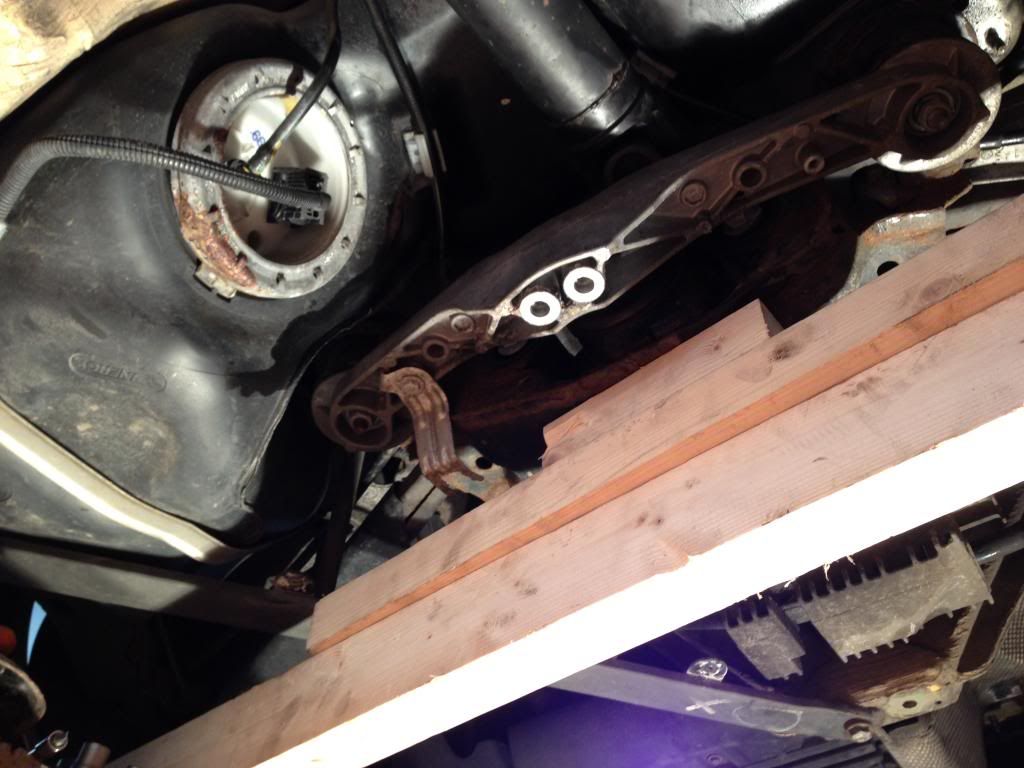
Remove the rear support beam - consult BMW service manual for tightening torques and procedure to ensure this is done safely.
Step 3
Remove the exhaust:
Remove the nuts from the front flange (under the drive's side). These sheared off when I did it and had to drill them out.
Support the exhaust
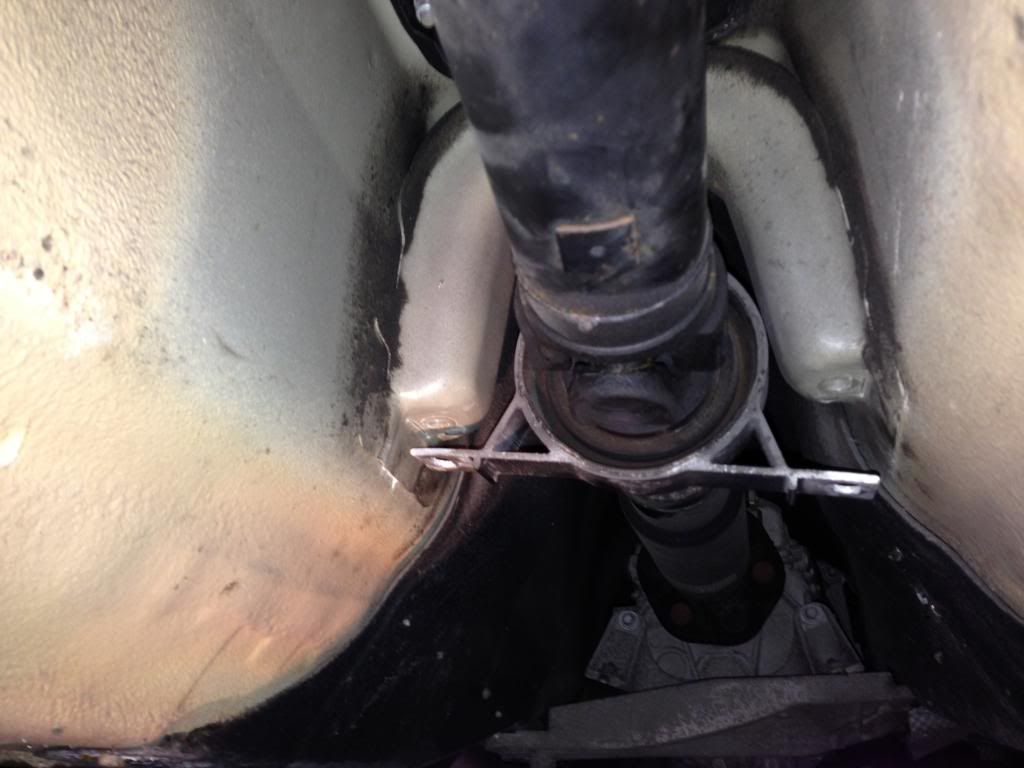
You will need to remove the rear rubber mounts
You can now slide the exhaust out to the rear.
Step 4
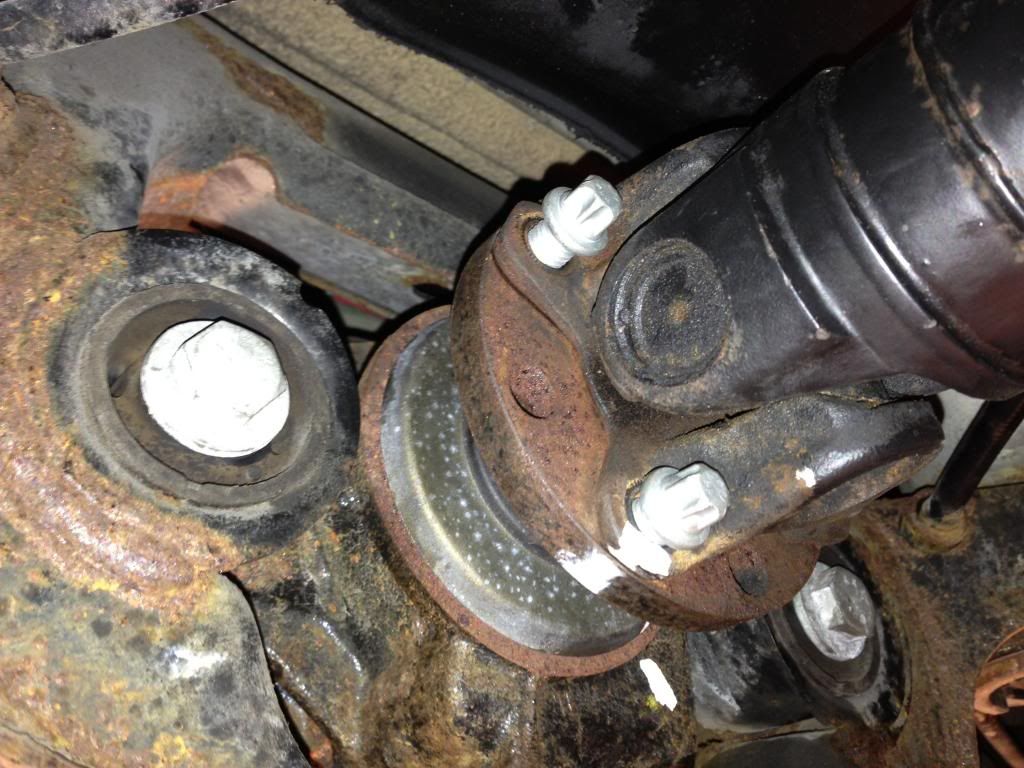
Mark the position of the prop shaft with tippex (This isn't strictly necessary as the units are balanced individually - but I think its best to do this to avoid any variables)
Remove the 4 bolts which secure the prop shaft joint to the input flange. These shouldn't be too tight. These bolts must be replaced and set to the correct torque on replacements. See the BMW service manual for tightening torque for you model.
The prop shaft will now be free. Support the shaft and do not let it drop - and mind your head!
Step 5
Removing the bracing
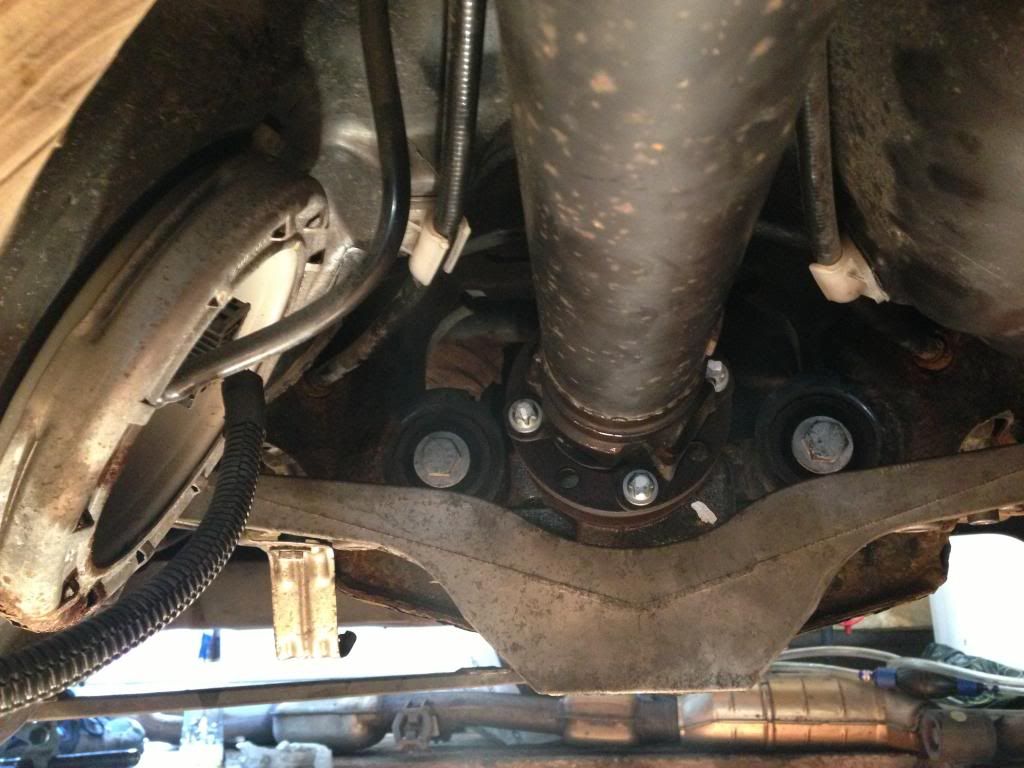
There's an aluminium bracing under the diff restricting access to the drive flange.
To remove this, safely support the weight of the diff
Unbolt the 2 bolts holding the diff to the sub frame
Step 6
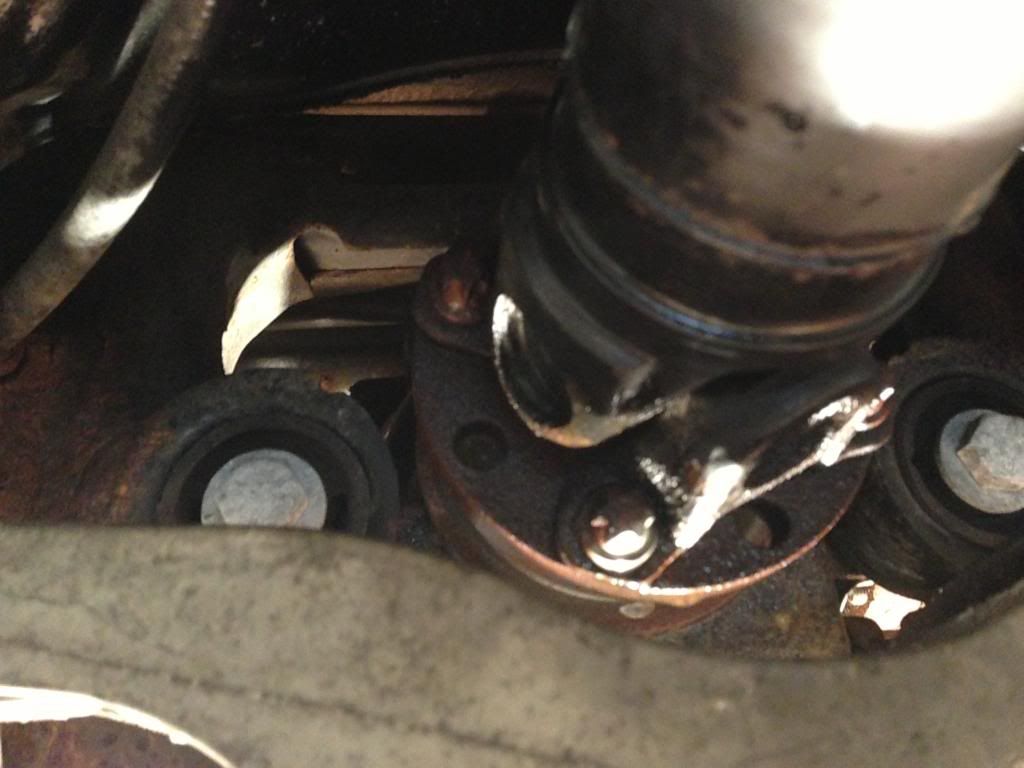
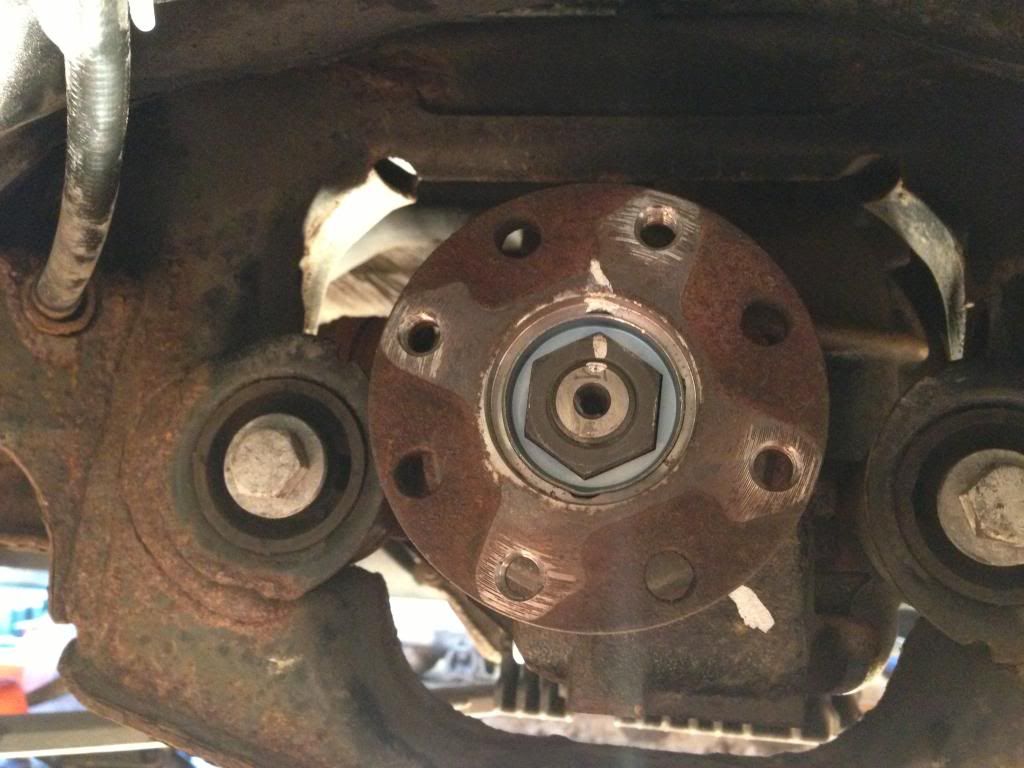
Remove the securing washer.
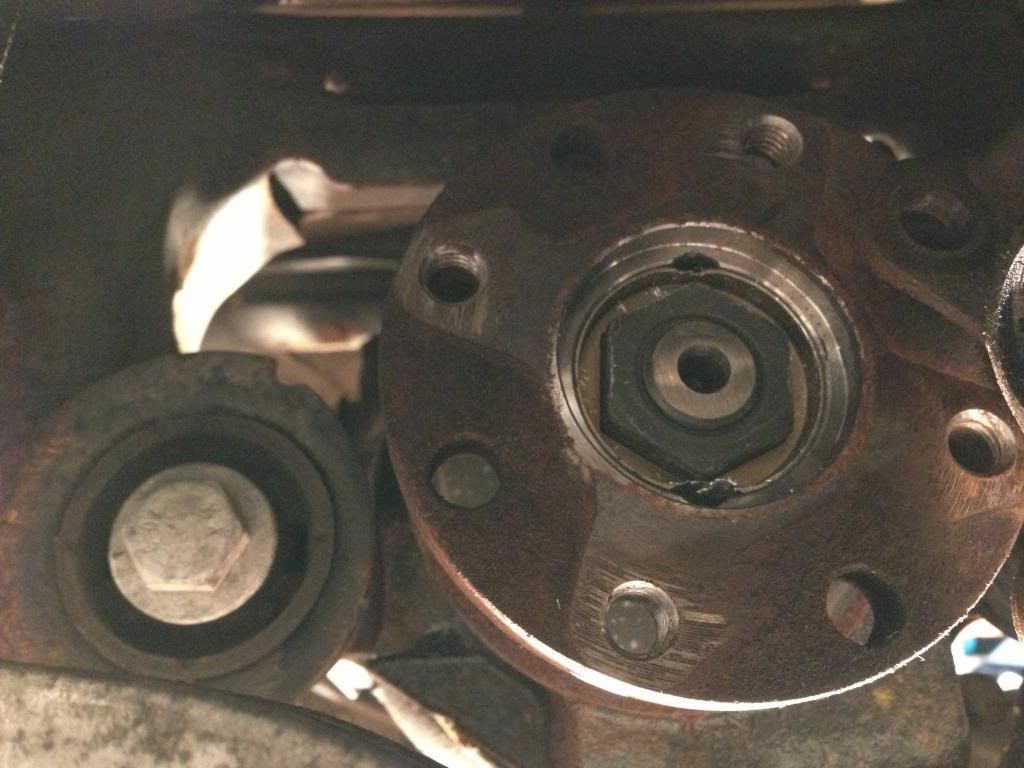
Mark the position of the nut with a centre punch or tippex (as I did) and undo it. I used a torque wrench to get a 'feel' of the tightening torque before undoing it.
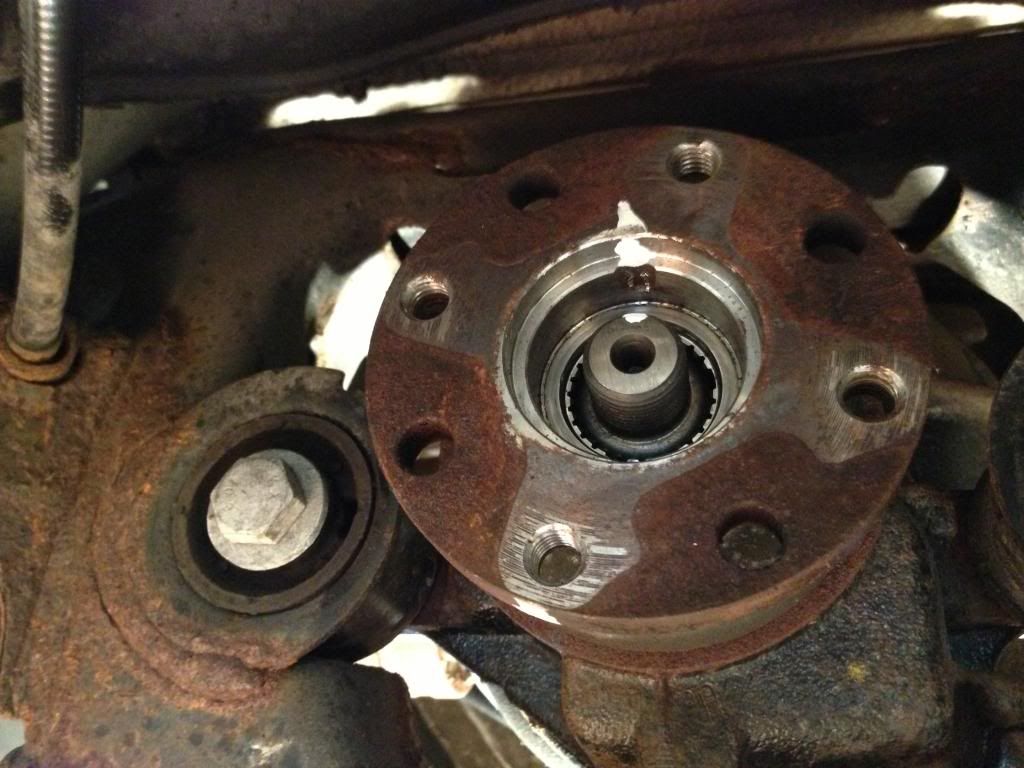
Step 7
Remove the drive flange
This came off easily - if this isn't the case, careful use of a bearing puller will shift this.
You can remove the oil seal and replace. I didn't bother doing this. I applied a small amount of general purpose grease to the seal lip before reassembly.
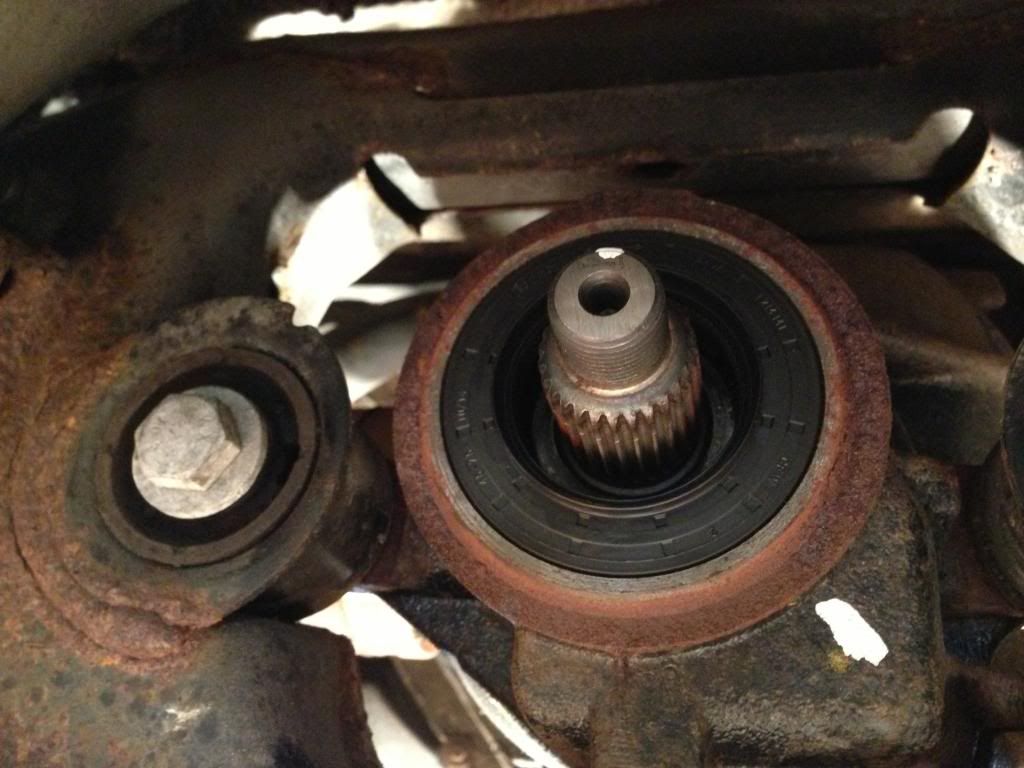
Step 8
Give the drive flange a good clean
Apply grease to the back face of the drive flange - see BMW service bulletin for picture
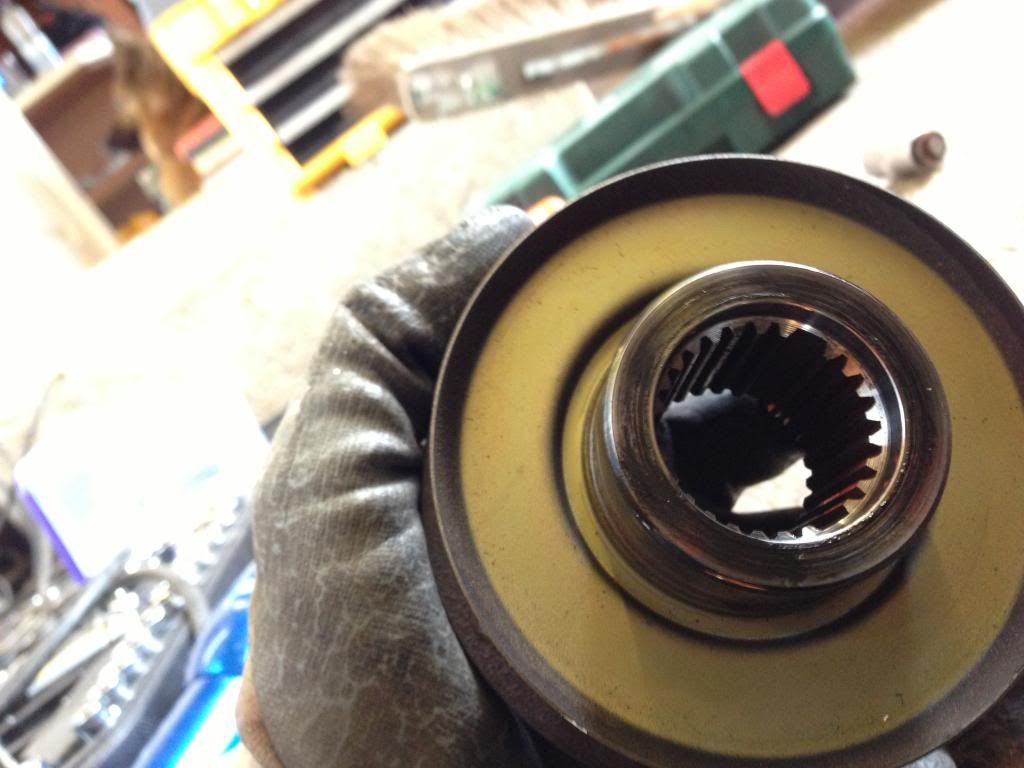
Slide the drive flange back on the splined shaft
Step 9 - refitting
Refit nut - tighten and position back to where you marked it.
Fit new washer over lock nut
Re fit prop shaft - ensure new bolts are fitted and tightened to the torque specified by BMW
Re fit the bracing on the diff and tighten to BMW specified torque.
Re fit heat shields
Re fit exhaust
Re fit under body panels
Enjoy quiet driving!