

And now I thought that I could do a little DIY thread for you guys and girls
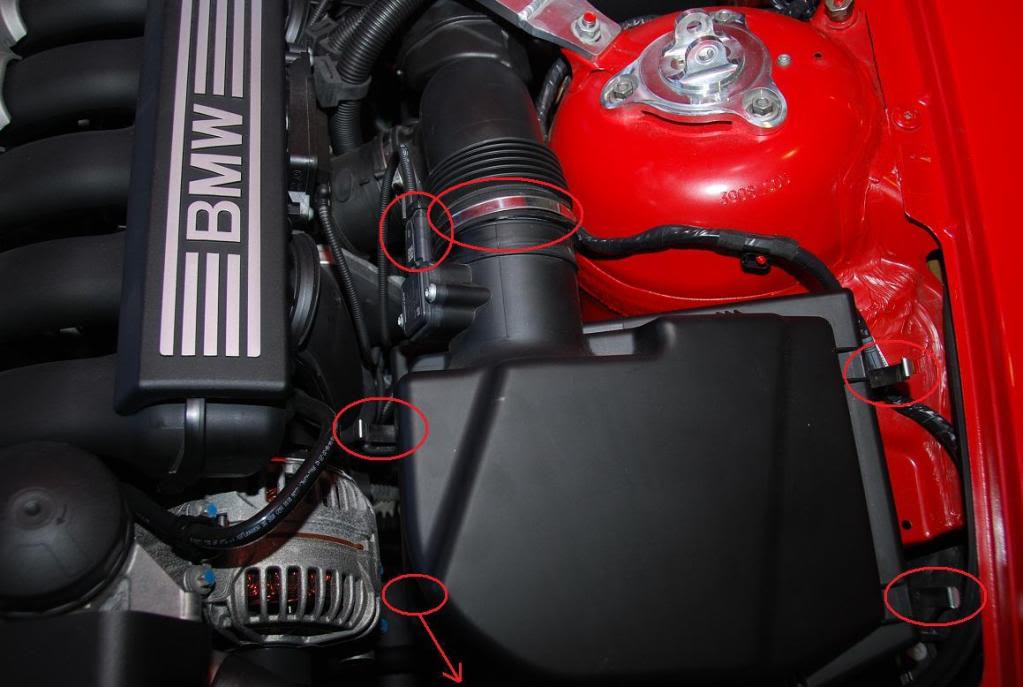
So first a picture of the OEM filter box

To remove the top lid you have to loosen the 4 metal clips around.
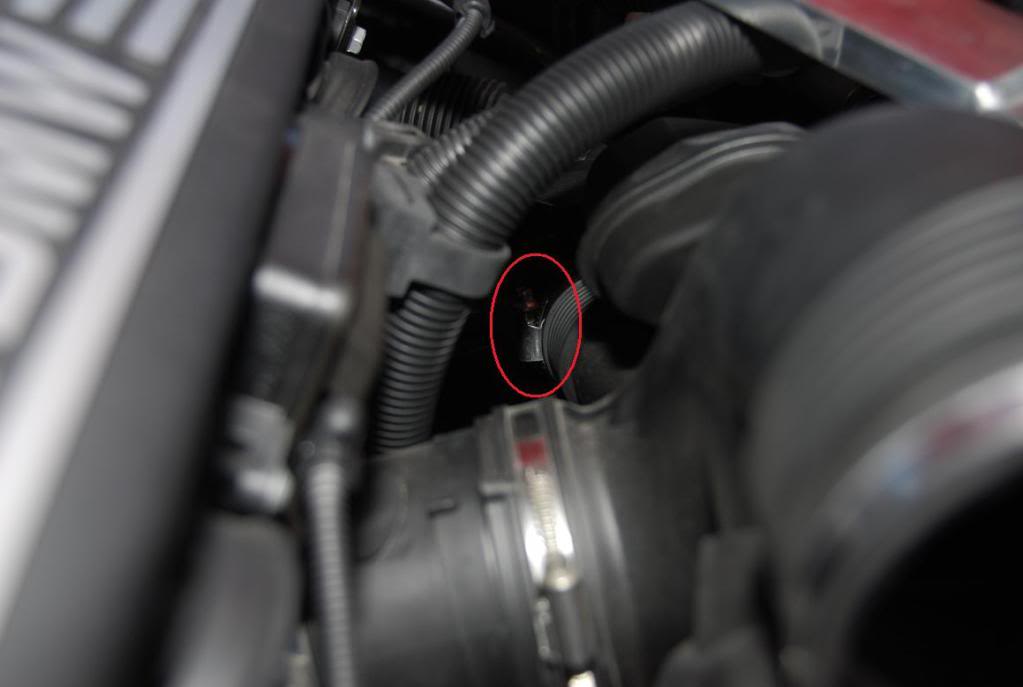
Then unplug the MAF sensor and loosen the hose clamp on the tube that goes backwards.
Top lid and OEM filter removed:

Now you can just pull up the bottom og the filter housing. This one is just fasten with two rubber rings put over two plastic plugs.

Then you need to remove these two plastic plugs and a round rubber block.
The plastick plugs was a little tricky to remove since I didnt know how they came apart.

As you can see the plug has two parts. You need to pry the one piece to the side to unlock it. Then you need to twist the whole plug a little to get them out of the hole.
than you need to loosen some more metal clamps.
One for the hose that goes in to the engine:

Then one a little further back towards the firewall:

This is for the soundgenerator that is installed on the 3.0si´s.
Another shot of the clamp:
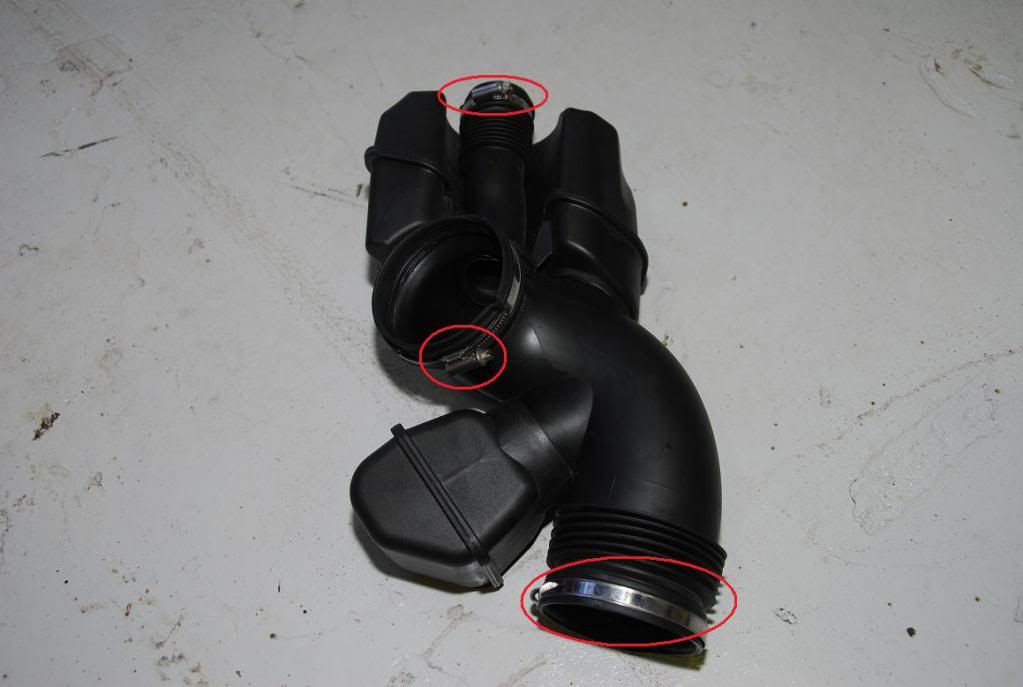
Then you can remove the biggest part of the tube:

A shot that showes better where the hose clamps are located:
Next step is actually not necessary. I wanted to remove the pieces of foam that is located inside the soundgenerator to get a little more sound in to the interior.
Here you need to remove a Torx T25 screw that holds the last piece to the engine:

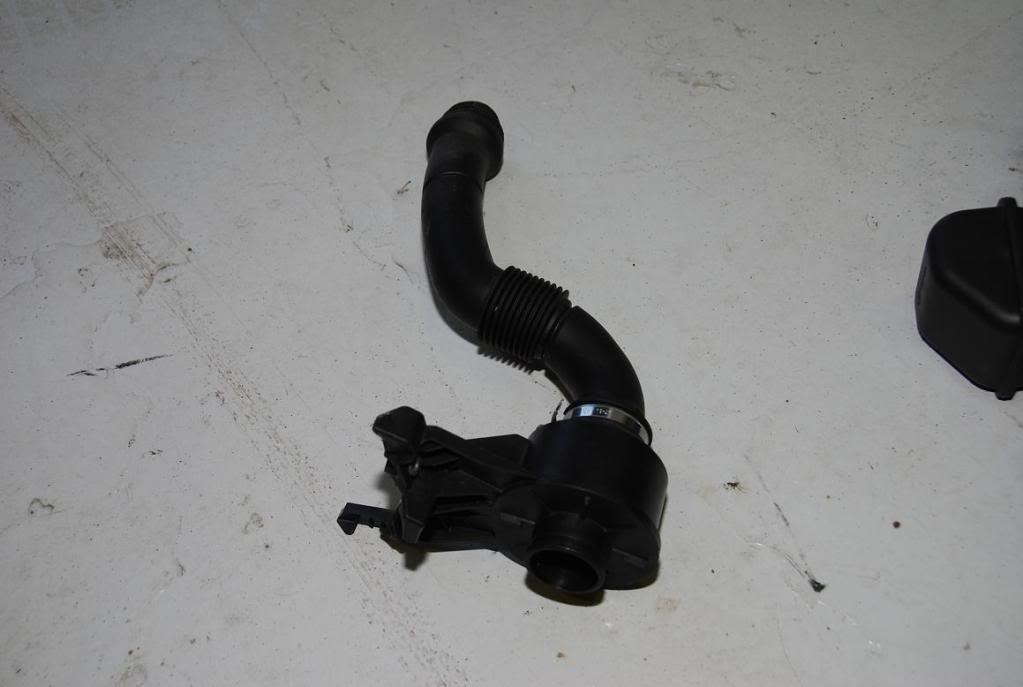
Here you can see the last part of the soundgenerator that goes in to the firewall:

Here is the last part removed:
loosen the last hose clamp to dismantle the last bit to get to the blocks of foam:

There is one piece of foam in both ends of the tube:


Then reinstall the last piece you removed (without the foam). Remember the Torx screw.

Now for the main pieces.
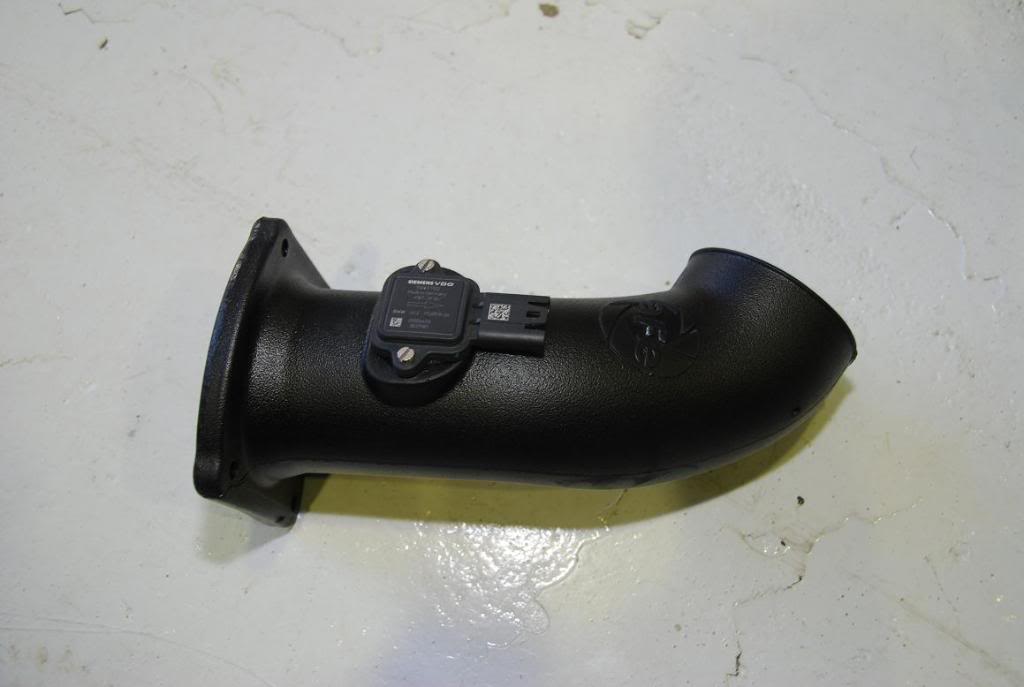
Gently remove the MAF sensor. Do not touch the little wire in the center of the white plastic. It breaks easily.

Then you can find this tube in the AFE kit and also find the gasket and two screws the is included in the AFE kit:

Put the gasket like this on the MAF sensor:

And install it the correct way on to the tube:

then you can bring out some more AFE parts.
The lower big shield, a gasket, 4 pcs. screws with washers and the adapter for the filter.

Then place the tube that you installed the MAF sensor to and line it up like in the picture. remember the gasket between the tube and the shield.

Align the adapter so it fits nicely to the hole in the shield and the tube:

Now I got a little excited and forgot to take pictures of how the shield is mounted to the car. :sigh:
There is a rubber tube with the kit that is going between the plastic tube with the MAF sensor and the engine. Mount this to the plastic tube before you put the shield in. Remember to place the metal clamps before installing the kit.You can fasten the one that mounts the plastic with the rubber tube.
Now you can put the whole shield in to the enginebay.
There are some holes in the shield all the way in the bottom that should go over two screws that is welded to the chassis that sticks upwards. You see what I mean when you look down there
And remember to plug in the MAF sensor.

Remember to place the rubber tube to the engine side and align the metal clamp in a way that you can reach it and fasten it.


Then you can take out the air filter and the largest hose clamp that was in the AFE kit.
Just mount the filter to the adapter and fasten it with the clamp.
As you probably have seen, there is a little dry filter included wit hte AFE kit. This is for the sound generator. Its just there for filtering the air so you dont get any dust in to your cabin.
This is mounted with a hose clampe just as the large filter.


Finally place the top lid with the nice logo on to the shield and fasten it with the 4 hex bolts that you have left from the kit. I hope you didnt lose them
Tadaaaaa!!!

So now crank up your engine and warm it up before taking a nice drive with high revs :thumsup: And remember to push the SPORT button :happyanim:
Thanks for watching!