
Not joined yet? Register for free and enjoy features such as alerts, private messaging and viewing latest posts and topics.
Martyn's Z4M Coupe
-
Beedub

- Lifer

- Posts: 11011
- Joined: Wed Sep 10, 2008 2:25 pm
- Location: Sutton Coldfield
Martyn's Z4M Coupe
great read! love what your doing buddy!
www.topwrapz.com - Multi Award Winning - Detailing | Vinyl Wrap | Paint Protection Film Specialists |
-
Martyn

- Member

- Posts: 203
- Joined: Mon Nov 25, 2013 9:41 pm
- Location: Poole, Dorset
- Contact:
Martyn's Z4M Coupe
A few of the bits have arrived so I got stuck in.
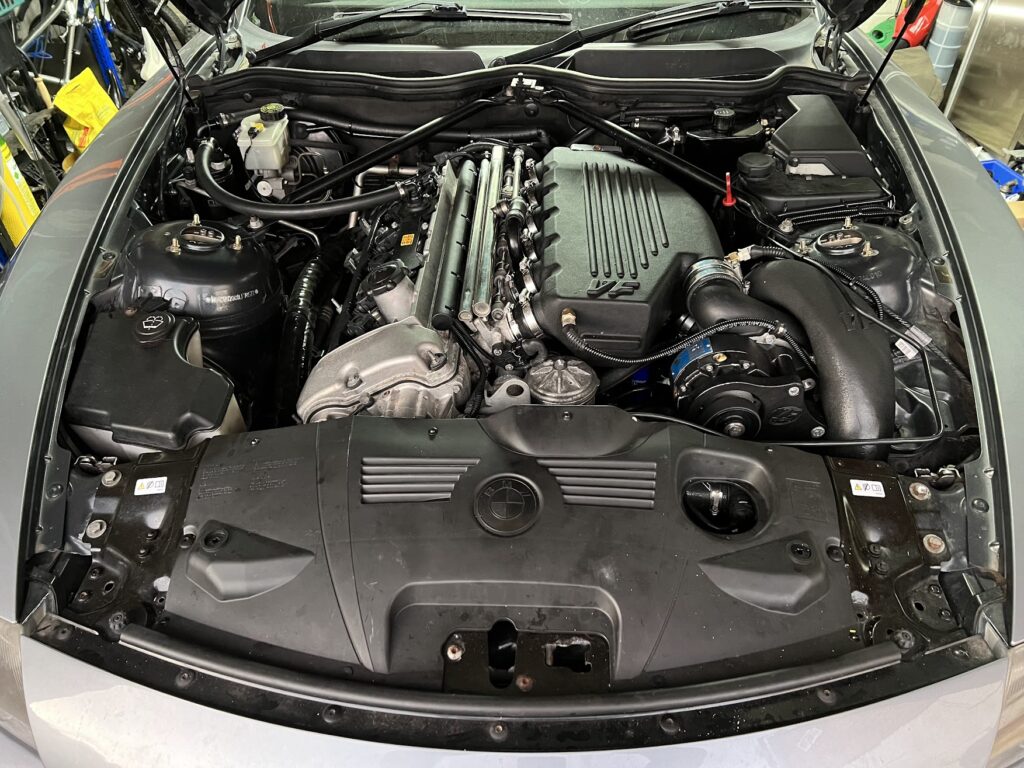
I decided to replace the stock VF supplied charge cooler pump with a Pierburg CWA100-3, which is a PWM controlled pump that moves a hell of a lot more water than the Bosch. I'm running it without a PWM signal which means it defaults to 95% flow.
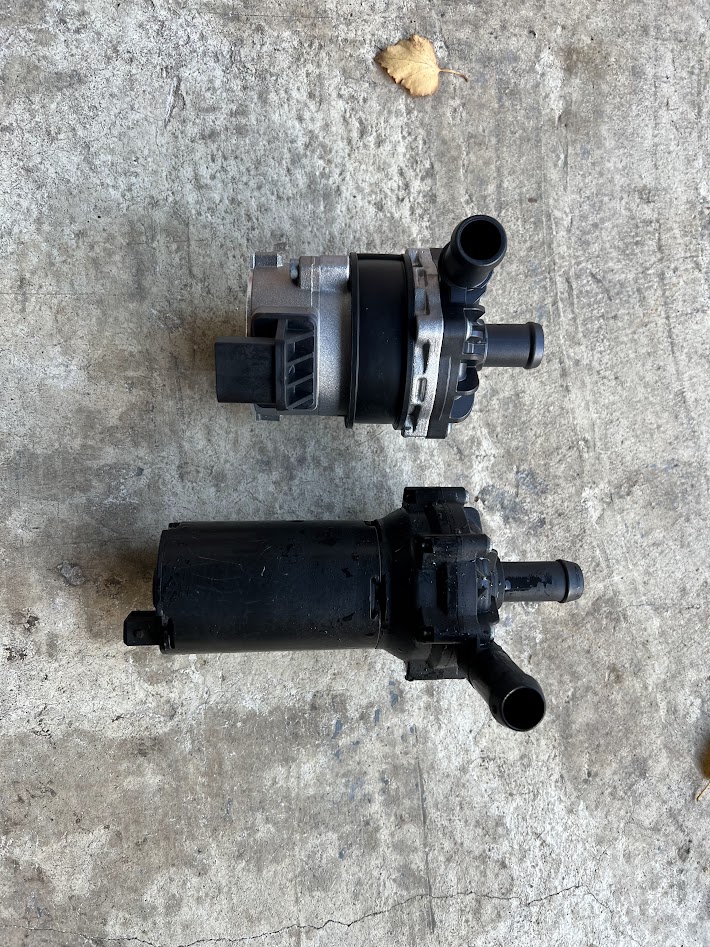
The Pierburg unit is shown above the Bosch unit.
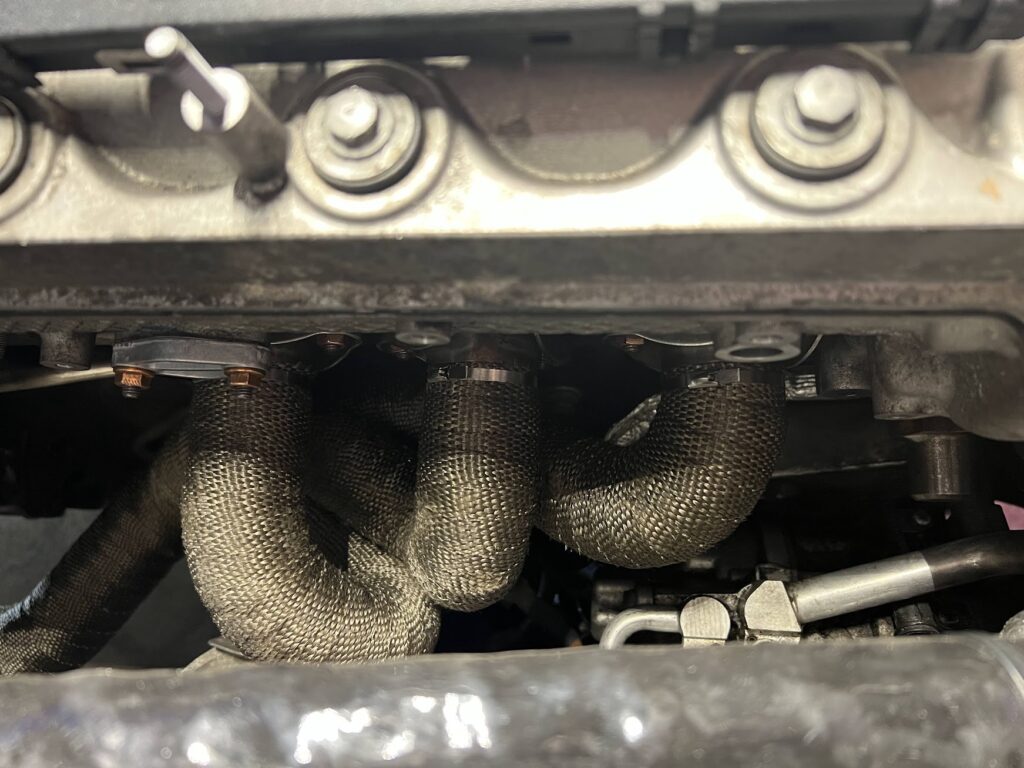
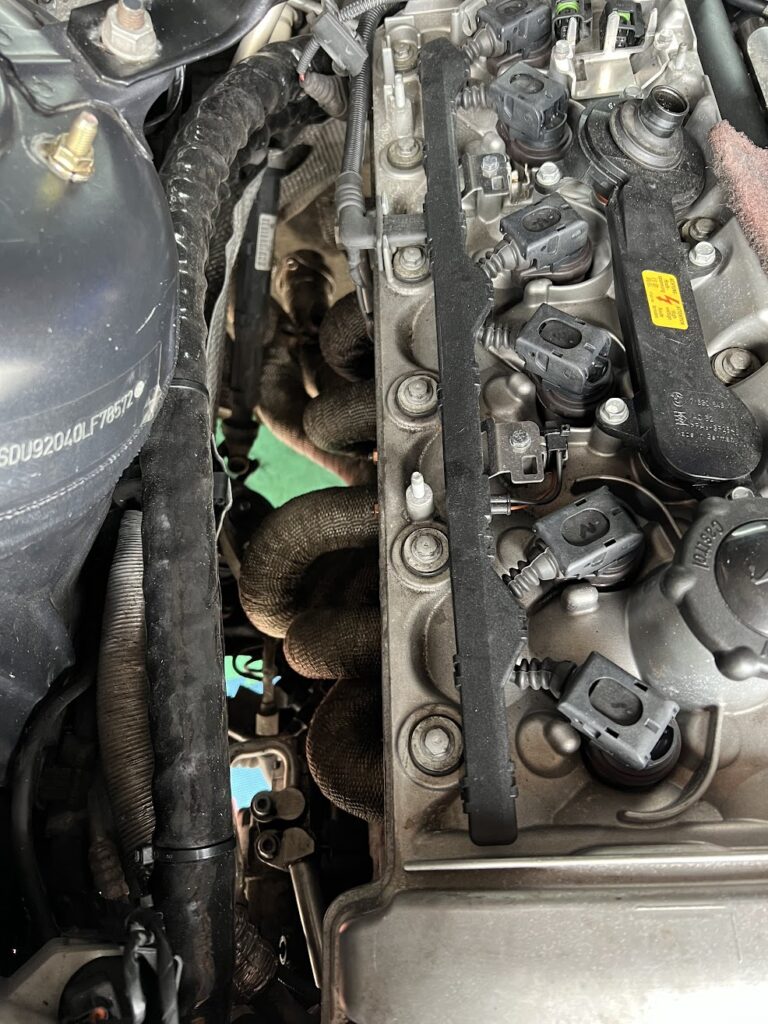
I then got stuck in heat wrapping the headers.

I'll wrap the second branch once the replacement arrives.
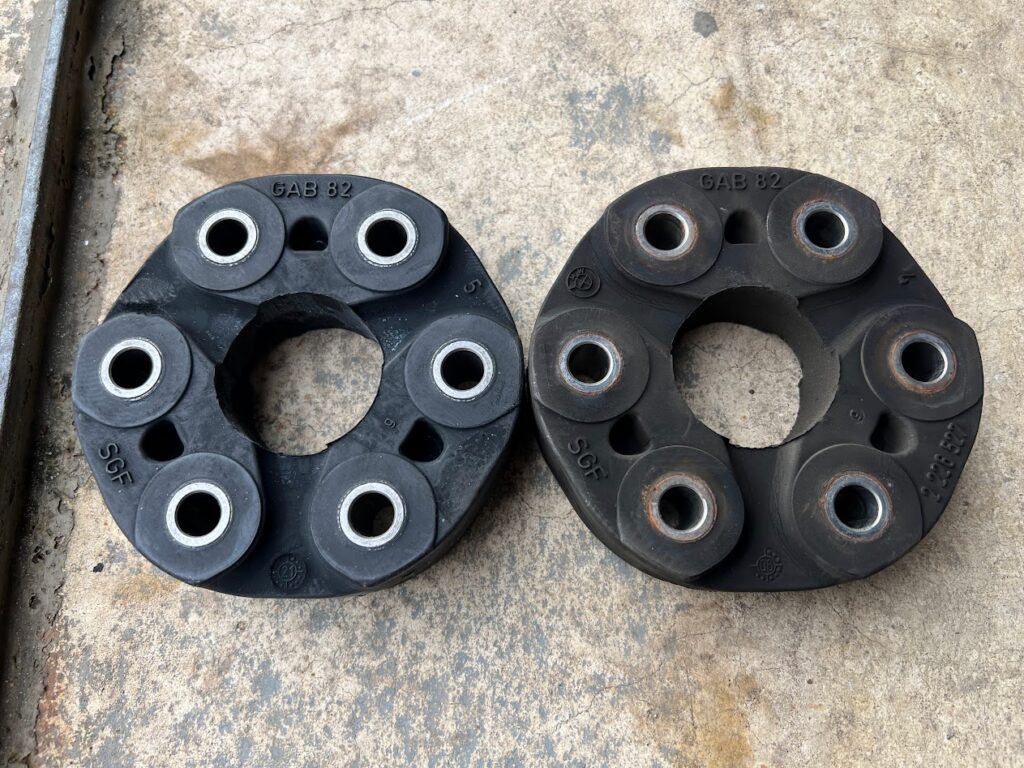
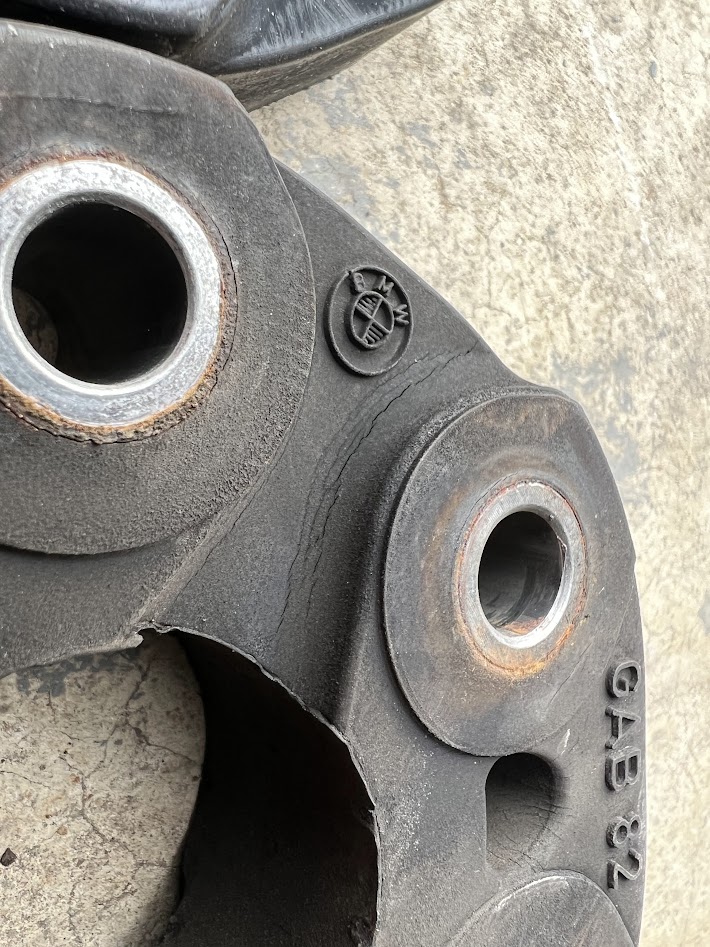
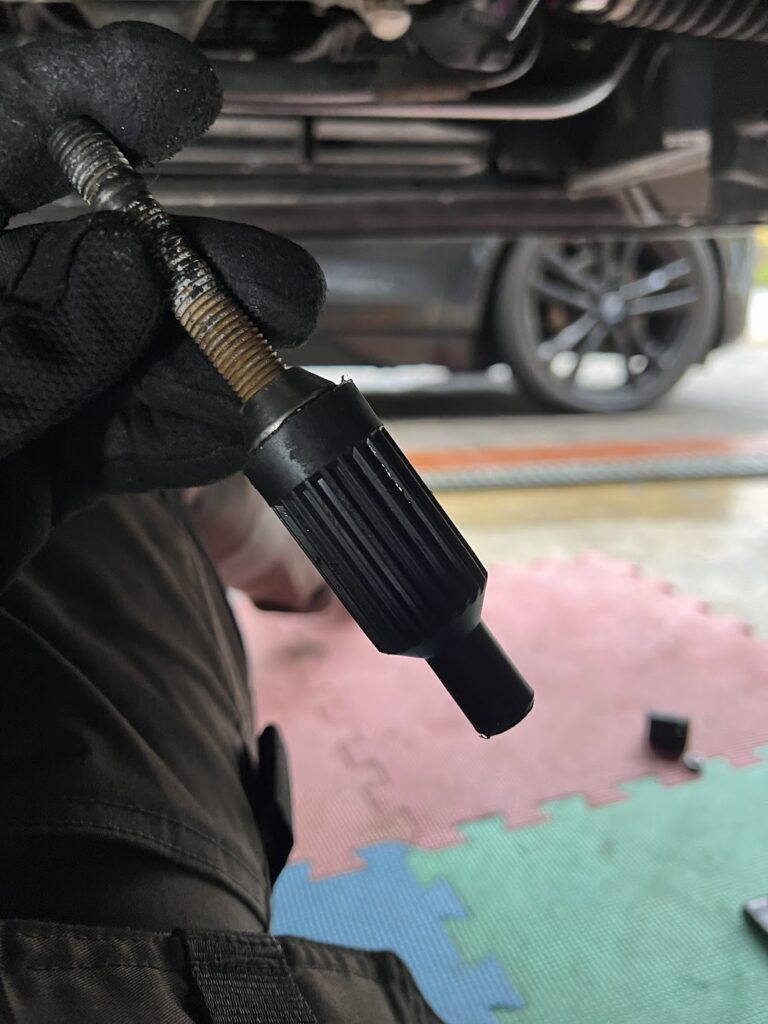
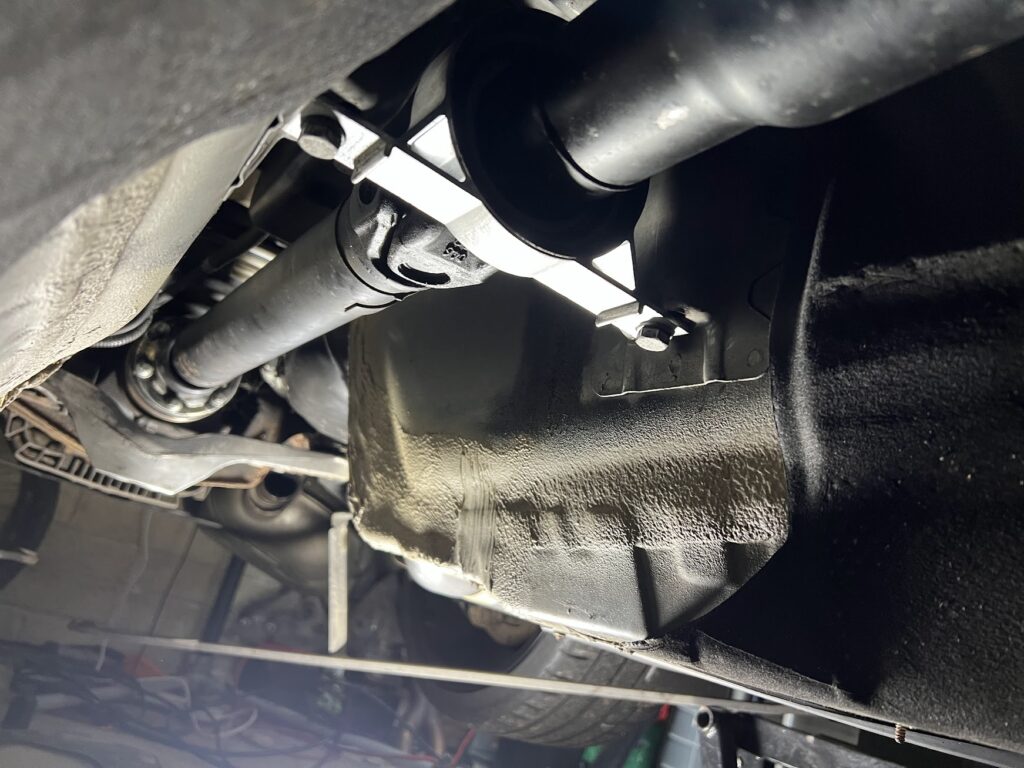
Then I dropped the rest of the exhaust and prop. I pulled the flex disc / guibo, which had minor cracking in the rubber.
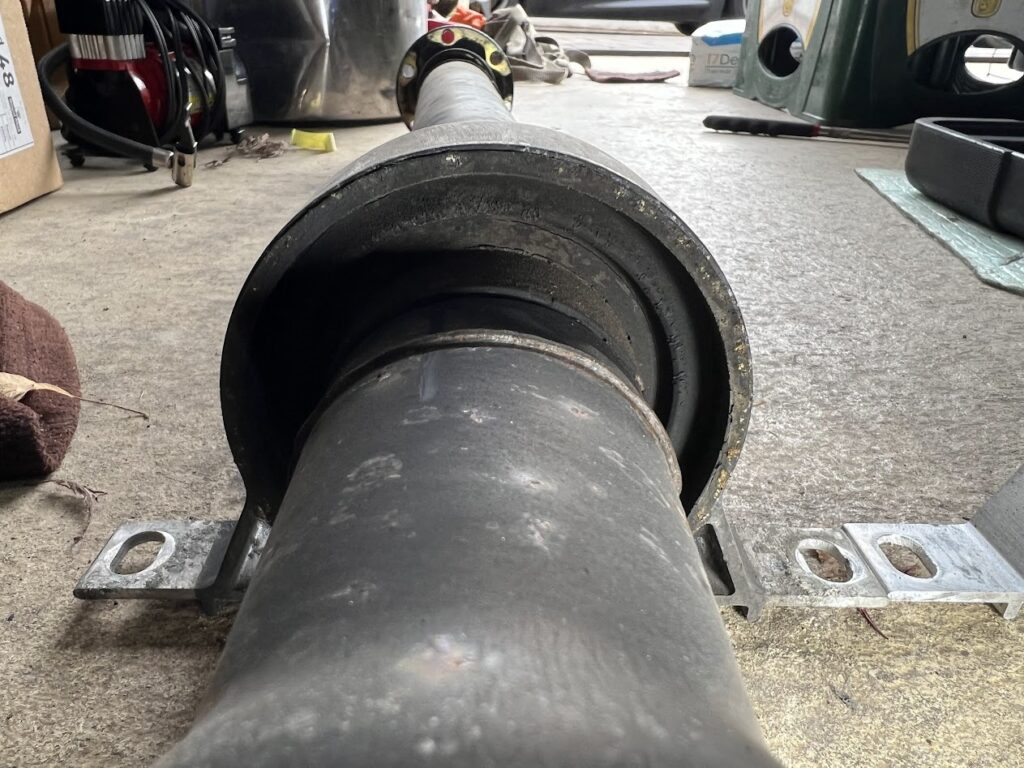
Whilst the prop was off I replaced the center bearing, which wasnt in bad shape but as the prop was off, it made sense to swap it anyway. The old CSB is shown below.
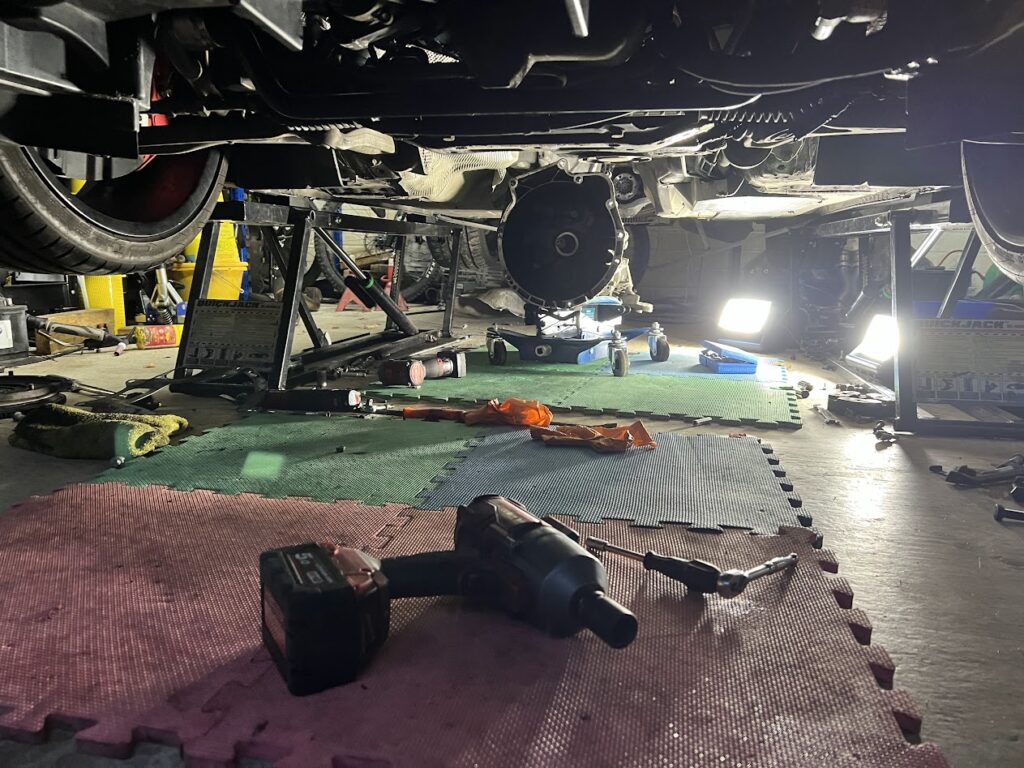
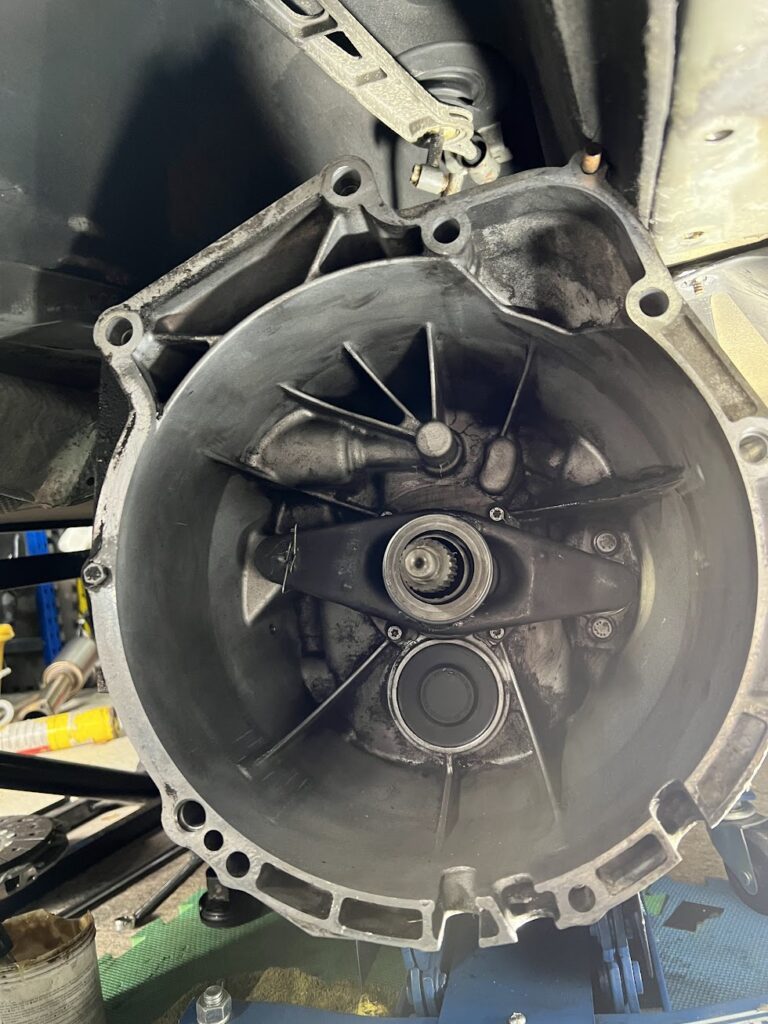
Next was on to dropping the gearbox.

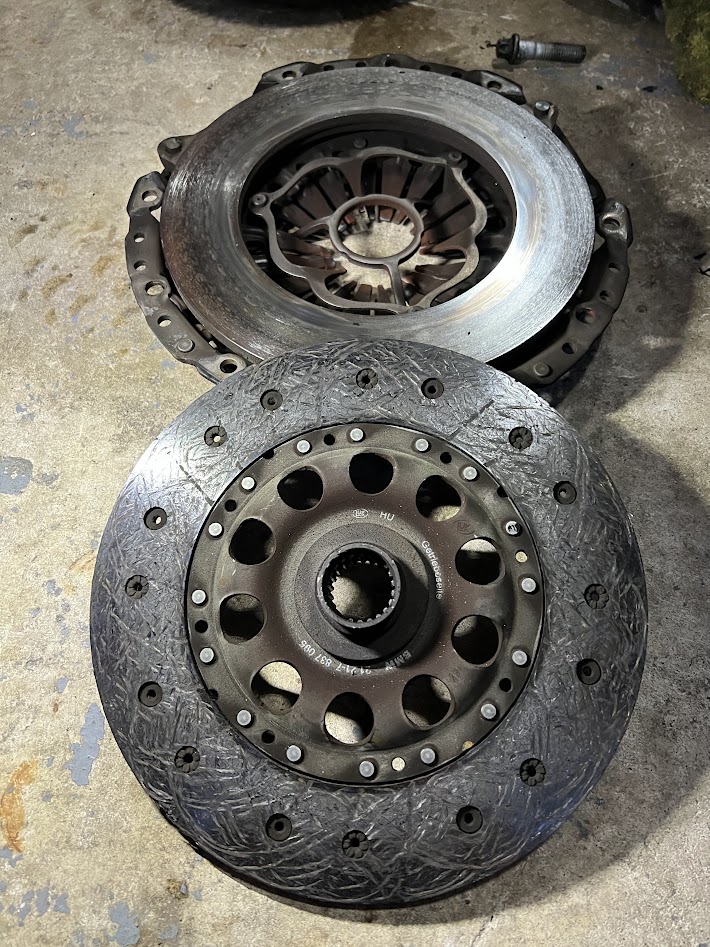
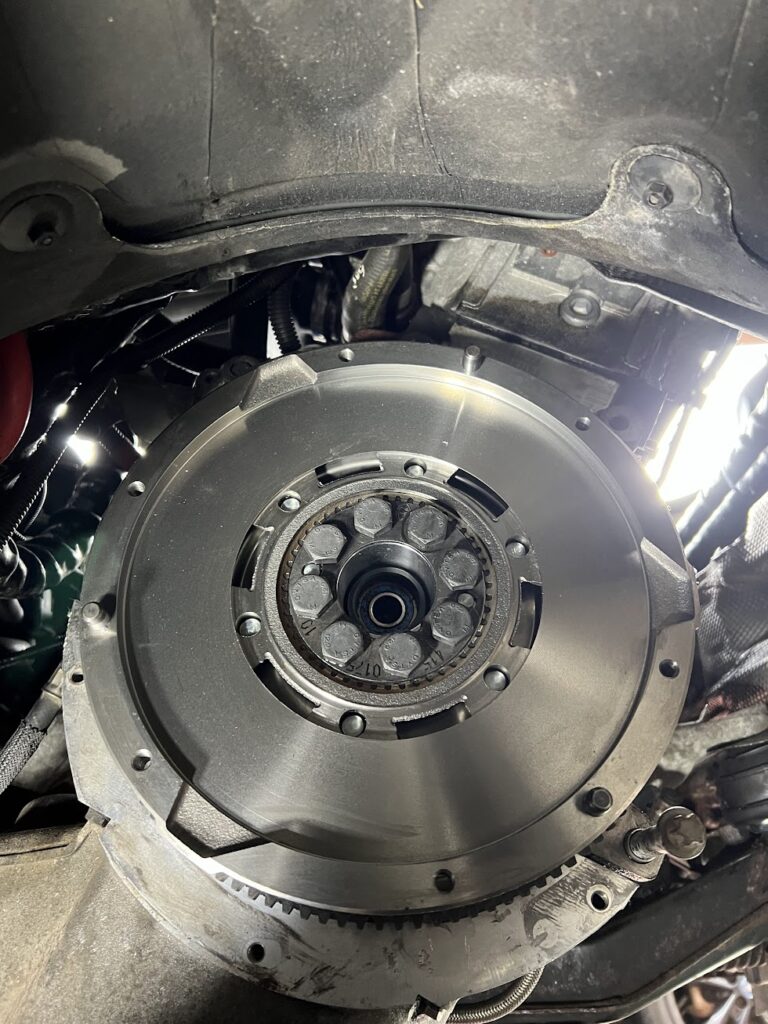
Clutch and pressure plate werent in terrible shape.
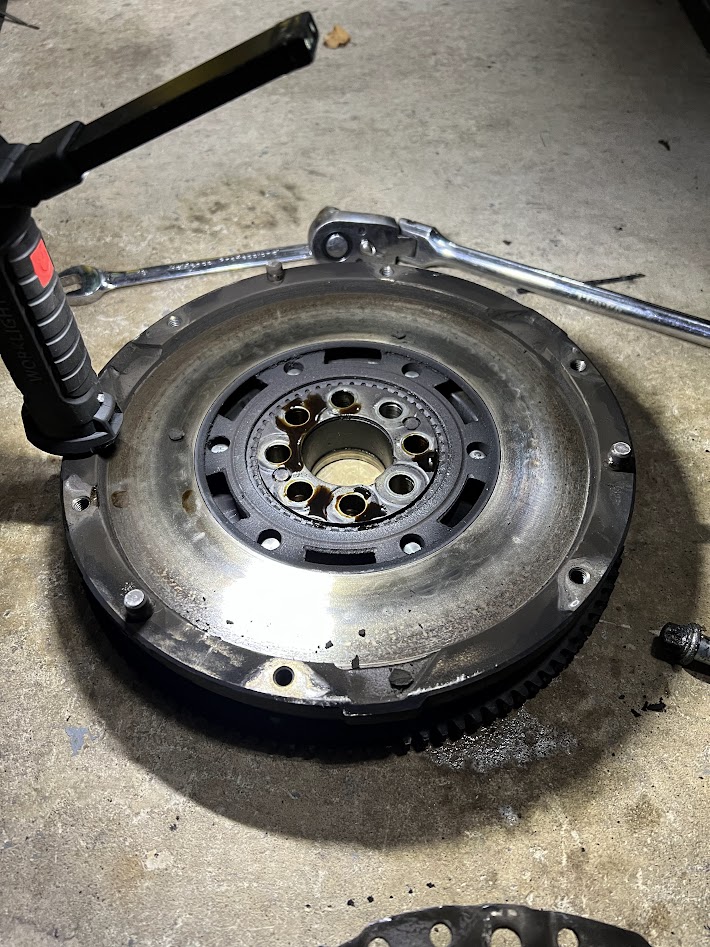
Flywheel
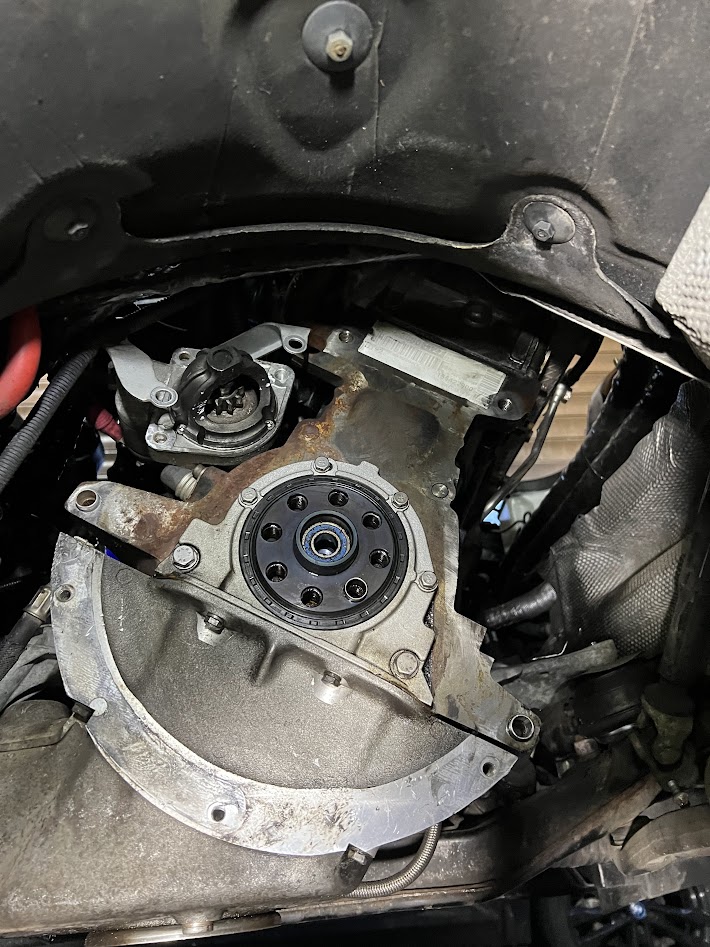
Rear main seal is in good shape with no leaks, so I'll be skipping the replacement of that.
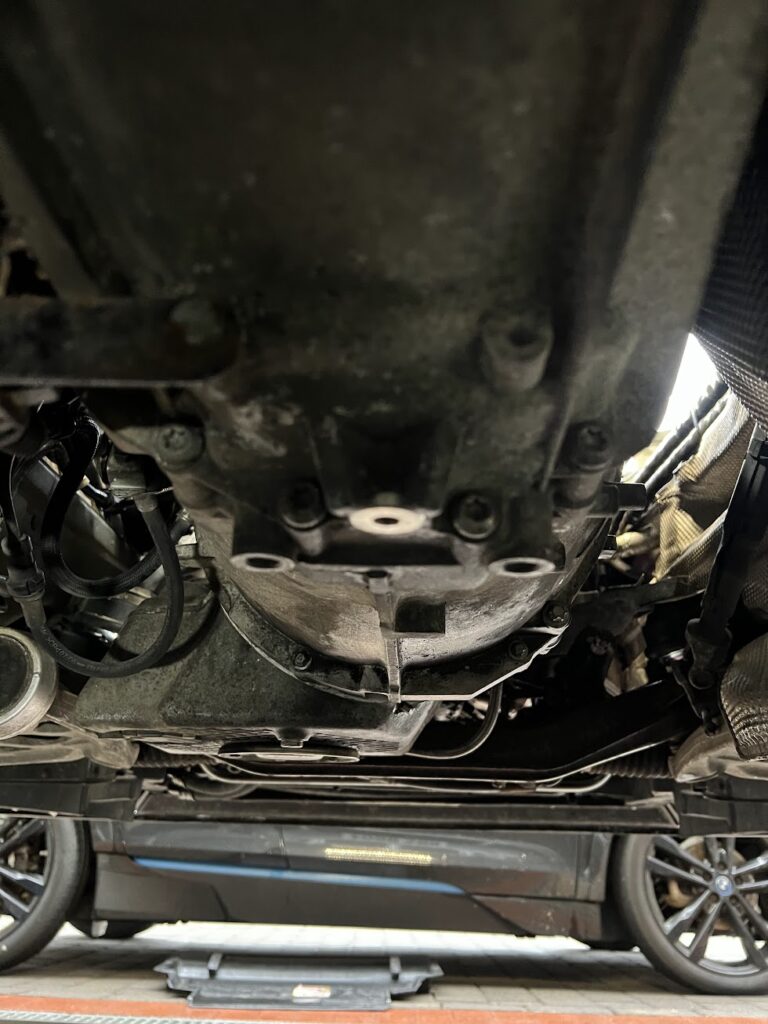
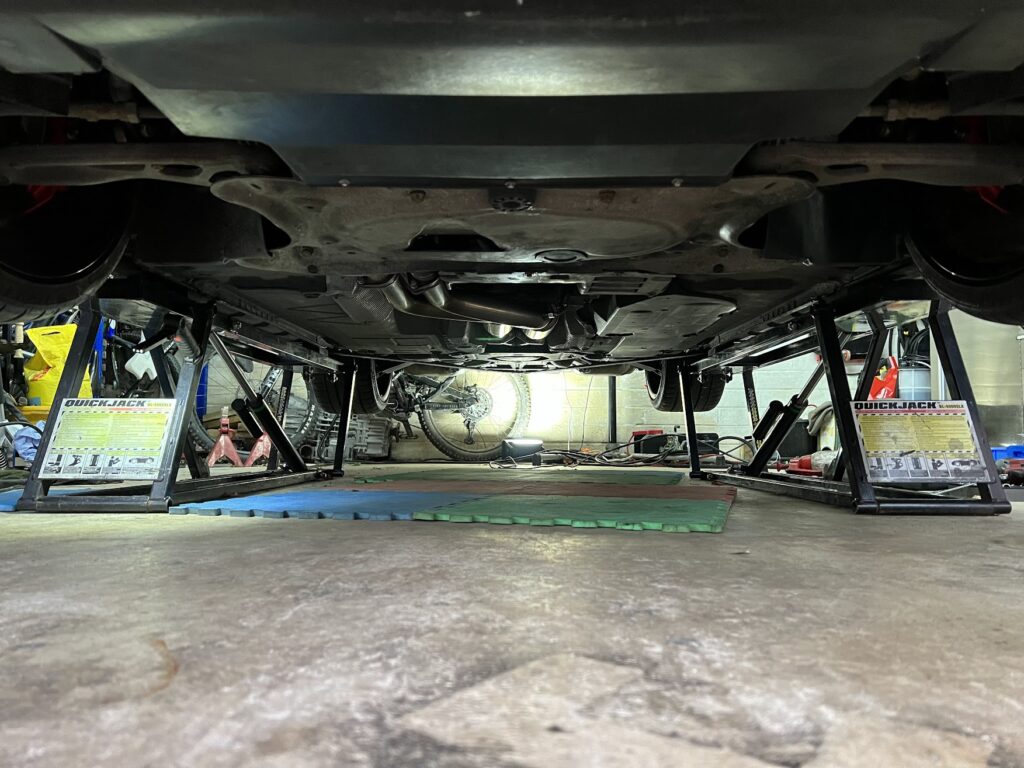
Words cannot describe how much I hate clutch jobs on my QuickJacks. The picture below shows how much room you have to work with.
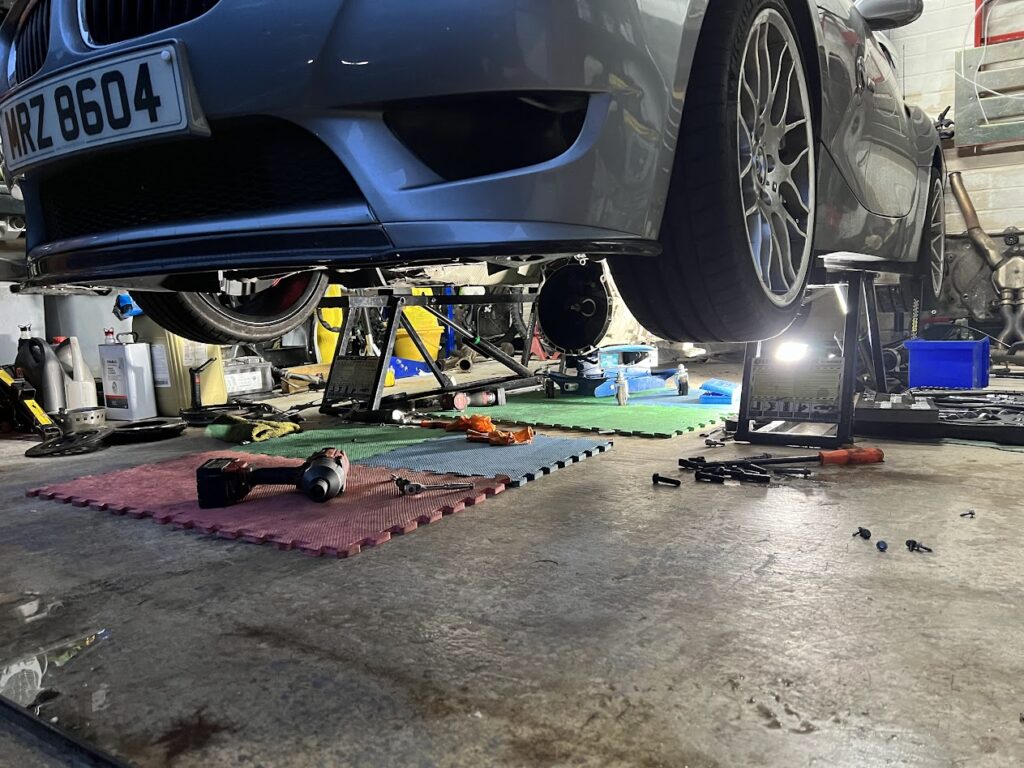
I hope to get the new clutch, fly and gearbox back on tomorrow depending how motivated I'm feeling.
I decided to replace the stock VF supplied charge cooler pump with a Pierburg CWA100-3, which is a PWM controlled pump that moves a hell of a lot more water than the Bosch. I'm running it without a PWM signal which means it defaults to 95% flow.
The Pierburg unit is shown above the Bosch unit.
I then got stuck in heat wrapping the headers.
I'll wrap the second branch once the replacement arrives.
Then I dropped the rest of the exhaust and prop. I pulled the flex disc / guibo, which had minor cracking in the rubber.
Whilst the prop was off I replaced the center bearing, which wasnt in bad shape but as the prop was off, it made sense to swap it anyway. The old CSB is shown below.
Next was on to dropping the gearbox.
Clutch and pressure plate werent in terrible shape.
Flywheel
Rear main seal is in good shape with no leaks, so I'll be skipping the replacement of that.
Words cannot describe how much I hate clutch jobs on my QuickJacks. The picture below shows how much room you have to work with.
I hope to get the new clutch, fly and gearbox back on tomorrow depending how motivated I'm feeling.
-
beanie
- Member

- Posts: 838
- Joined: Sun Aug 05, 2012 9:57 pm
- Location: Bournemouth/Turin
Martyn's Z4M Coupe
Great to see what you’re doing with the car Martyn, will be quite something with a charger strapped to it and all the other tweaks 
Do you do work for others or is it just on your own cars for pleasure/as a hobby?
Do you do work for others or is it just on your own cars for pleasure/as a hobby?

RUBYIMOLACARBON
-
Martyn
- Member
- Posts: 203
- Joined: Mon Nov 25, 2013 9:41 pm
- Location: Poole, Dorset
- Contact:
Martyn's Z4M Coupe
Thanks. It goes pretty well when it has traction lol.
I do a few bits and pieces like fitting CSL airboxes etc for local guys but my own cars keep me busy enough. The Z4M is my (ecuworx) development car so I need to know ever inch of it
Last edited by Martyn on Sun Nov 27, 2022 6:07 pm, edited 1 time in total.
-
Martyn
- Member
- Posts: 203
- Joined: Mon Nov 25, 2013 9:41 pm
- Location: Poole, Dorset
- Contact:
Martyn's Z4M Coupe
Got back on it today and made a bit more progress.
Flywheel on!
Gearbox cleaned up the best I could, then fitted the new pivot ball and release bearing.
Clutch and pressure plate fitted
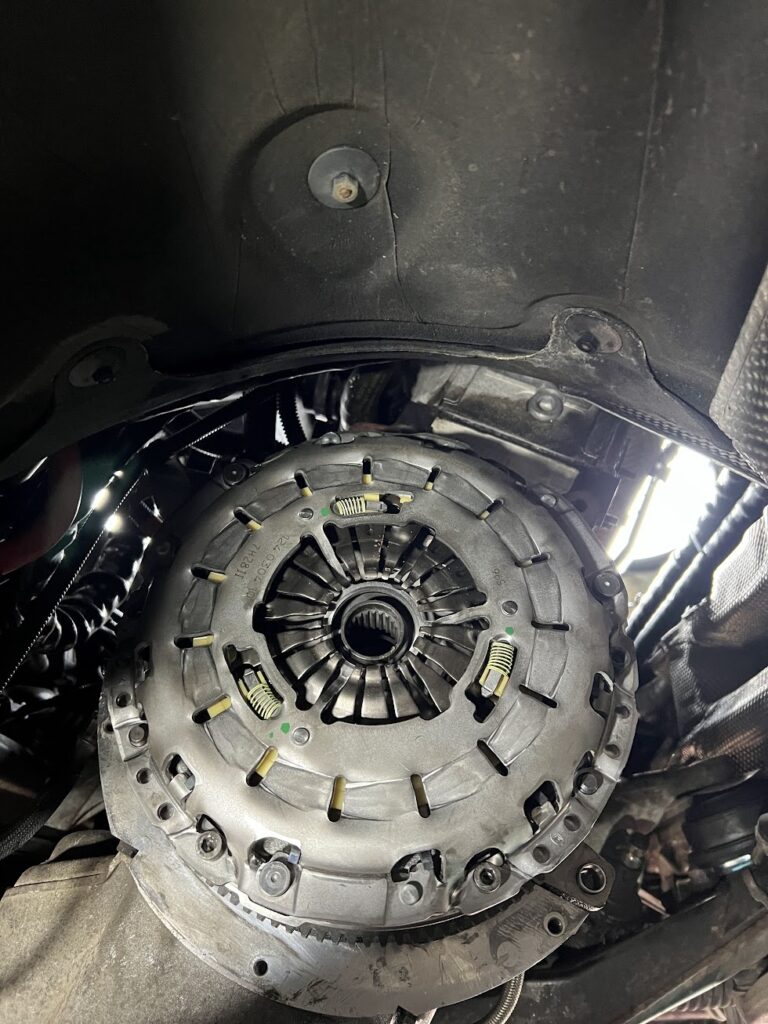
The clutch alignment tool that came with the clutch was useless, so I modified it

Gearbox back on
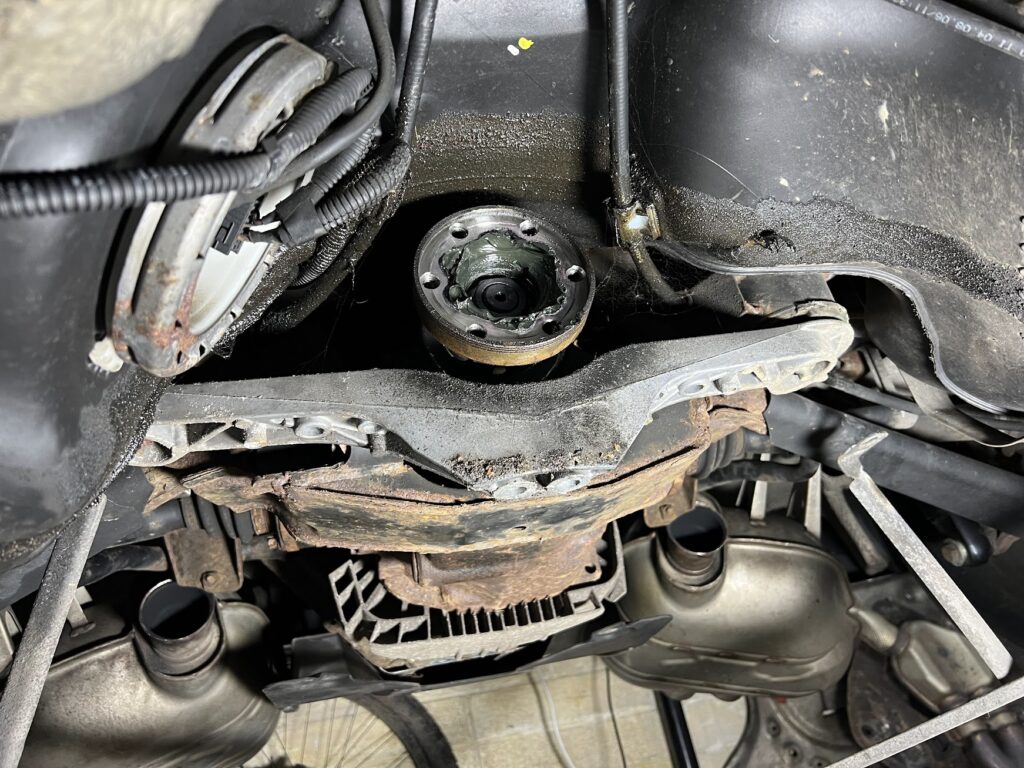
Check the state of the fuel tank, covered in CV grease! The specialist that replaced the gasket on the diff input flange didn't bother to clean up the mess!
After cleaning up the excess CV grease I bolted on the new guibo and fitted the prop.
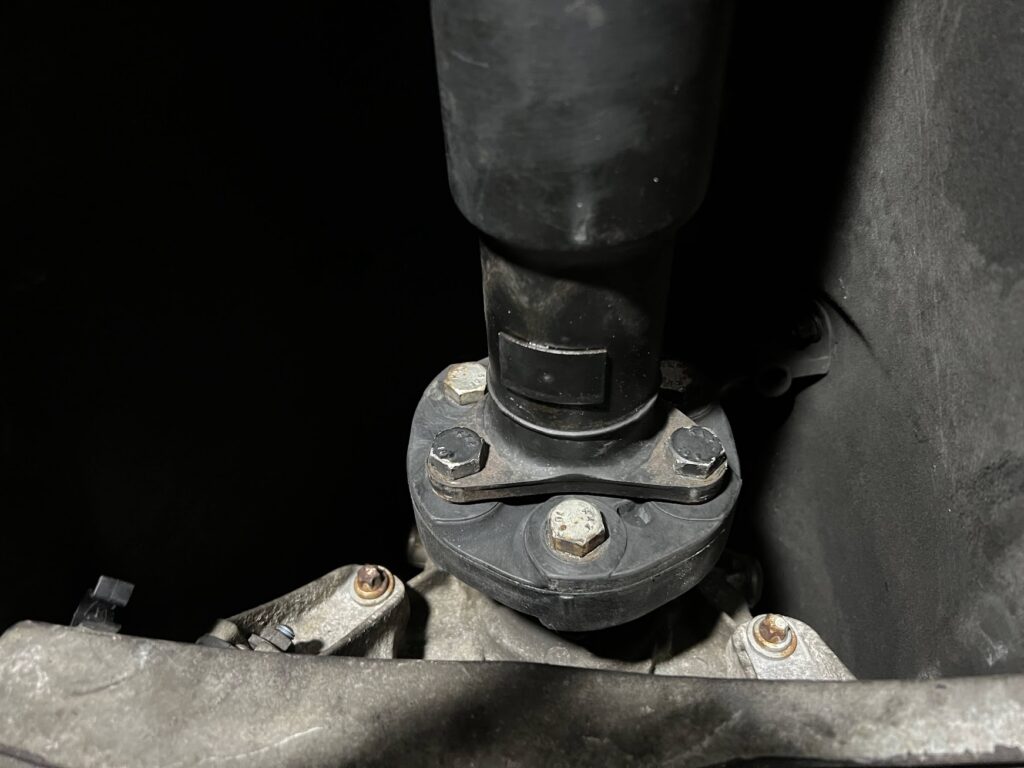
New CSB
By this point I'd had enough rolling around on the floor for one day so I turned my attention to a few job 'up top'.
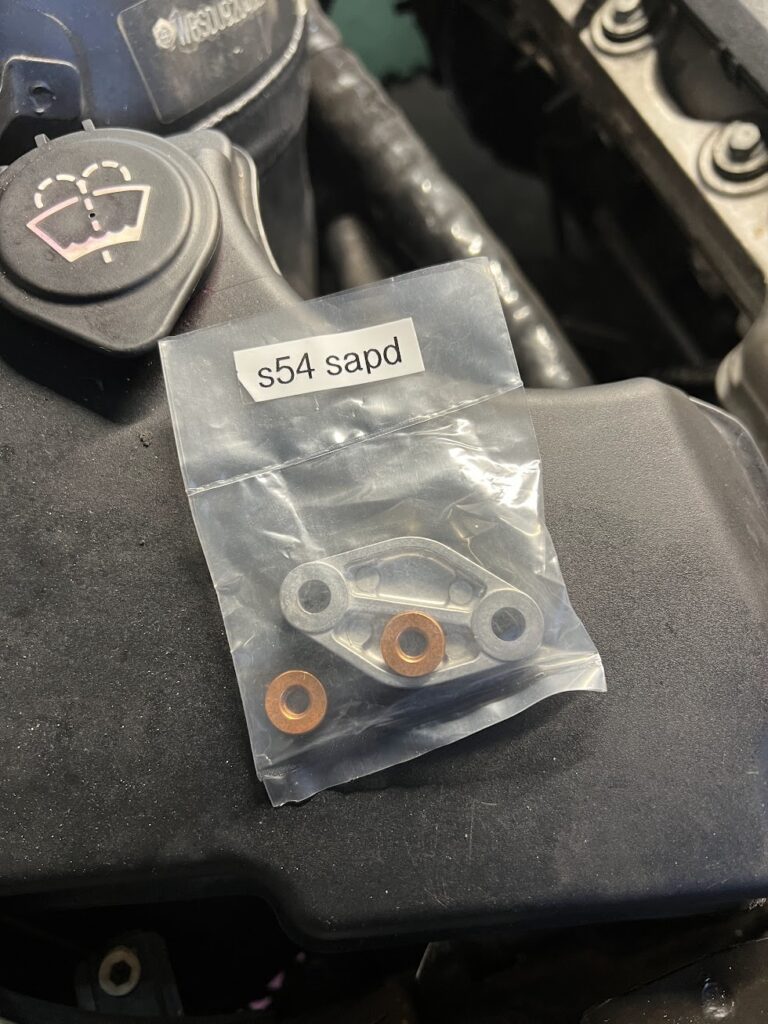
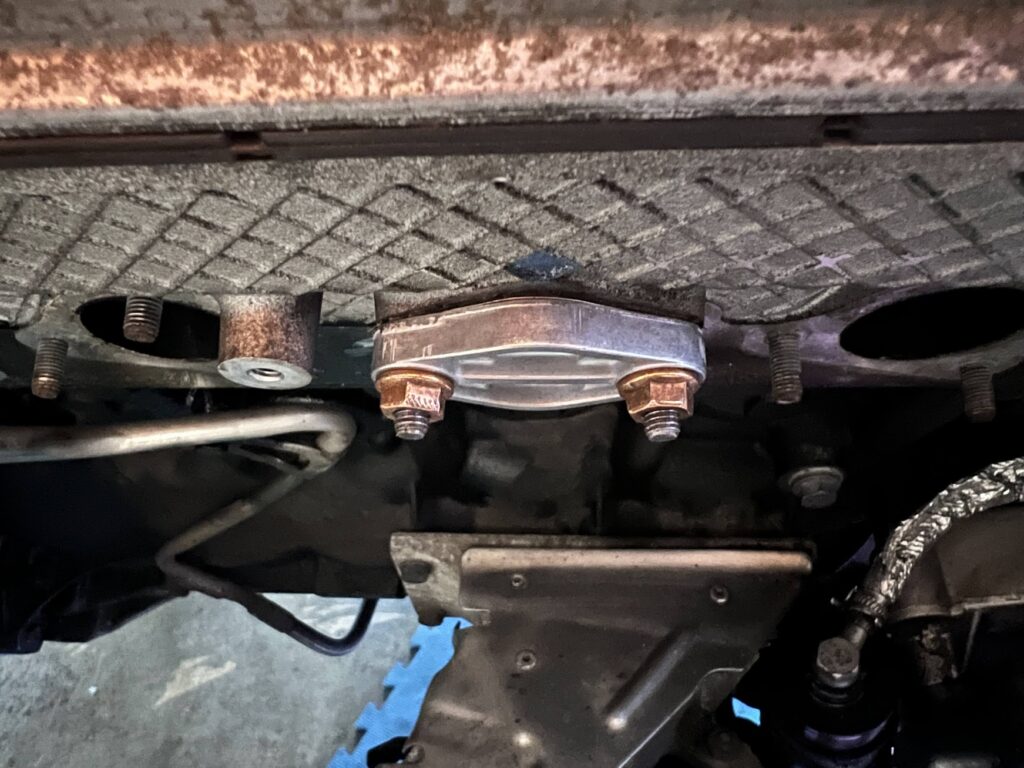
SAP delete plate fitted from Hack Engineering.
Front section of the headers fitted.
I also refitted the charge cooler as I had to pull it off in order to get the starter motor off, no pictures though.
That was enough for today.
Flywheel on!
Gearbox cleaned up the best I could, then fitted the new pivot ball and release bearing.
Clutch and pressure plate fitted
The clutch alignment tool that came with the clutch was useless, so I modified it
Gearbox back on
Check the state of the fuel tank, covered in CV grease! The specialist that replaced the gasket on the diff input flange didn't bother to clean up the mess!
After cleaning up the excess CV grease I bolted on the new guibo and fitted the prop.
New CSB
By this point I'd had enough rolling around on the floor for one day so I turned my attention to a few job 'up top'.
SAP delete plate fitted from Hack Engineering.
Front section of the headers fitted.
I also refitted the charge cooler as I had to pull it off in order to get the starter motor off, no pictures though.
That was enough for today.
-
grannyknot
- Member
- Posts: 412
- Joined: Sat Oct 23, 2021 1:18 pm
Martyn's Z4M Coupe
Great work Martyn, just a note before you install the heat baffles, that centre bearing on the driveshaft has to be pre-tensioned toward the rear of the car. You'll notice the slots on the mounts of the bearing, it's not a lot but it is suppose to help.
2008 E86 M coupe
Toronto, Ontario
Toronto, Ontario
-
Martyn
- Member
- Posts: 203
- Joined: Mon Nov 25, 2013 9:41 pm
- Location: Poole, Dorset
- Contact:
Martyn's Z4M Coupe
TIS doesn't mention anything about preloading the CSB on the Z4M interestingly enough. I know the preloading was required on older BMWs though.grannyknot wrote: ↑Sun Nov 27, 2022 10:17 pm Great work Martyn, just a note before you install the heat baffles, that centre bearing on the driveshaft has to be pre-tensioned toward the rear of the car. You'll notice the slots on the mounts of the bearing, it's not a lot but it is suppose to help.
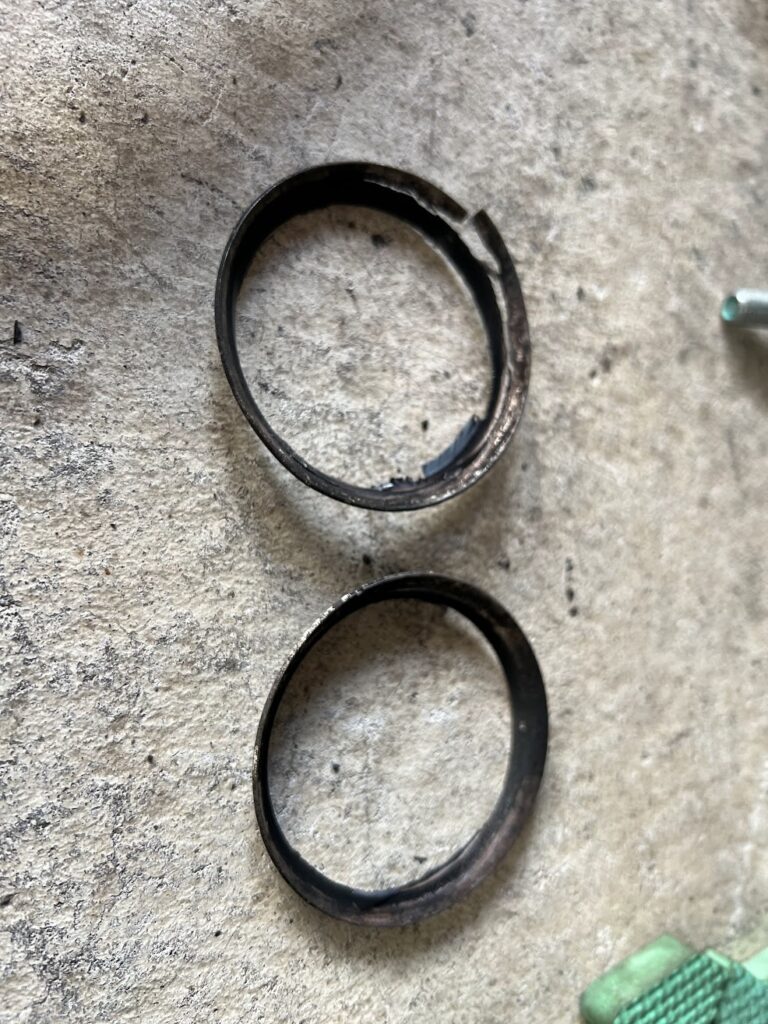
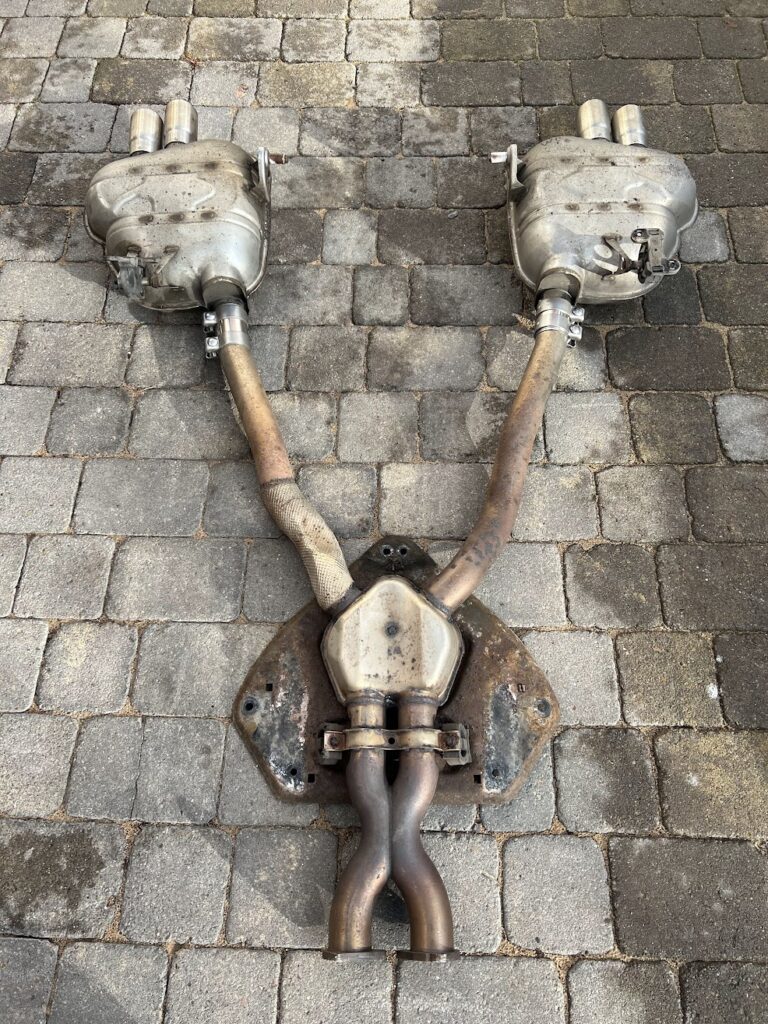
I had an hour or so on the car yesterday so my attention turned to yet more exhaust work. Upon removing the center section I noticed some cracking on the flanges of both the back boxes and the center section.
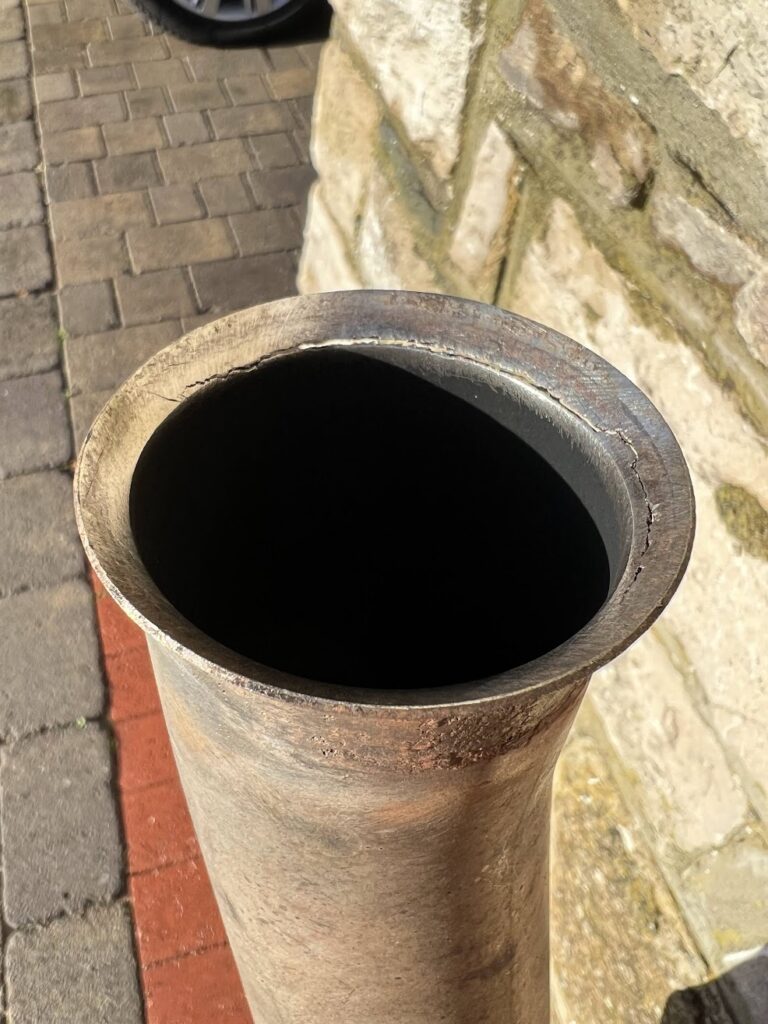
I bust out the tig and managed to weld the crack up on the center section, but this wasn't going to work on the back boxes due to how thin the metal was and how close to the edge the crack ran. I'm convinced the aftermarket 2 pieces exhaust clamps are the cause of these cracks.
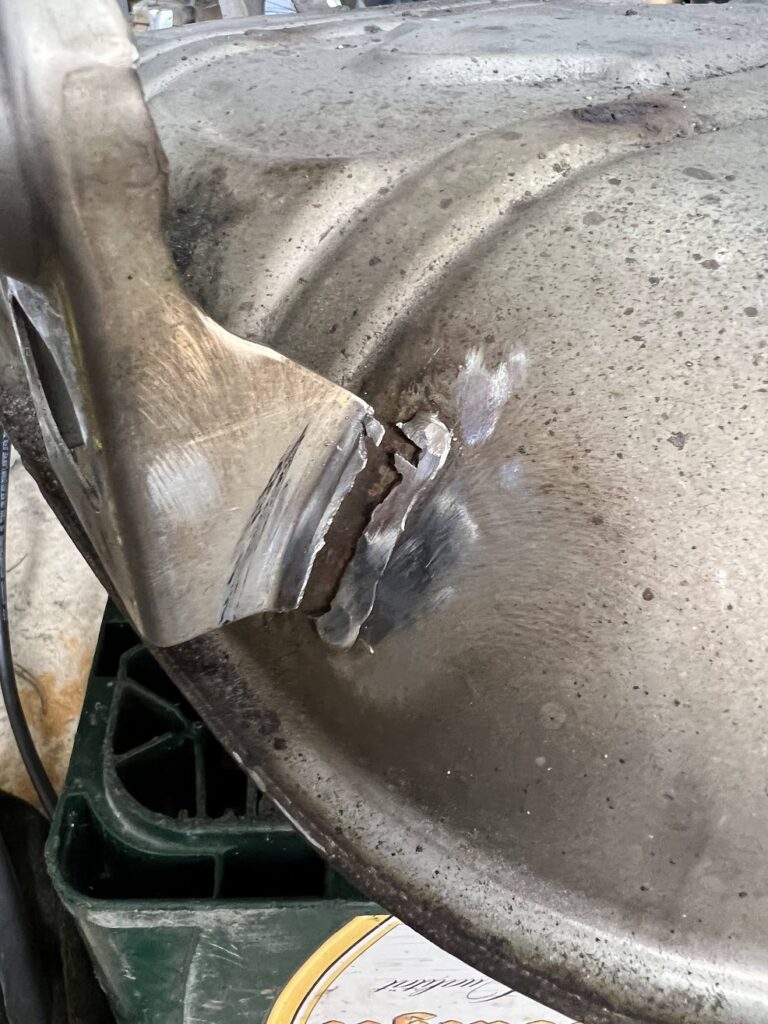
I pulled off the back boxes and noticed that one of the hangers had cracked at the weld, so I cleaned that up and tig'd it (didn't get a picture as it wasn't particularly pretty, however it'll hold fine).
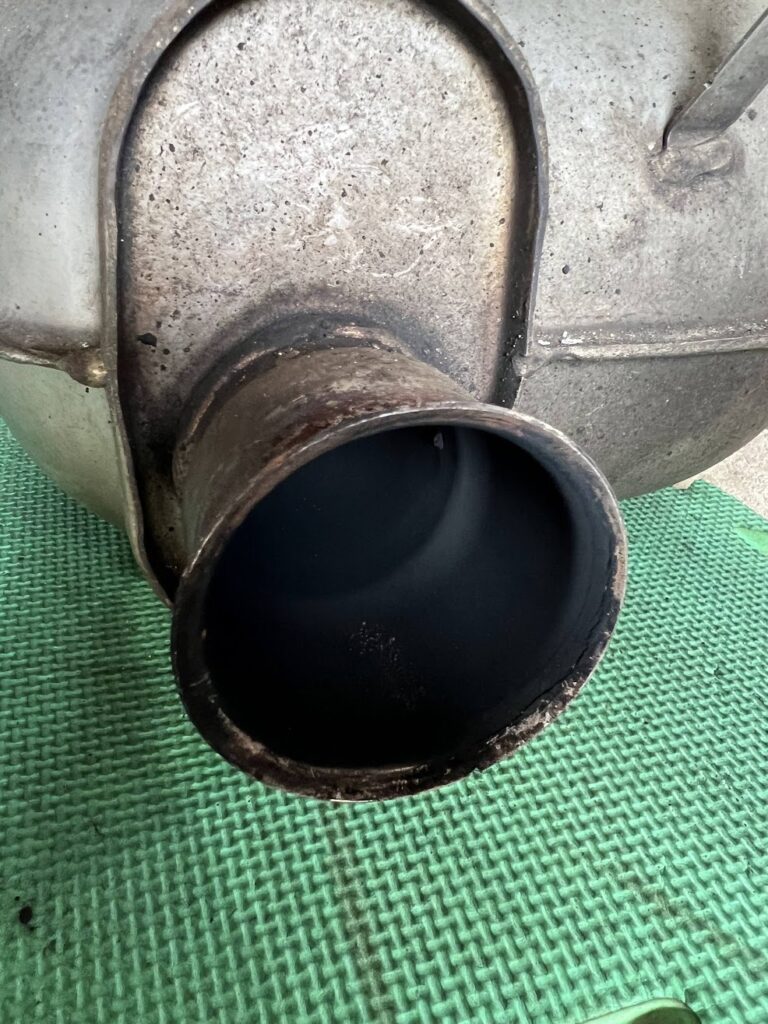
Next I cut off all 4 flanges
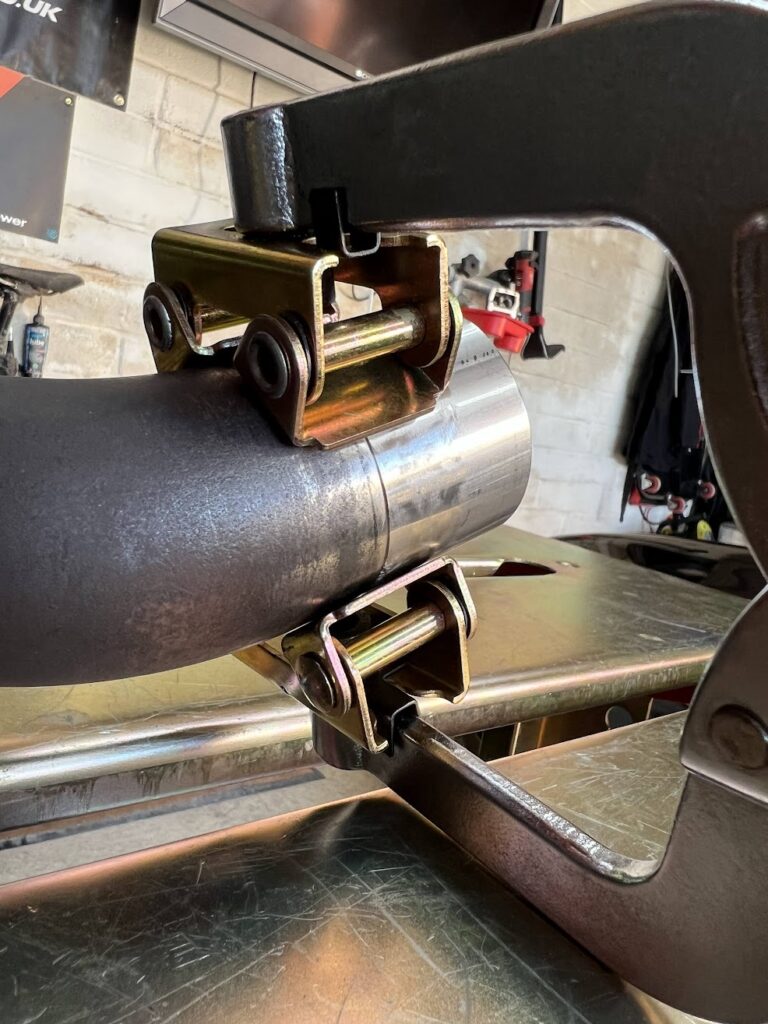
Test fit of a 2.25" / 58mm sleeve clamp.
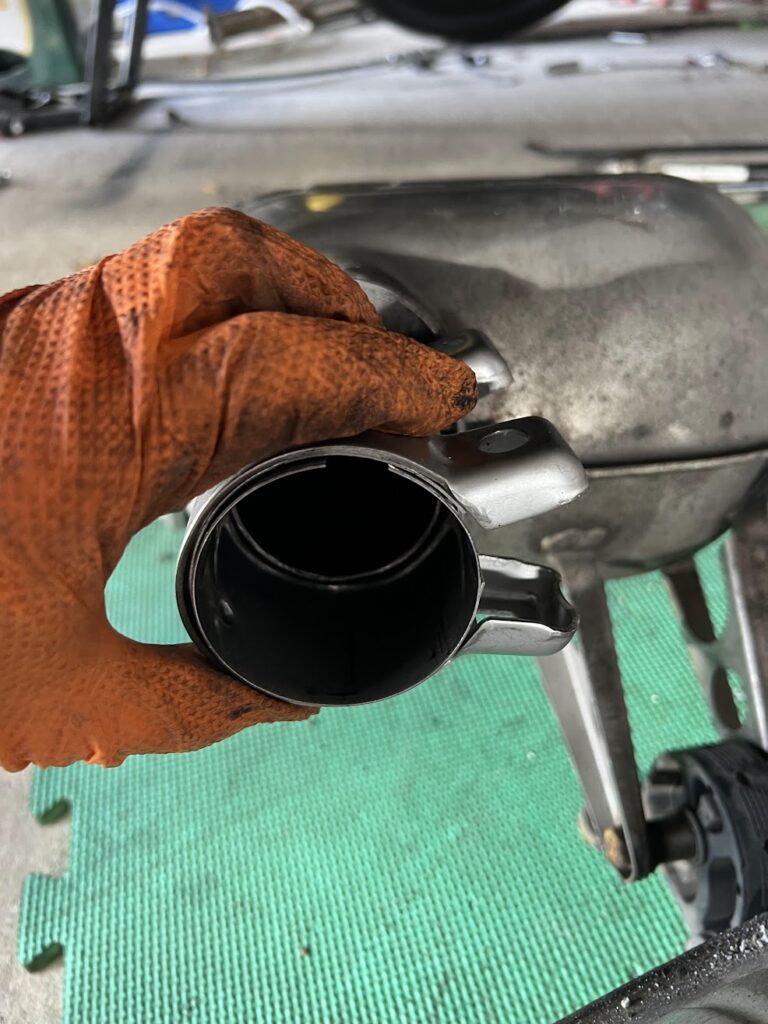
Like a glove!
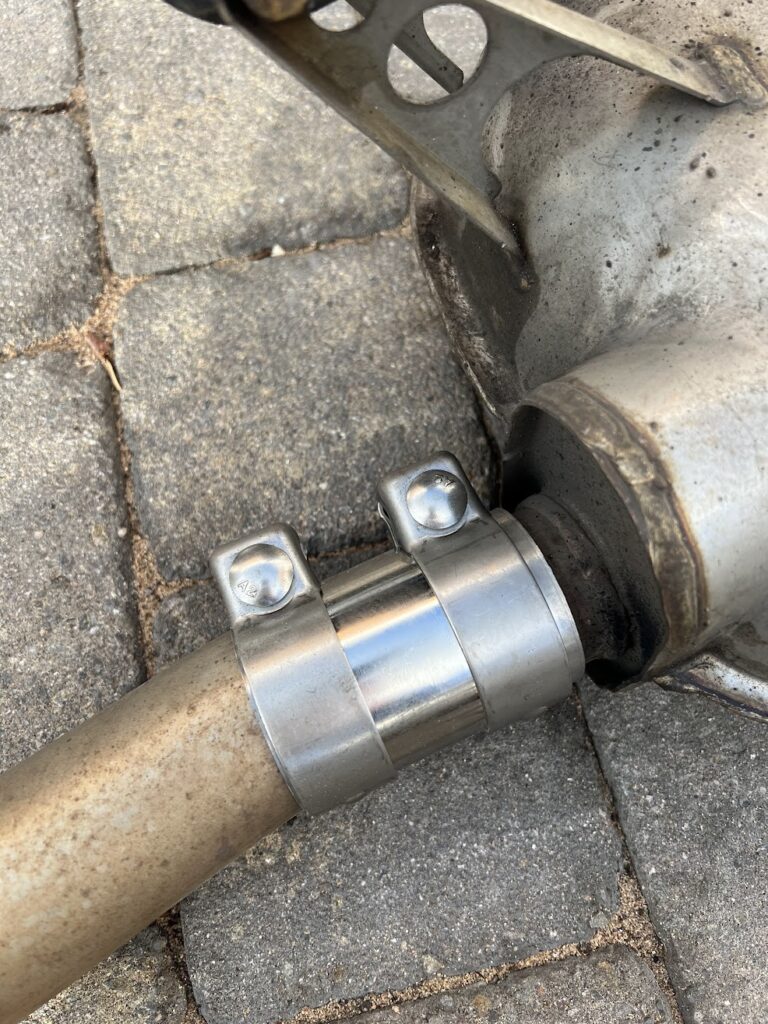
I popped the center section and back boxes back on to the car and called it day
My "brand new" second hand headers turned up this morning so I hope to get those wrapped today and fitted.
-
flimper

- Lifer
- Posts: 4591
- Joined: Wed Jan 21, 2009 11:47 pm
- Location: Hampshire
Martyn's Z4M Coupe
Excellent work Martyn, I've probably missed but have you replaced/needed to replace the diff seal? Common issue, mine needs doing soon
Piano black & black extended leather. Power mirrors, tinted glass, PDC, Prof hi-fi, CD, retro-fit cruise
-
Martyn
- Member
- Posts: 203
- Joined: Mon Nov 25, 2013 9:41 pm
- Location: Poole, Dorset
- Contact:
Martyn's Z4M Coupe
Thanks!
The diff input seal is bone dry, as are the output seals so I've left those alone. The paper gasket on the lobro joint looks new so I've left that too, I've reused those a few times without issues before providing they havent disintergrated when you pop the joint off the diff.
When the time comes for diff seals I'll get Darragh at EverythingM3s to sort that, he can give the diff a refresh at the same time but I don't see the need yet.
-
maupineda
- Member
- Posts: 141
- Joined: Fri Apr 24, 2020 4:46 pm
Martyn's Z4M Coupe
Martyn, with this, shall not you lose the ability to adjust the boxes up/down, the OE flange design is what allows to adjust and center the tips to the bumper. with this, you have a preset position, don-t you?Martyn wrote: ↑Tue Nov 29, 2022 11:38 am
I bust out the tig and managed to weld the crack up on the center section, but this wasn't going to work on the back boxes due to how thin the metal was and how close to the edge the crack ran. I'm convinced the aftermarket 2 pieces exhaust clamps are the cause of these cracks.
...
Next I cut off all 4 flangesBack box flanges shown below.
Test fit of a 2.25" / 58mm sleeve clamp.
Like a glove!
-
Martyn
- Member
- Posts: 203
- Joined: Mon Nov 25, 2013 9:41 pm
- Location: Poole, Dorset
- Contact:
Martyn's Z4M Coupe
Well, the OEM clamps (ignore the split aftermarket clamps for now) have very little adjustment once the bolts are in so I don't think I've lost too much adjustment, infact I've gained a little by being able to push or pull the back boxes in or out, and I can still rotate the boxes slightly if need be.
If once the rest of the exhaust is on I can't get the boxes to sit right I'll try and come up with an alternative.
If once the rest of the exhaust is on I can't get the boxes to sit right I'll try and come up with an alternative.
-
Martyn
- Member
- Posts: 203
- Joined: Mon Nov 25, 2013 9:41 pm
- Location: Poole, Dorset
- Contact:
Martyn's Z4M Coupe
Rear section of the headers are now wrapped and fited.
Rest of the exhaust fitted up loosely, Lambdas back in and undertrays etc back on.
All the other little odds and ends, heatshields etc all back on too.
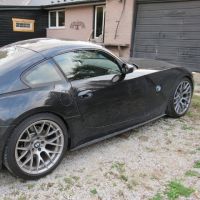
And finally back out of the garage.
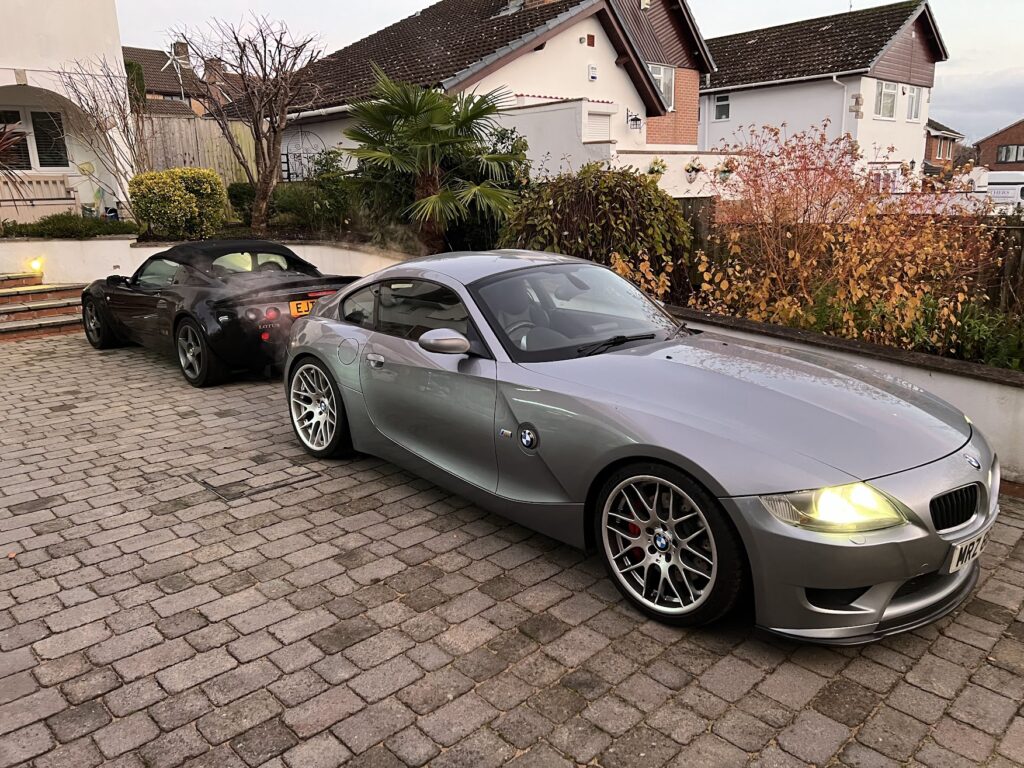
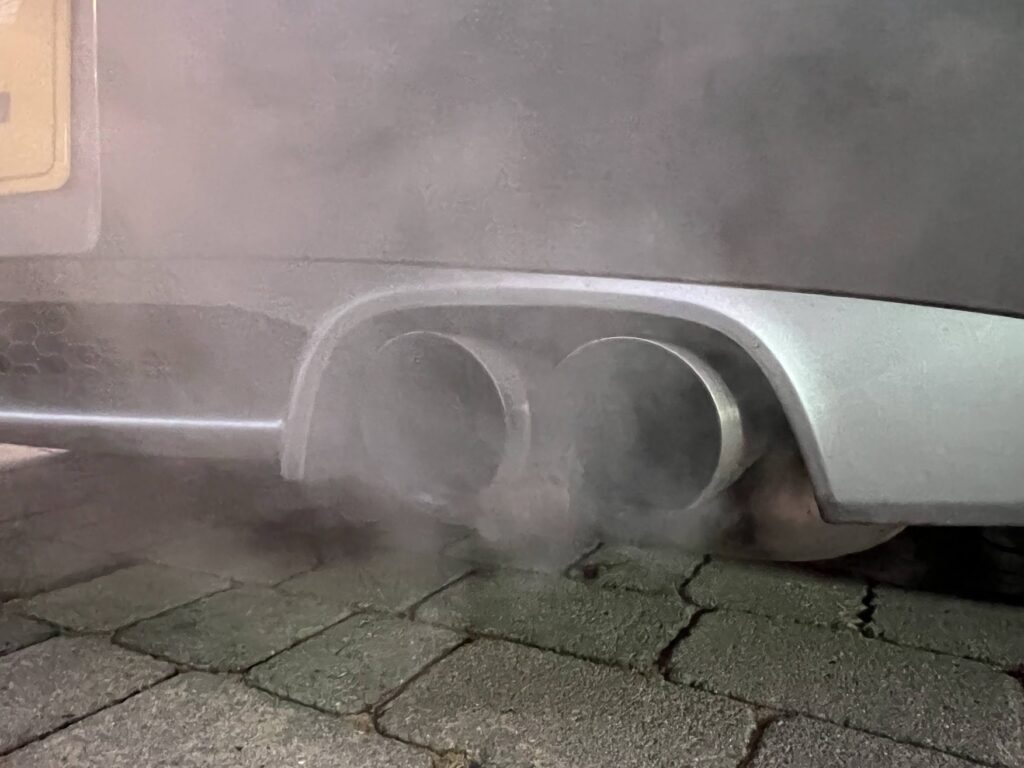
Alignment of the boxes is good.
Next job is to pick the million tools up off the garage floor
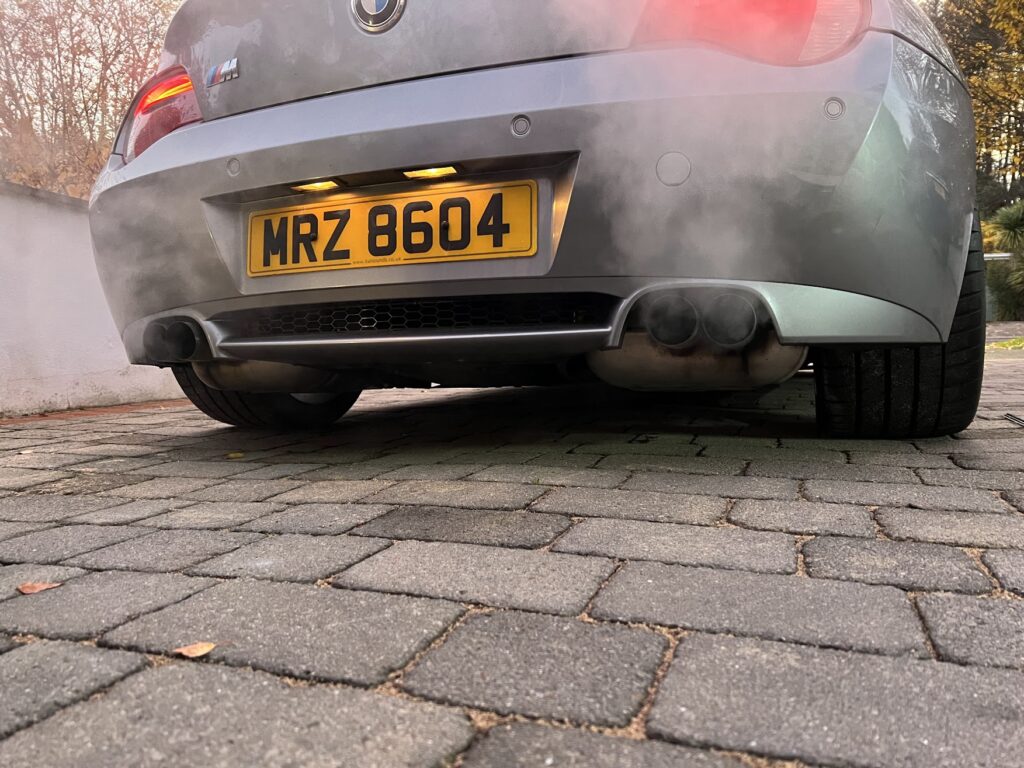
Will get out in the car over the next few days and get some new datalogs to make sure everything is gravy now the exhaust isn't blowing
Rest of the exhaust fitted up loosely, Lambdas back in and undertrays etc back on.
All the other little odds and ends, heatshields etc all back on too.
And finally back out of the garage.
Alignment of the boxes is good.
Next job is to pick the million tools up off the garage floor
Will get out in the car over the next few days and get some new datalogs to make sure everything is gravy now the exhaust isn't blowing
-
maupineda
- Member
- Posts: 141
- Joined: Fri Apr 24, 2020 4:46 pm
Martyn's Z4M Coupe
Any updates on the ECUWorx tool?
-
Martyn
- Member
- Posts: 203
- Joined: Mon Nov 25, 2013 9:41 pm
- Location: Poole, Dorset
- Contact:
Martyn's Z4M Coupe
Not yet, will be back into development mode soon though.
-
Martyn
- Member
- Posts: 203
- Joined: Mon Nov 25, 2013 9:41 pm
- Location: Poole, Dorset
- Contact:
Martyn's Z4M Coupe
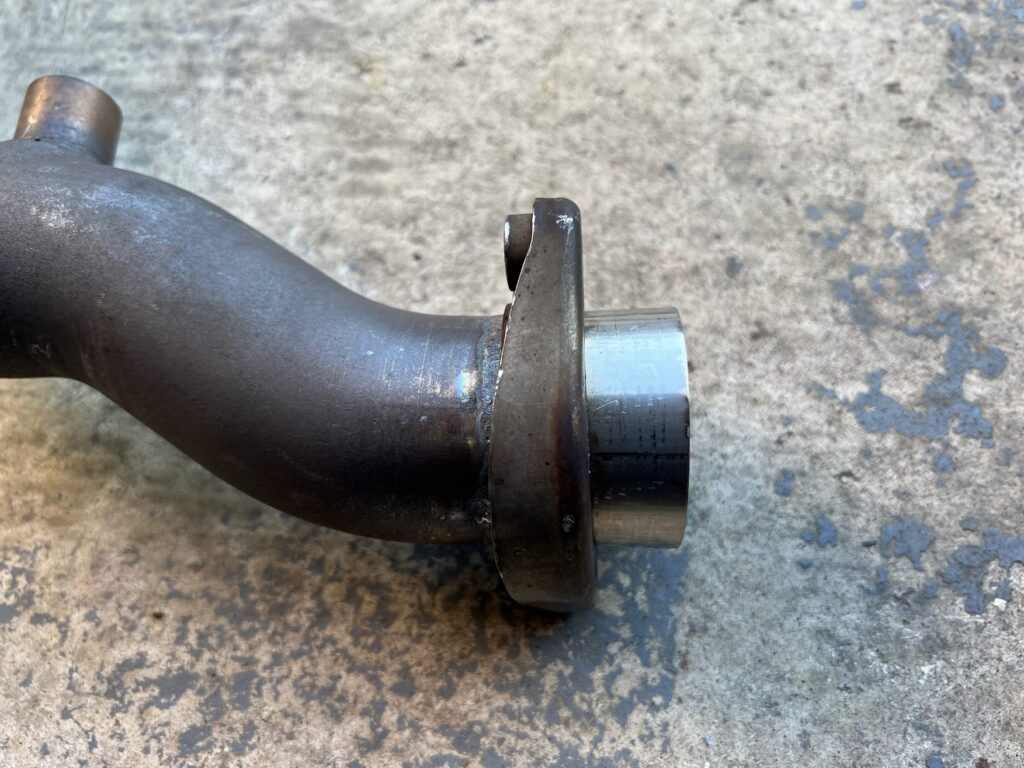
Got out in the garage in my lunch hour and repaired my old set of headers.
First I chopped off the cracked section, then measured out and cut a new piece of 55mm stainless.
I cleaned up both bits and set them in the clamp ready for tacking.
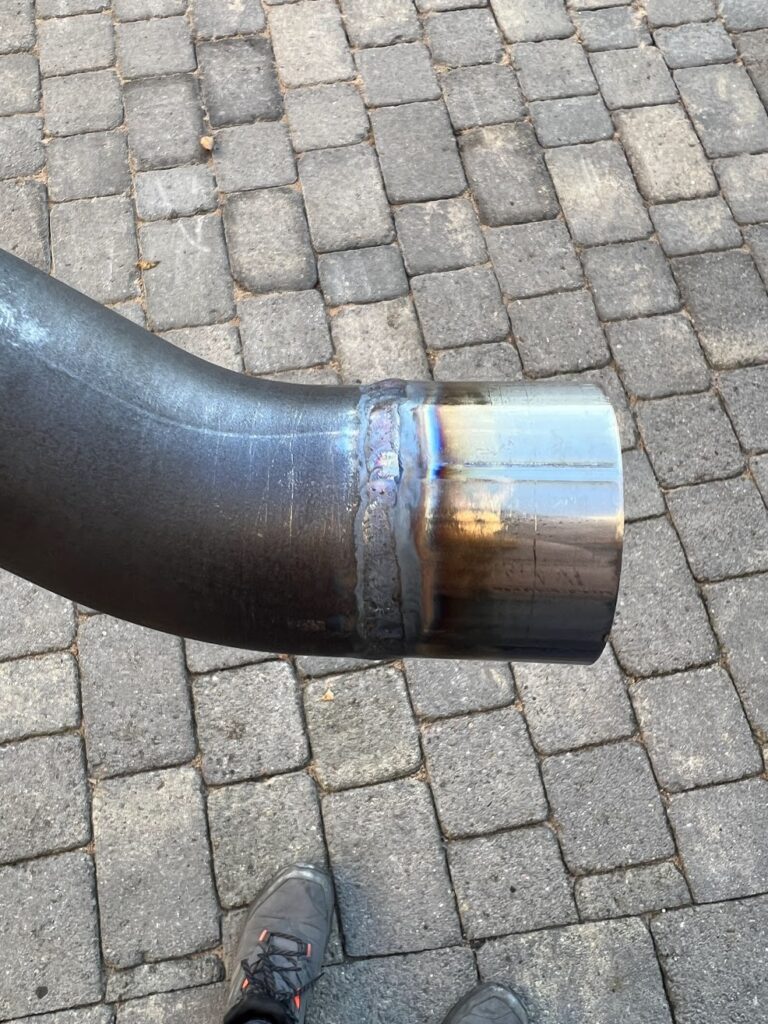
I tacked and then welded the new piece of stainless to the end, I ensured I back purged the header whilst welding to ensure I didn't get any sugaring on the inside of the pipe.
The finished weld isn't pretty due to crap from the old metal contaminating the weld pool and I think my argon flow rate was a little too low. But meh, I'm no welder but the finished item is perfectly fit for purpose.
First I chopped off the cracked section, then measured out and cut a new piece of 55mm stainless.
I cleaned up both bits and set them in the clamp ready for tacking.
I tacked and then welded the new piece of stainless to the end, I ensured I back purged the header whilst welding to ensure I didn't get any sugaring on the inside of the pipe.
The finished weld isn't pretty due to crap from the old metal contaminating the weld pool and I think my argon flow rate was a little too low. But meh, I'm no welder but the finished item is perfectly fit for purpose.