Thought I'd post a how-to guide as I couldn't find one in the forums. I found videos on YouTube but none of them really described the process from start to finish. I did look at adding it directly to the how-to sub forum but didn't find an option - probably a good thing as my guide may be rubbish and doesn't deserve to be in there!
I replaced my RTAB's with these: https://www.carparts4less.co.uk/p/power ... -973110331
Also used a bush removal tool like this one: https://www.ebay.co.uk/itm/255864761347 ... 6z8uAAAAAA
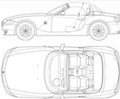
Once you have jacked the car up, put it on axle stands, chocked the wheels and given the car a good push to make sure it isn't going anywhere:
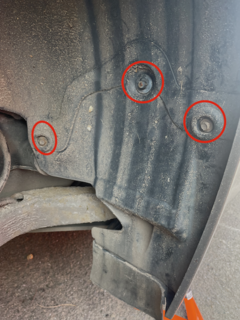
1. To remove this plastic cover, undo these three nuts
2. Going underneath the car, remove this nut. You should then be able to remove the cover in the first photo.
If you still can't remove the cover then check underneath, may be a plastic fastener which needs to be pushed (my one in this guide didn't have any, may have fallen out!)

3. Once cover is removed, locate and loosen this nut (do not remove)

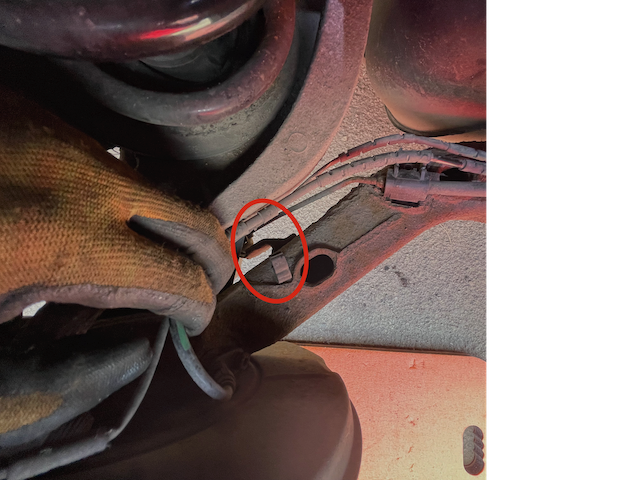
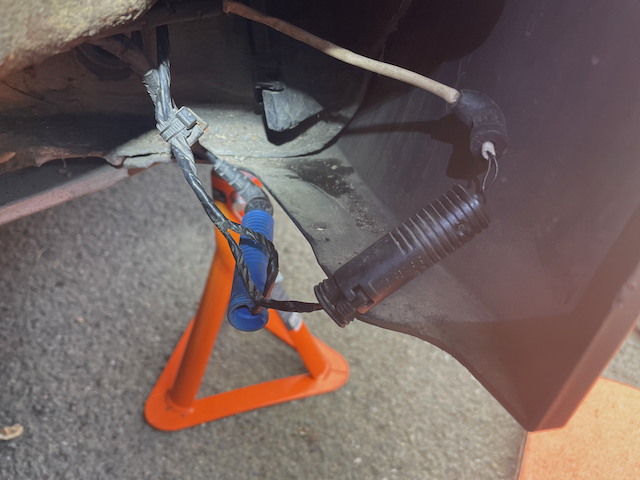
4. Unclip this wire from the plastic bracket before removing the bracket entirely

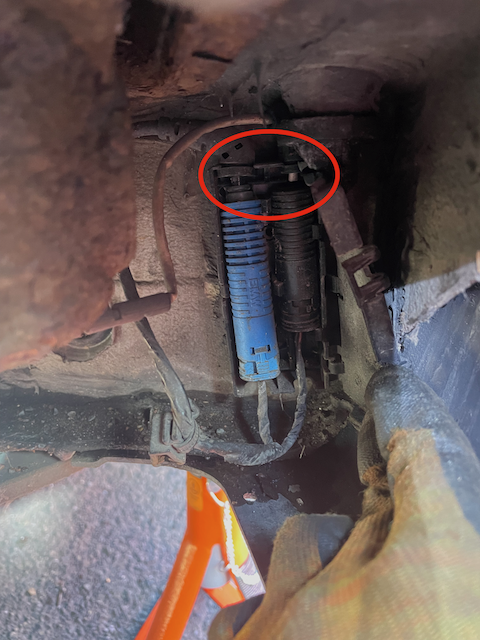
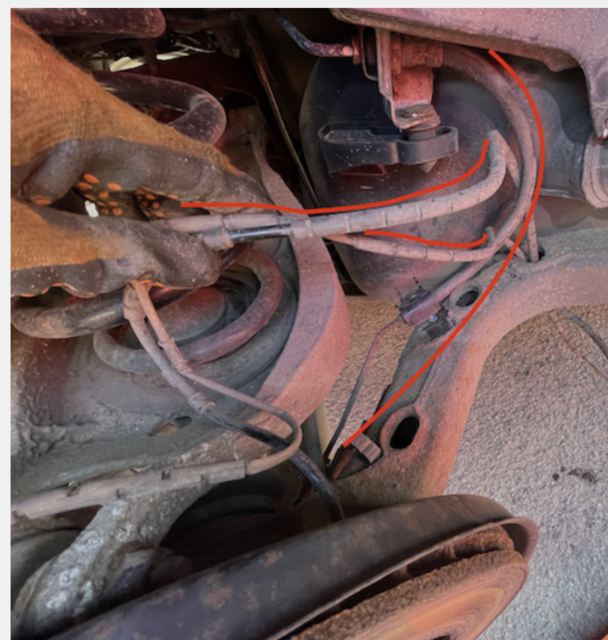
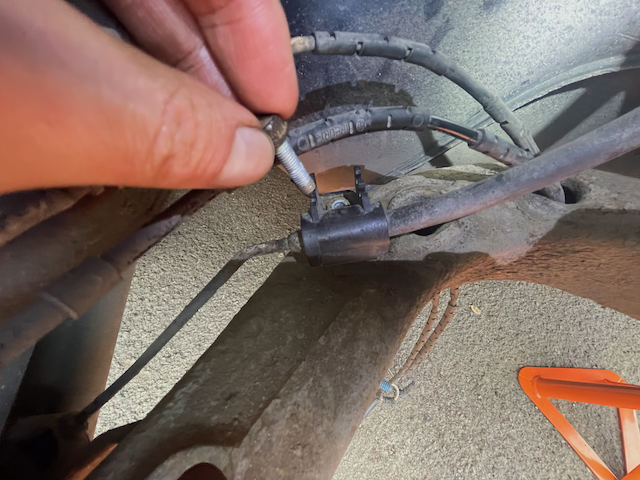
5. Open the plastic housing and locate these electrical connectors. Remove connectors from housing, being careful not to damage wires by sliding the tops out first as highlighted:
6. Connectors should then be loose

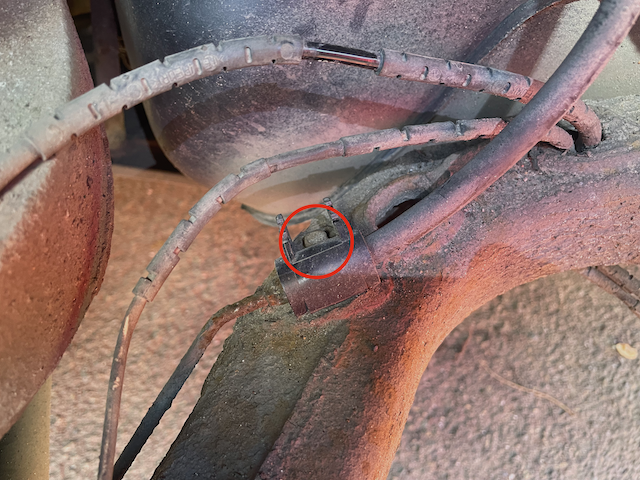
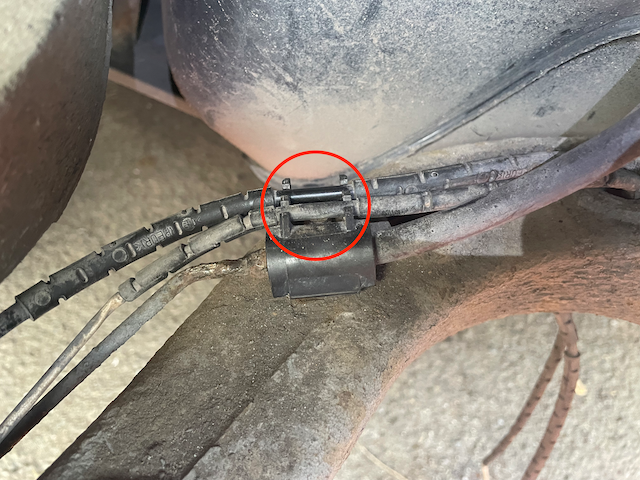
7. Getting under the car, pull these wires out of the plastic clips so they're slackened
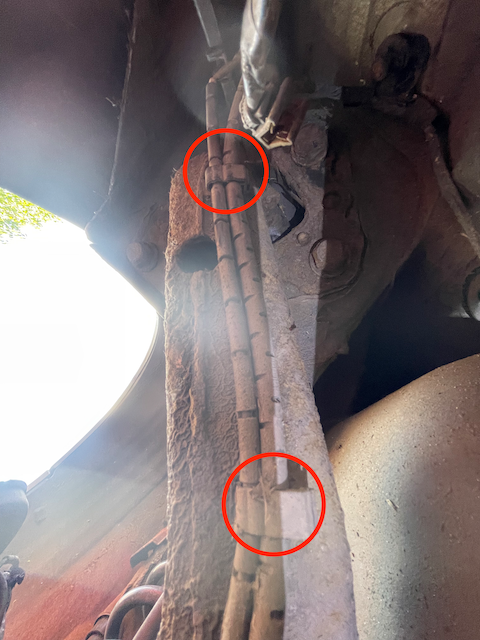
8. Wires should be slackened like so
9. Separate the connectors via the clips


10. Next, locate this bracket on the trailing arm and undo nut

11. Unclip the wire from another plastic clip further along
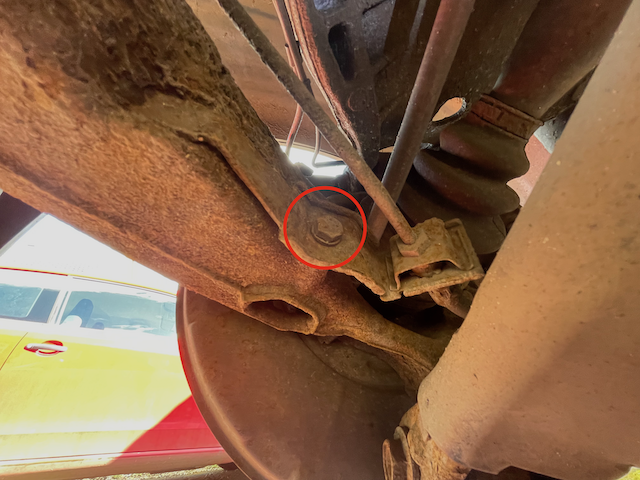
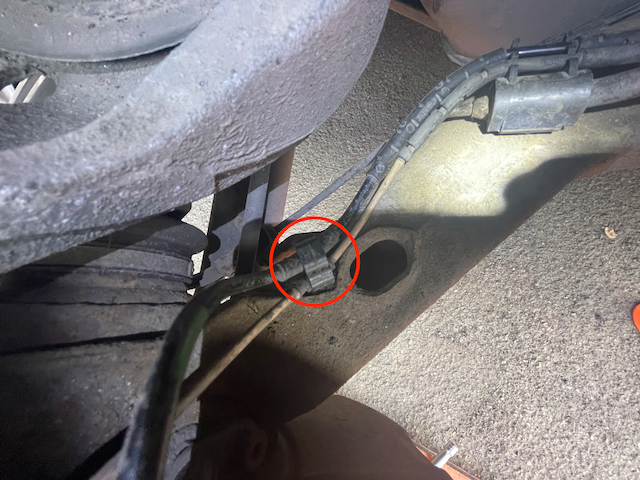
12. Getting behind brake discs, locate and undo this nut

13. Check these wires are slack, so that when you lower the rear trailing arm it won't pull any cables.
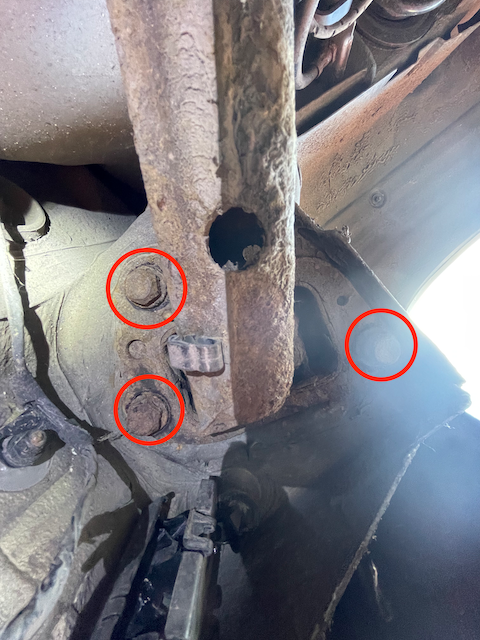
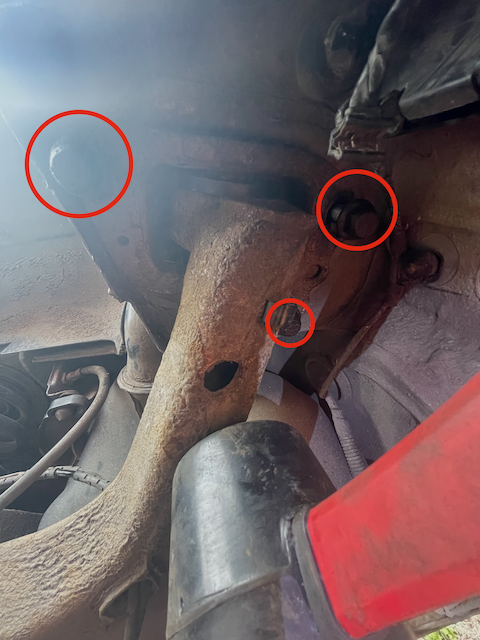
14. Locate these three nuts and mark their current position - this is to maintain current alignment as much as possible before you lower the rear trailing arm to get access to the bush, although alignment is definitely recommended anyway
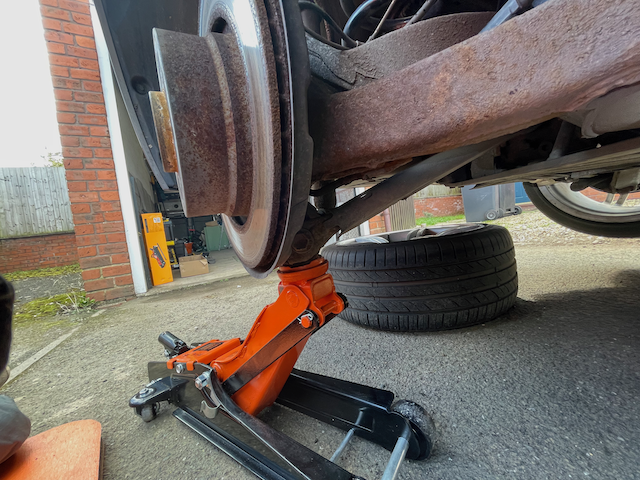
15.Position jack ready for lowering the rear trailing arm
16. Undo the three nuts and slowly lower the trailing arm - note the wires which are loose so they aren't getting pulled when lowering the arm

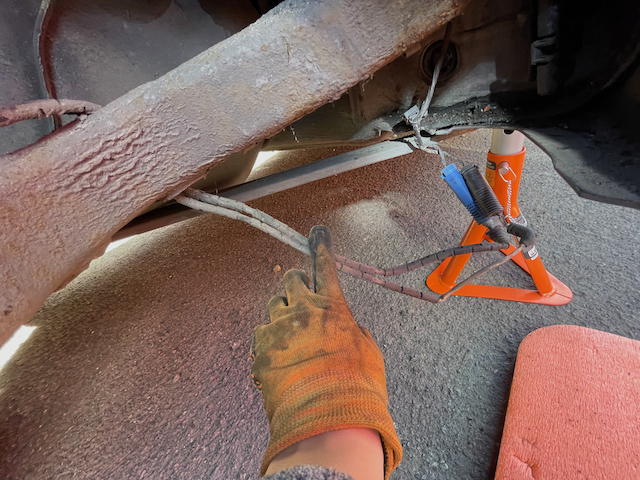
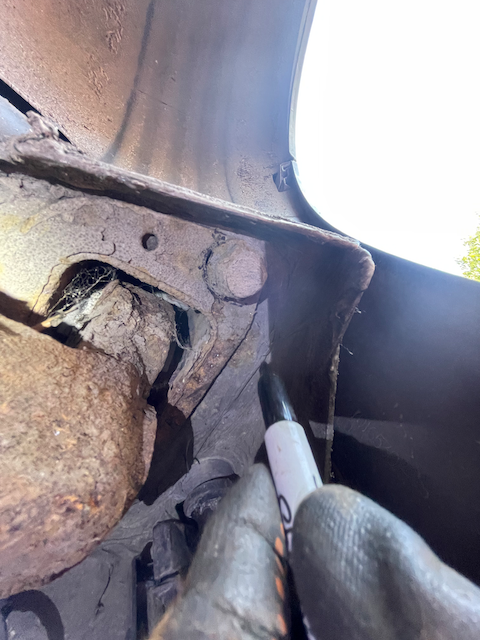
17. Once lowered, use a piece of wood to put pressure on the trailing arm to push it down for access
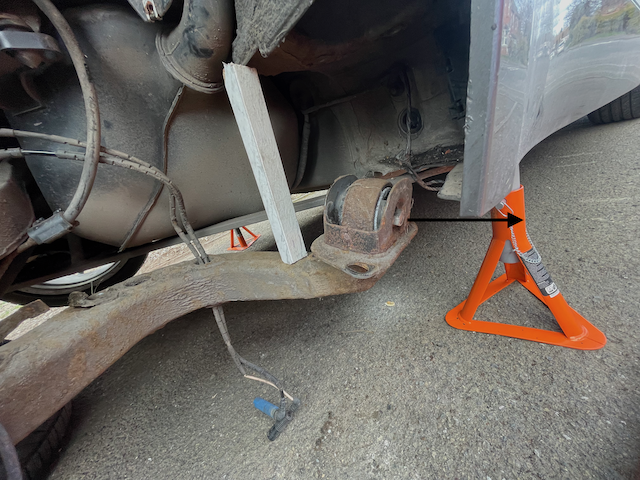
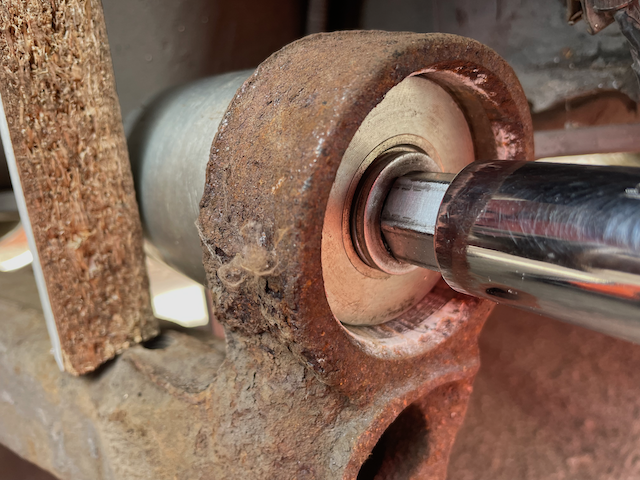
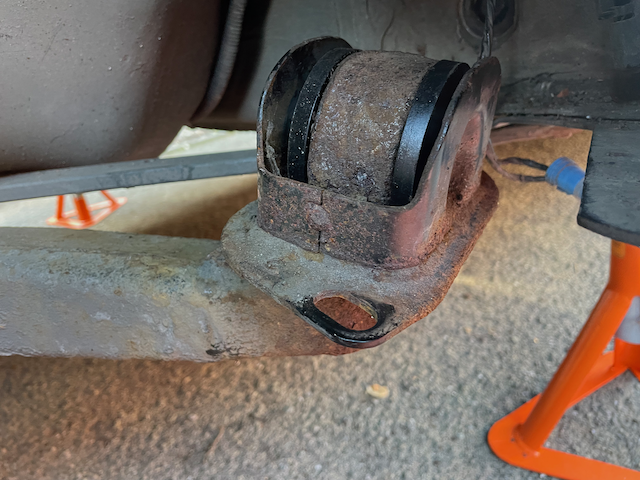
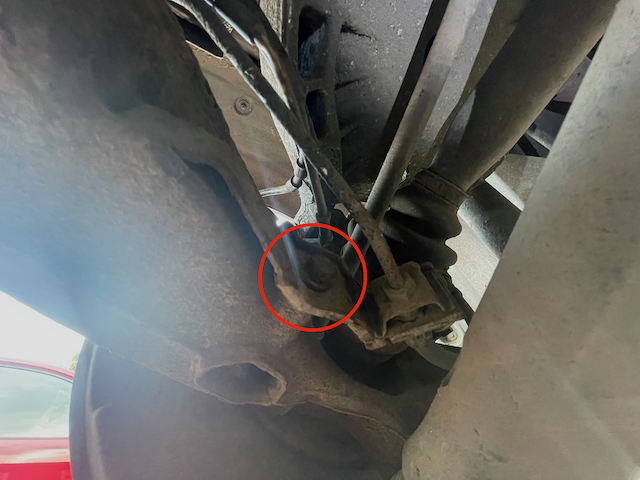
18. Loosen the nut holding the bushing carrier in place using a socket/wrench on each side. I had to use a breaker bar on mine!


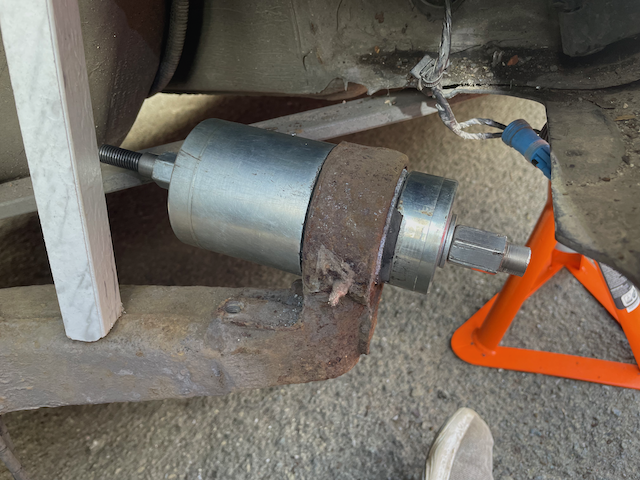
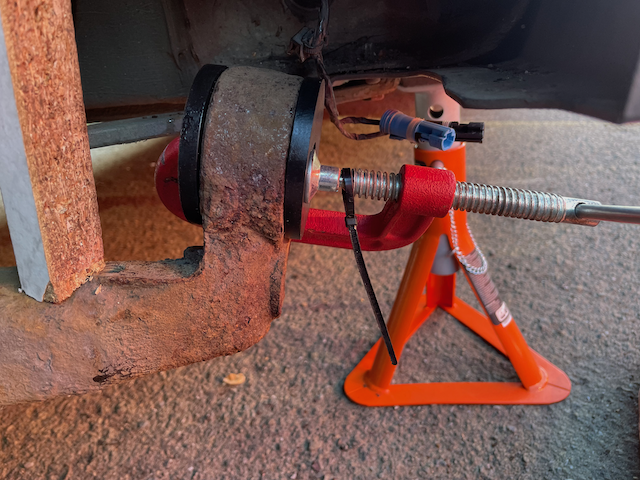
19. Once you've removed the carrier and left with the bush, prepare your bush removal tool
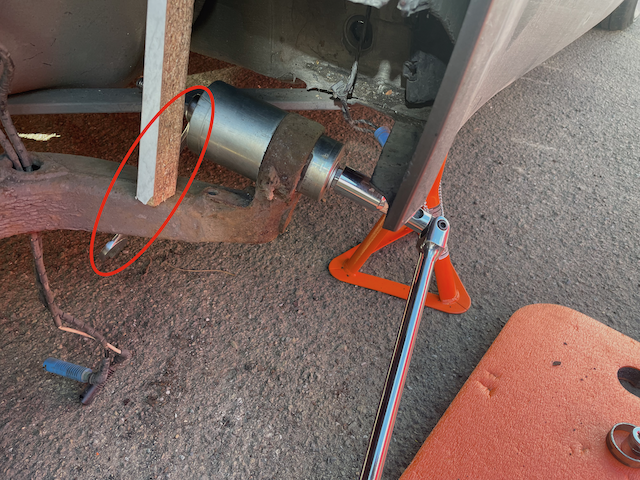
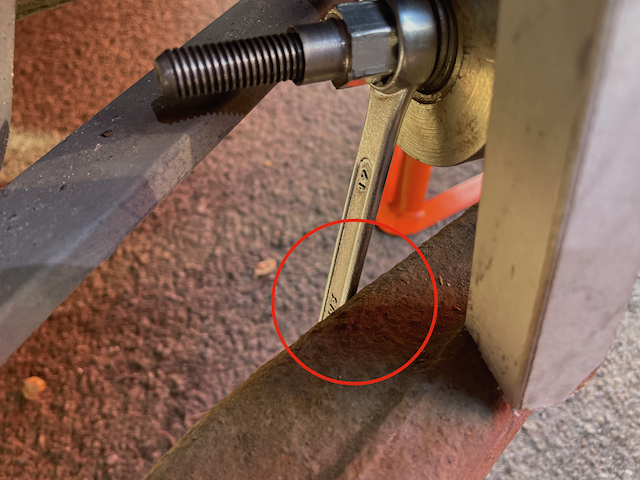
I used the spanner on the other end propped against the trailing arm to give me the resistance I needed to tighten the nut closest to me on the removal tool, I've tried to highlight the position of the spanner
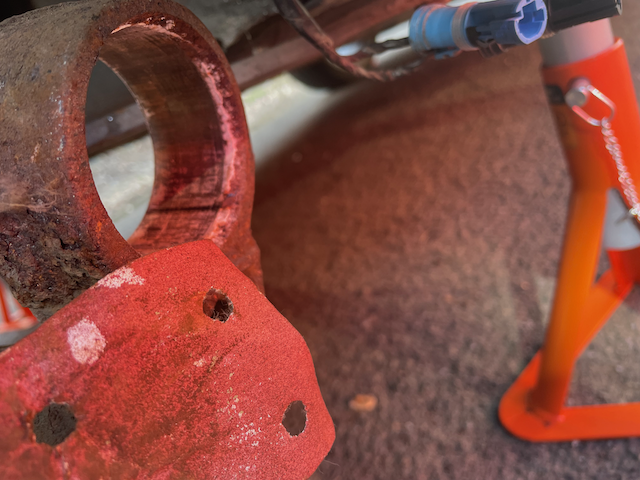
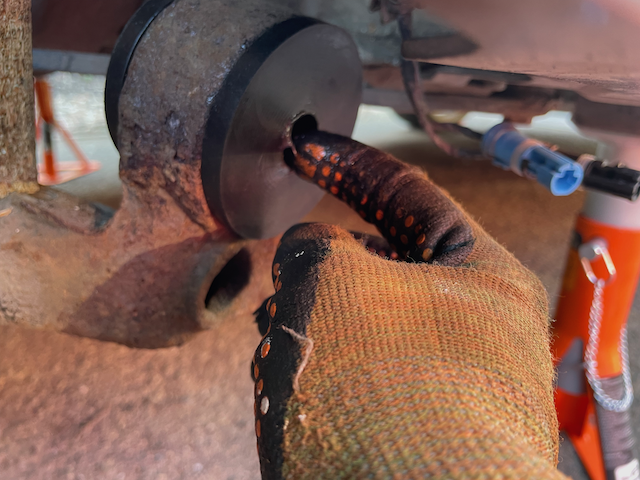
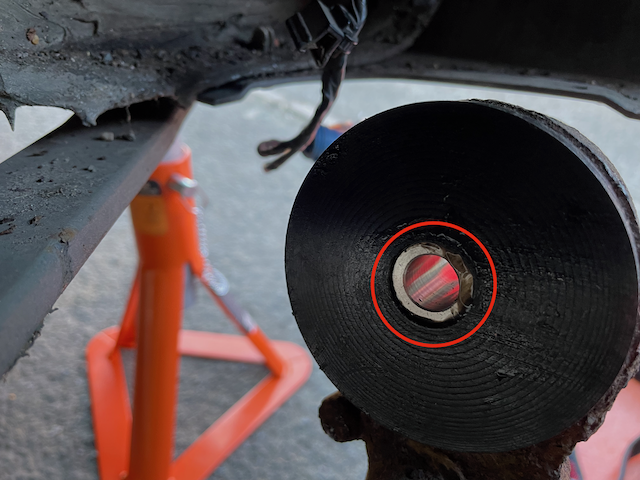
20.Start tightening the tool and you should see the bush being pressed out. When done, loosen the tool and you'll be presented with your reward, the bush located inside the tool.

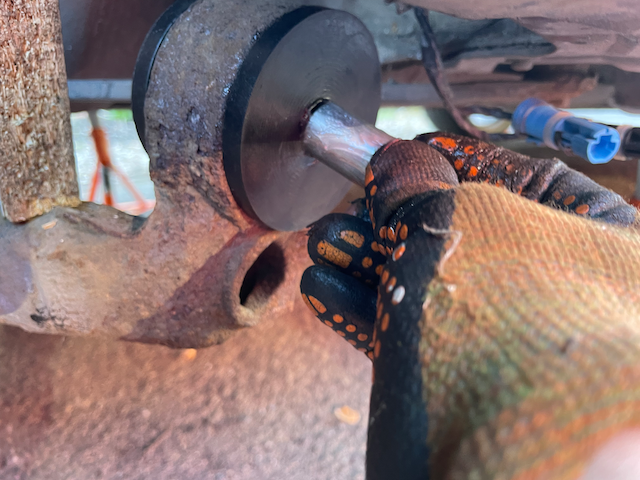
To remove, I used a socket extension to hammer out (be careful, don't get it stuck!)

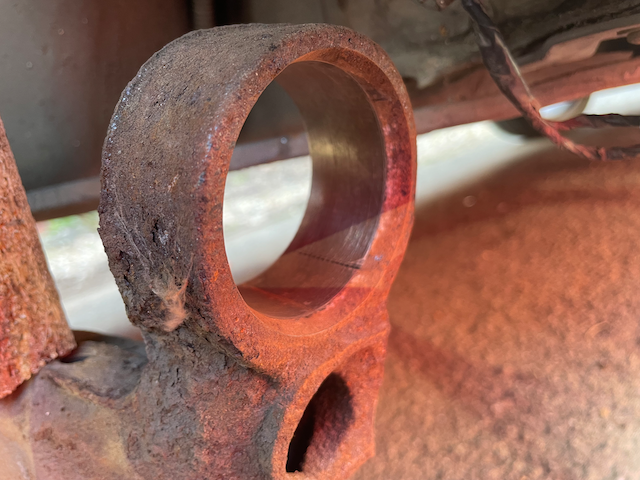
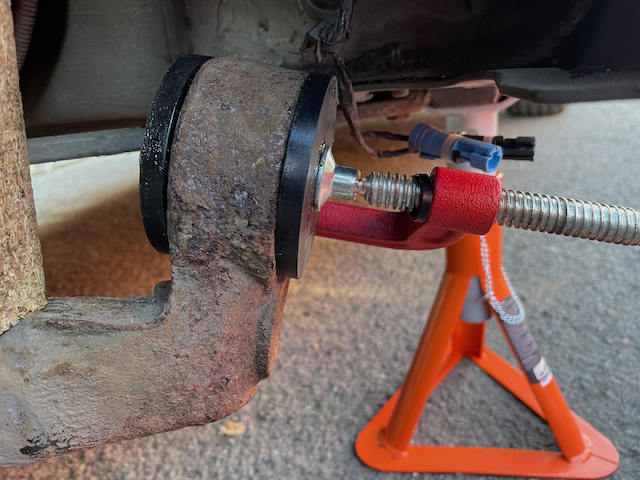
21. Next, use fine grit sandpaper to clean and polish up the bushing housing
Should be nice and smooth when finished
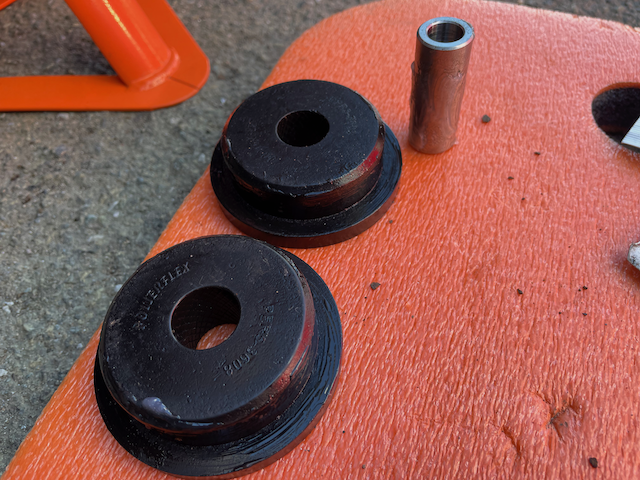
22. Now prepare your new poly bushes, grease up the metal tube thing and the outer flanges of the poly bushes using the provide silicone grease. The theory here I think is to apply grease to where there's contact or lack of air between two surfaces, so that you don't get the squeaking
23. Use a clamp to apply pressure to both sides of the bushes during installation to ensure a nice tight fit across the whole bushing
24. Using your finger, apply some more grease inside the hole before placing the metal rod in (oo-err!)
25. Use the clamp again to get the rod in all the way
26. Check bushes and the rod are seated correctly

27. Place the carrier over the top of the bushing and into place - needs a good push to get it seated like before
28. Tighten back up to 100NM using a torque wrench

29. Raise the trailing arm back up. My jack didn't go high enough so I used a rubber mallet to give me more height, being careful to adjust the positioning as there was movement. You may find a much better way than this!

30. Seat the carrier back into the original position - you will need to do some pushing and shoving to get the holes to align, I put the bolts in whilst pushing to get it aligned then tightened afterwards. Tighten the bolts to 77NM using a torque wrench.
31. Time to start putting the wires back into place! Tighten this bracket to the trailing arm
32. Clip wires back into their holder:
33. Going behind brake disc again, tighten this bracket using the nut

34. Going under the car, clip the wires back to the trailing arm using the clips

35. Plug connectors back up:
36. Seat connectors back into the plastic housing, paying attention to the top of the connectors to slide them back in

37. Put this plastic trim back in, lining the back of the bracket with the nut at the back so that the nut will hold the bracket in place.


Use socket with universal joint adapter to tighten easier

38. Check for loose wires back and clip back into their plastic clips

I used some velcro as some of my clips had broken to hold the wires in place - not sure how sustainable that is!

39. Re-install this piece of plastic and tighten three nuts, being careful to get the bottom flap into the hole


40. Going under car, tighten this nut to lock the plastic trim pieces together, as well as other nuts/clips you may have removed at the beginning

Wheels back on and that's it! Remember to get an alignment too.
I hope I've covered most of it - I am completely new to all this so I wanted to break it all down step by step to how I would have wanted it as a beginner. Please point out any inaccuracies or better techniques!
Thank you,
Chengy