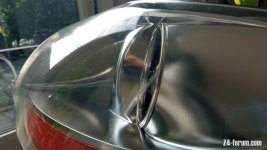
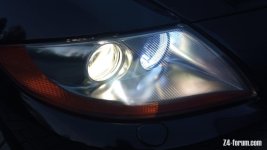
My headlights were in dire need of a refurb and after seeing what miracles a DA could do to the flat paint on my bootlid I was inspired to have a crack at them at last.
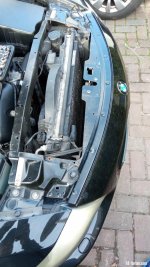
After magically being able to not knacker my bumper retainer brackets I unmounted the bumper, then lights and had a good nosey around for any previous damage. Thankfully, nothing spurious found apart from the remnants and overspray from it's front-end respray it had before I bought it.
So, 3M headlight kit ready to go and started out by giving them a good clean. They were in a truly shocking state!
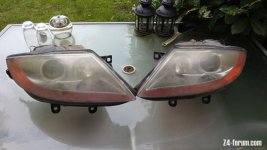
After 2 passes with the 500 and 800 grit discs I did my own additional stages with 1000, then 2000grit paper,
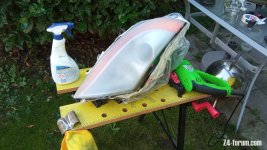
then a final stage with the 3M 3000grit disc. Not looking too shabby at all at this point! A welcome sight.
The 3M kit is well-regarded and contains more components than you actually need and the fact that it comes with a drill attachment for 70mm pads, plus an orange buffing pad means it can be used again and again if required.
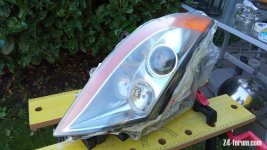
While the headlights were off I thought I would take the opportunity to remove the lenses for a bit of spit and polish. What a chew getting these things out, but ultimately worth it!
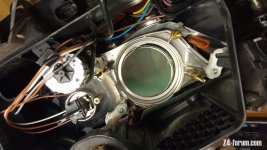
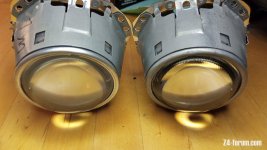
Before, after.
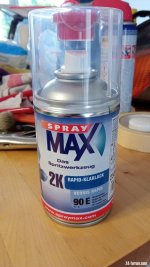
Read and watched some very favourable reviews of Spraymax 2K clearcoat with its' own separate hardener component, so decided to order a ikkle can at Eu25.00 .
.
This is the absolute best way to protect your newly-refurbed headlights imo, especially if you decide to unmount them as I did.
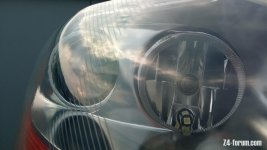
After a final polish with the orange buffer disc and Sonax headlight polish I applied 3 coats of the 2K clearcoat. There's a leeetle bit of orange peel but nothing too drastic. I'm loathed to let rip with the 1000/2000 grit on them as I'm not 100% sure how this particular clearcoat will react.
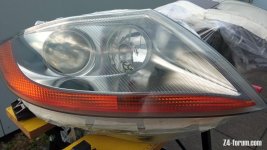
What would you do? Leave as-is or buff and polish again?
After magically being able to not knacker my bumper retainer brackets I unmounted the bumper, then lights and had a good nosey around for any previous damage. Thankfully, nothing spurious found apart from the remnants and overspray from it's front-end respray it had before I bought it.

So, 3M headlight kit ready to go and started out by giving them a good clean. They were in a truly shocking state!

After 2 passes with the 500 and 800 grit discs I did my own additional stages with 1000, then 2000grit paper,

then a final stage with the 3M 3000grit disc. Not looking too shabby at all at this point! A welcome sight.
The 3M kit is well-regarded and contains more components than you actually need and the fact that it comes with a drill attachment for 70mm pads, plus an orange buffing pad means it can be used again and again if required.

While the headlights were off I thought I would take the opportunity to remove the lenses for a bit of spit and polish. What a chew getting these things out, but ultimately worth it!

Before, after.

Read and watched some very favourable reviews of Spraymax 2K clearcoat with its' own separate hardener component, so decided to order a ikkle can at Eu25.00
This is the absolute best way to protect your newly-refurbed headlights imo, especially if you decide to unmount them as I did.

After a final polish with the orange buffer disc and Sonax headlight polish I applied 3 coats of the 2K clearcoat. There's a leeetle bit of orange peel but nothing too drastic. I'm loathed to let rip with the 1000/2000 grit on them as I'm not 100% sure how this particular clearcoat will react.

What would you do? Leave as-is or buff and polish again?

