3.0L SE Air Con & Power belt replacement
Posted: Sun Jan 20, 2013 6:36 pm
Jack the car up and place both front corners on axle stands so that you can crawl under. BE SAFE! 
Remove the plastic engine tray 7 x 8mm heads
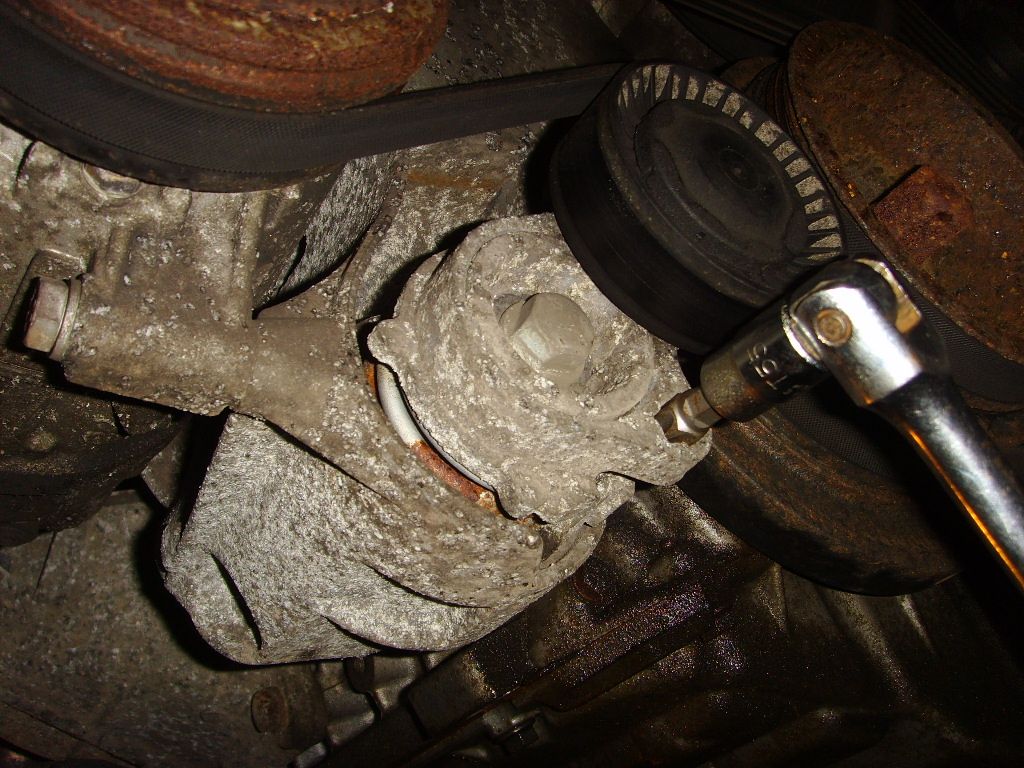
Remove Air Con Belt using a T55 male spline on tensioner. Its spring loaded and needs a small amount of force to move the tensioner idler (see photo)
Next the power drive belt. First draw a picture of the route of the belt as its fairly complicated and having fallen into this trap before with other engines I always draw the belt route now.
The tensioner pulley is fairly difficult to access as it is mid way up the front of the engine. You need a 16mm socket. I used a deep socket hex type not multi hex as the tensioner is quite hard to move and its easy to slip. Tensioner releases in an clockwise direction. (looking at front of car) Ease the belt off when tension is released.

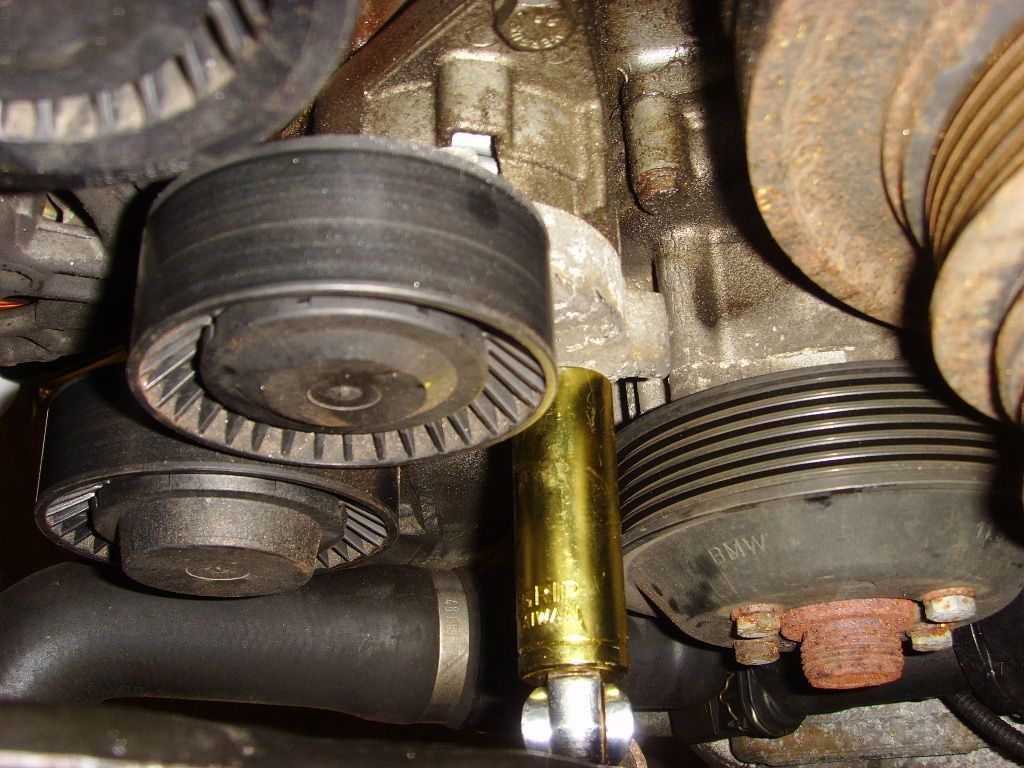
Second picture is with the belt removed and is from beneath the engine (alternator on the LHS of the picture)
Replacement is the reverse of the above. Make sure the belts are sitting correctly on the multi V before releasing the tensioners in each case.
Straight forward DIY job.
As you can see my power belt was fairly badly cracked. Might of been the original! and yes my engine was rusty and oxidised (2003) I tidied up a bit after belts were changed.
Remove the plastic engine tray 7 x 8mm heads
Remove Air Con Belt using a T55 male spline on tensioner. Its spring loaded and needs a small amount of force to move the tensioner idler (see photo)
Next the power drive belt. First draw a picture of the route of the belt as its fairly complicated and having fallen into this trap before with other engines I always draw the belt route now.
The tensioner pulley is fairly difficult to access as it is mid way up the front of the engine. You need a 16mm socket. I used a deep socket hex type not multi hex as the tensioner is quite hard to move and its easy to slip. Tensioner releases in an clockwise direction. (looking at front of car) Ease the belt off when tension is released.
Second picture is with the belt removed and is from beneath the engine (alternator on the LHS of the picture)
Replacement is the reverse of the above. Make sure the belts are sitting correctly on the multi V before releasing the tensioners in each case.
Straight forward DIY job.
As you can see my power belt was fairly badly cracked. Might of been the original! and yes my engine was rusty and oxidised (2003)