Not joined yet? Register for free and enjoy features such as alerts, private messaging and viewing latest posts and topics.

Jingles White Z progress thread!! (PICTURE HEAVY)

2003 - 2009, roadster, coupe, facelift
Post Reply
User avatar
JINGLE
Senior Member
Senior Member
Posts: 2550
Joined: Wed Apr 23, 2014 9:20 pm
Location: Norwich, Norfolk

Re: Jingles White Z progress thread!! (PICTURE HEAVY)

Post by JINGLE » Wed Jun 24, 2015 9:08 am

sk93 wrote:
JINGLE wrote:
not sure on the black badges as might be removing them :evil:

and im guessing you had to white out the USA reflector circles?

have you "sunken in" the indicators on yours? not seen that done before??


thanks for the nice comments guys :oops:
the "sunken indicators" were a common mod where you slice off one or two rings of "blocks" from the plastic light lenses.
If memory serves, the lenses are four "blocks" high, and the common choice was to cut out one ring of blocks, making it three high, and less "sticky outy".

fairly simple mod to do if you take your time - hence the "rainy day" point I assume :)

ahh i get what you mean, so the more you chop off the less it sticks out..... seems like a pretty simple mod that gives a nice effect, the standard 4 blocks do poke out a bit so might try removing 1 and seeing what 3 looks like.

will wait for a rainy day 1st as ive got so many ideas floating around my head i need to start prioritizing :headbang: :fuelfire:

Incompatible
Member
Member
Posts: 580
Joined: Fri Oct 05, 2007 8:42 pm
Location: San Diego

Re: Jingles White Z progress thread!! (PICTURE HEAVY)

Post by Incompatible » Wed Jun 24, 2015 3:46 pm

Don't bother removing only one ring of blocks, go with two. A single ring does doesn't make much of a visual change, the shorter two ring is just as bright as the oem 4 ring and yet really cleans up the lines. On my white coupe I also debadged all the lettering and went with black/white roundels. Your roady is looking good. :thumbsup:
If you can't take the time to teach a kid something good, someone will take the time to teach them something bad.
2007 AW Z4 3.0Si Coupe

User avatar
JINGLE
Senior Member
Senior Member
Posts: 2550
Joined: Wed Apr 23, 2014 9:20 pm
Location: Norwich, Norfolk

Re: Jingles White Z progress thread!! (PICTURE HEAVY)

Post by JINGLE » Wed Jun 24, 2015 4:04 pm

Incompatible wrote:Don't bother removing only one ring of blocks, go with two. A single ring does doesn't make much of a visual change, the shorter two ring is just as bright as the oem 4 ring and yet really cleans up the lines. On my white coupe I also debadged all the lettering and went with black/white roundels. Your roady is looking good. :thumbsup:
ill take 1 off at 1st and see, then ill probs end up doing 2 then if they look better :)

and im also thinking of de-badging as it looks cleaner in my opinion :thumbsup: and i think ill change the roundels to carbon at a later date, the white and red looks good but white red and blue is a bit much :(

nmh
Member
Member
Posts: 57
Joined: Mon Jul 04, 2011 7:49 pm
Location: Norwich, Norfolk

Re: Jingles White Z progress thread!! (PICTURE HEAVY)

Post by nmh » Wed Jun 24, 2015 4:16 pm

Coming along nicely mate!
2003 Z4 3.0 Roadster - Gone
2005 645ci Coupe - Gone
2007 Z4M Roadster - Gone
2011 M3 Cabrio

User avatar
ESP
Senior Member
Senior Member
Posts: 1132
Joined: Thu May 12, 2011 12:36 pm
Location: Braintree
Contact:

Re: Jingles White Z progress thread!! (PICTURE HEAVY)

Post by ESP » Wed Jun 24, 2015 6:58 pm

Looks great!! Nice write up.

Don't get a 'Across the bumper' quad conversion, go for a proper split from the Middle job.
EMP in StAlbans seem to be the best stainless steel wielders around the M25 / Home countries. :thumbsup:
07 Sapphire Black Roadster.

Bumpy
Senior Member
Senior Member
Posts: 1141
Joined: Tue Dec 27, 2011 12:13 am
Location: Whitby, Ontario, Canada

Re: Jingles White Z progress thread!! (PICTURE HEAVY)

Post by Bumpy » Wed Jun 24, 2015 7:25 pm

Morning Jingle..

Hockey pucks are sliced in half.
Its a fairly common mod.
I used masking tape to layout the cut and a fine hack saw blade to patiently score the circumference.
The waste lens on the base can be broken off with pliers. A few relief cuts into the lens helps.
True up the base and modified lens with s sheet of sandpaper taped to the counter top ...
A good quality epoxy (JB Weld) - And there yah have it !
Just make sure you mark the original alignment of top to base so your rondels end up as the should.
And when you remove the assembly from the fender ..Make sure you secure the bulb and wire. Not too sure if retrieving it would be a problem but ..
There must be a DIY Link. I know I did one somewhere.
Gimme a PM when you are ready to do it.

Black Z4 ..
I did de-badge it at first.
Then I thought it was looking naked back there.
Thought about wrapping it in carbon fibre.
That didn't work so well so I just sprayed it black.
I like it but hey ..I can always de-badge it again if I want a change.

The reflector covers are a work in progress that I somehow just forgot about.
You might note that the original lens lettering is still visible because I didn't want to sand those flush until I was sure I liked it.
The lens is covered with white reflective tape. The stuff that you peel and stick and it has amazing adhesive strength.
I cut the profile using a high quality set of drafting calipers (using a piece of rubber eraser to protect the centre from damage).
On our Premium and ultra rare E85 /E86 Zeds, the colour match is almost perfect.

Lemme know if you need more concise descriptions ...

Cheers and good luck
Bumpy

User avatar
JINGLE
Senior Member
Senior Member
Posts: 2550
Joined: Wed Apr 23, 2014 9:20 pm
Location: Norwich, Norfolk

Re: Jingles White Z progress thread!! (PICTURE HEAVY)

Post by JINGLE » Thu Jun 25, 2015 9:53 am

nmh wrote:Coming along nicely mate!
thanks mate, skirts took a back seat while i got the brakes sorted so im a bit behind schedule but once done i might even pop by and show you them on the car :thumbsup:


ESP wrote:Looks great!! Nice write up.

Don't get a 'Across the bumper' quad conversion, go for a proper split from the Middle job.
EMP in StAlbans seem to be the best stainless steel wielders around the M25 / Home countries. :thumbsup:
yes mate looks like ill be paying them a visit and thanks for all your help with it so far :thumbsup: (just a shame you haven't got any pictures of yours :cry: )


Bumpy wrote: Gimme a PM when you are ready to do it.

Lemme know if you need more concise descriptions ...

Cheers and good luck
Bumpy
i will defo be in contact when im ready to do it, trouble is the bumpers/skirts and then quads are over £1000 so will take up all my time and money until there done but cant wait till there finished and on the car :fuelfire: have you got any more photos to inbox me of mods you have done to your white Z? would be interested in seeing your progress :D

Austin
Member
Member
Posts: 289
Joined: Wed Oct 08, 2014 2:44 pm
Location: Huddersfield

Re: Jingles White Z progress thread!! (PICTURE HEAVY)

Post by Austin » Thu Jun 25, 2015 10:23 am

Great work, will be good to see the finished car.
///MC - Bought to drive. Eventuri / Eibachs / Stubby added

Stark
Lifer
Lifer
Posts: 4632
Joined: Tue Jun 19, 2012 6:44 pm

Re: Jingles White Z progress thread!! (PICTURE HEAVY)

Post by Stark » Thu Jun 25, 2015 10:44 am

I think CSL's reps would be great.....

User avatar
JINGLE
Senior Member
Senior Member
Posts: 2550
Joined: Wed Apr 23, 2014 9:20 pm
Location: Norwich, Norfolk

Re: Jingles White Z progress thread!! (PICTURE HEAVY)

Post by JINGLE » Thu Jun 25, 2015 10:56 am

Stark wrote:I think CSL's reps would be great.....
stop giving me ideas lol, let me finish 1 stage at a time before giving me to many options to think about whats next :fuelfire: hahaha

User avatar
ESP
Senior Member
Senior Member
Posts: 1132
Joined: Thu May 12, 2011 12:36 pm
Location: Braintree
Contact:

Re: Jingles White Z progress thread!! (PICTURE HEAVY)

Post by ESP » Thu Jun 25, 2015 1:03 pm

Stark wrote:I think CSL's reps would be great.....

+1 on this :thumbsup:
07 Sapphire Black Roadster.

User avatar
JINGLE
Senior Member
Senior Member
Posts: 2550
Joined: Wed Apr 23, 2014 9:20 pm
Location: Norwich, Norfolk

Re: Jingles White Z progress thread!! (PICTURE HEAVY)

Post by JINGLE » Fri Jul 03, 2015 2:21 pm

small update and only a small mod :)

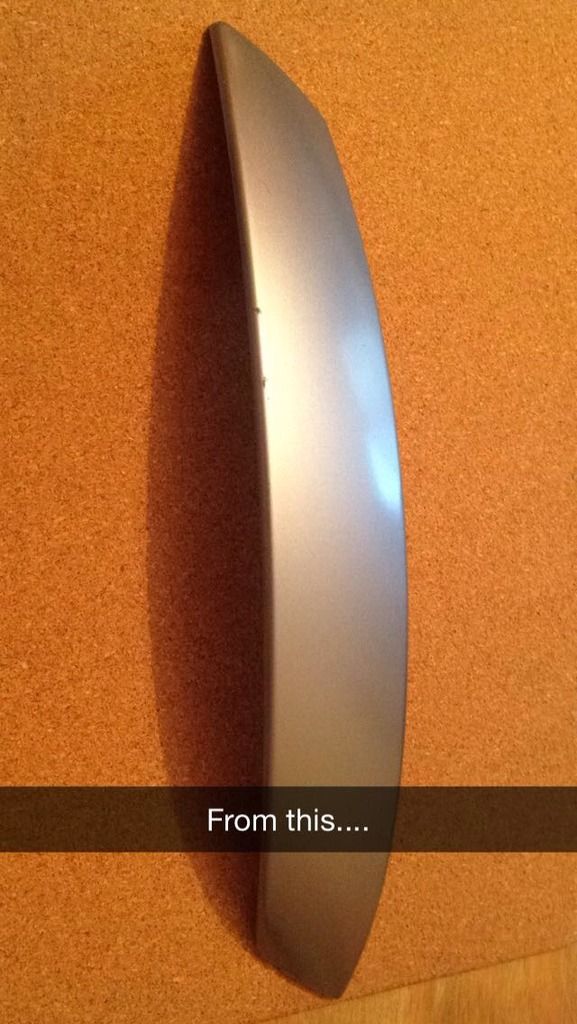
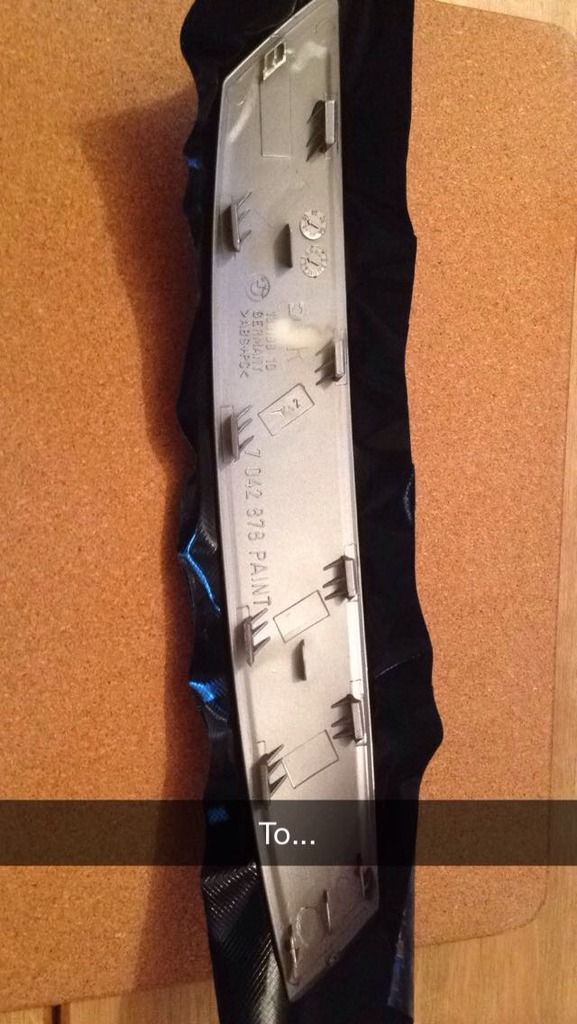
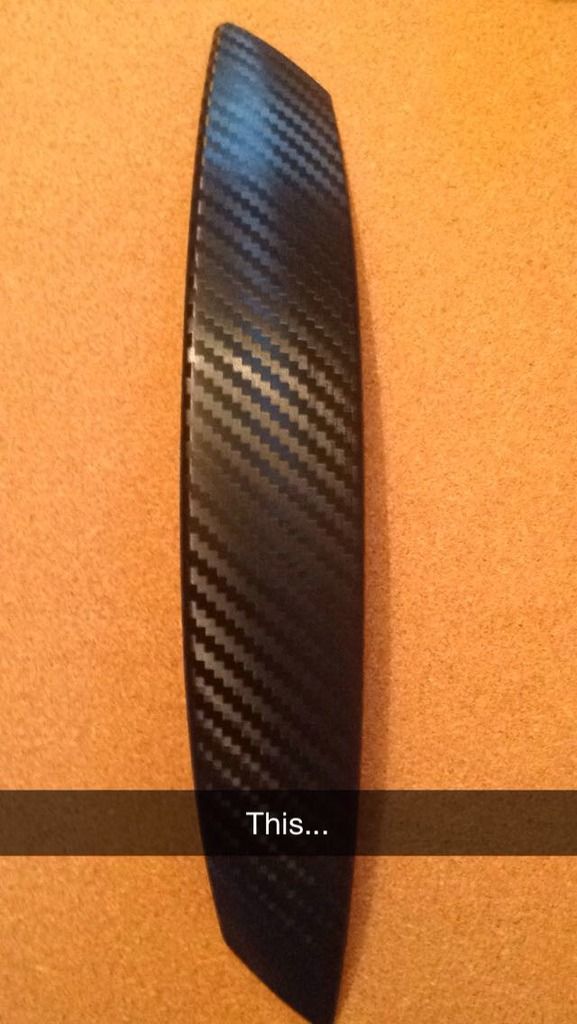
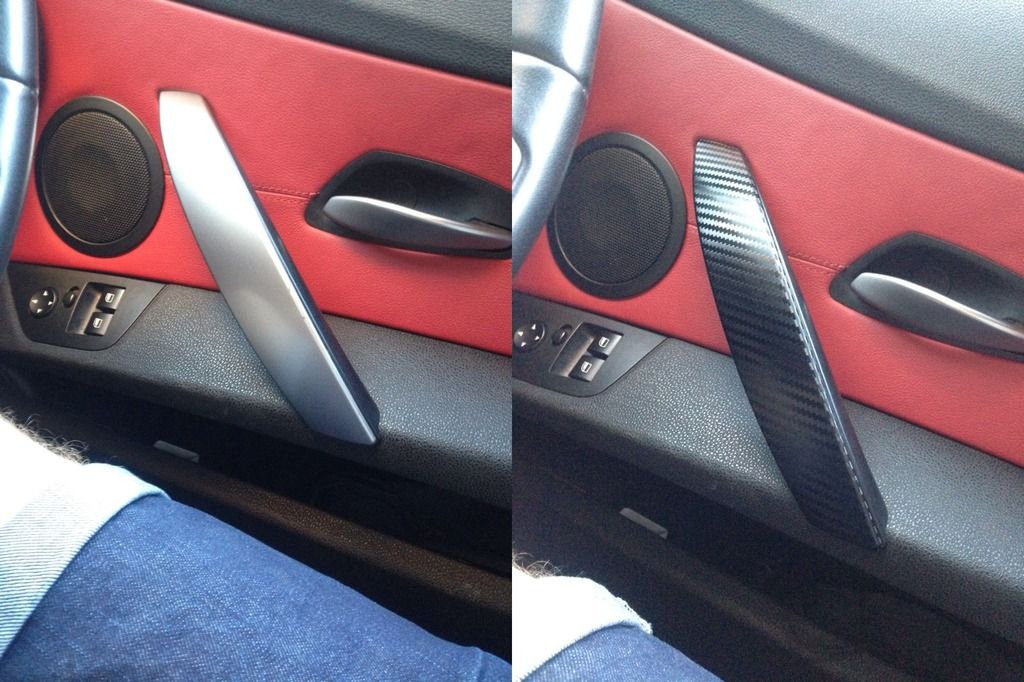
door pulls looked ever so slightly worn so fancied a change.....

Image

Image

Image

and the before and after pic...

Image

stay tuned for some updates soon as just ordered a load more bits :evil:

Bumpy
Senior Member
Senior Member
Posts: 1141
Joined: Tue Dec 27, 2011 12:13 am
Location: Whitby, Ontario, Canada

Re: Jingles White Z progress thread!! (PICTURE HEAVY)

Post by Bumpy » Fri Jul 03, 2015 4:15 pm

JINGLE wrote:small update and only a small mod :)
stay tuned for some updates soon as just ordered a load more bits :evil:
Don't worry ..
We're watching :thumbsup:

Bumpy

User avatar
JINGLE
Senior Member
Senior Member
Posts: 2550
Joined: Wed Apr 23, 2014 9:20 pm
Location: Norwich, Norfolk

Re: Jingles White Z progress thread!! (PICTURE HEAVY)

Post by JINGLE » Fri Jul 03, 2015 4:22 pm

Bumpy wrote:
JINGLE wrote:small update and only a small mod :)
stay tuned for some updates soon as just ordered a load more bits :evil:
Don't worry ..
We're watching :thumbsup:

Bumpy
then your gonna love the coming weeks :evil: :fuelfire:

User avatar
JINGLE
Senior Member
Senior Member
Posts: 2550
Joined: Wed Apr 23, 2014 9:20 pm
Location: Norwich, Norfolk

Re: Jingles White Z progress thread!! (PICTURE HEAVY)

Post by JINGLE » Fri Jul 24, 2015 3:29 pm

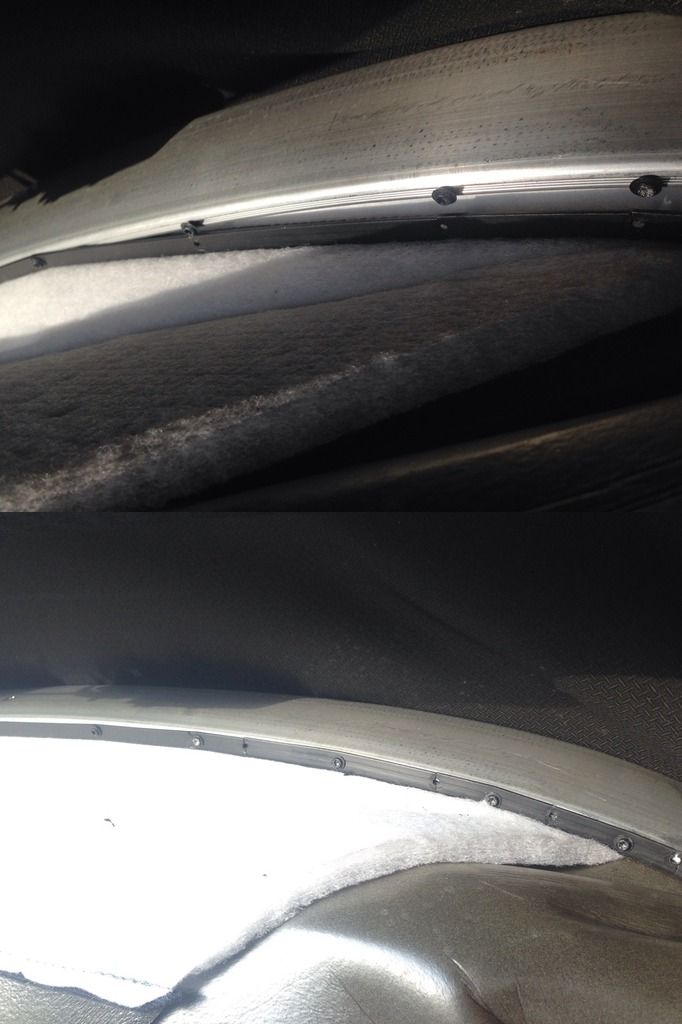
ok so not a mod but a small repair. my interior roof lining was sagging on the passengers side so i stumbled across a tutorial on here viewtopic.php?f=34&t=77459

so a few pics...

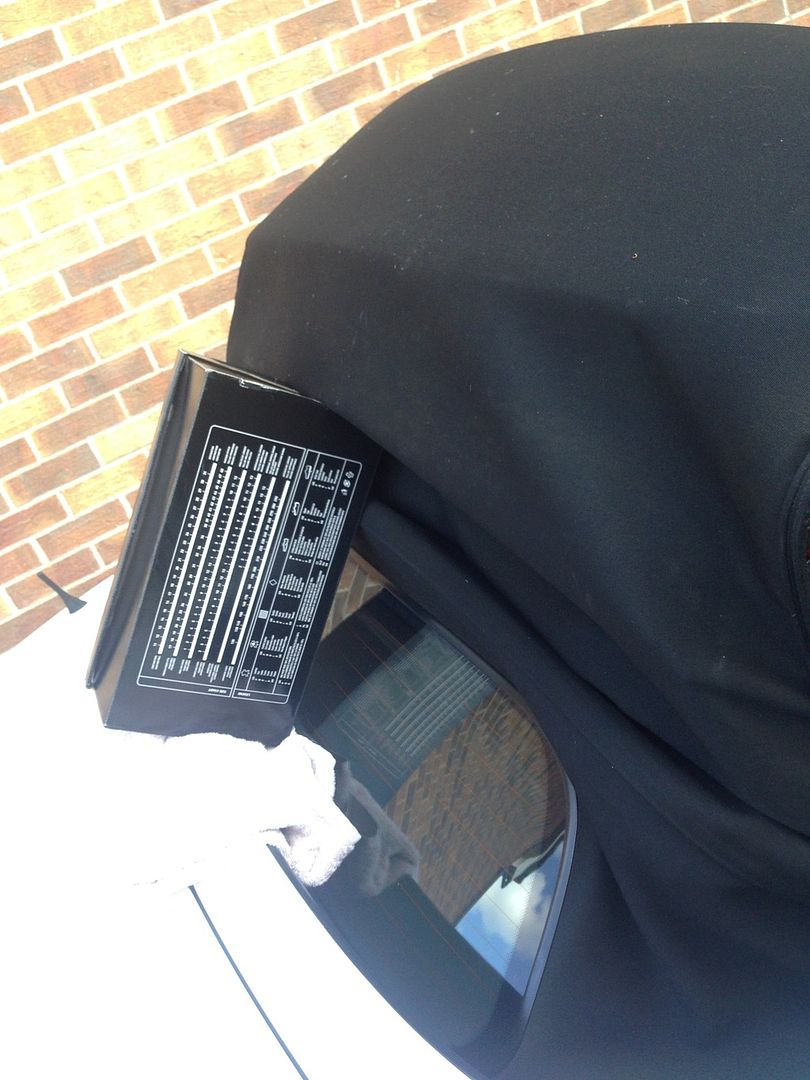
wedged the roof in the correct place with a shoebox to stop it falling down under its own weight...
Image


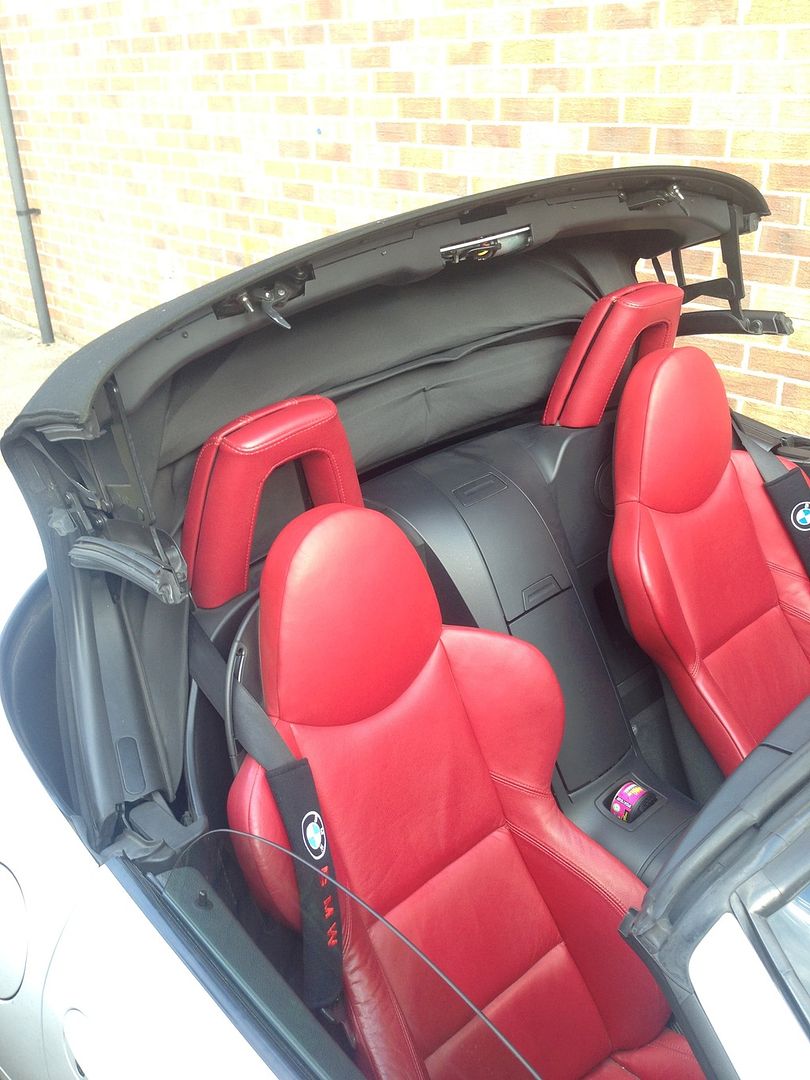
roof at good working level...
Image


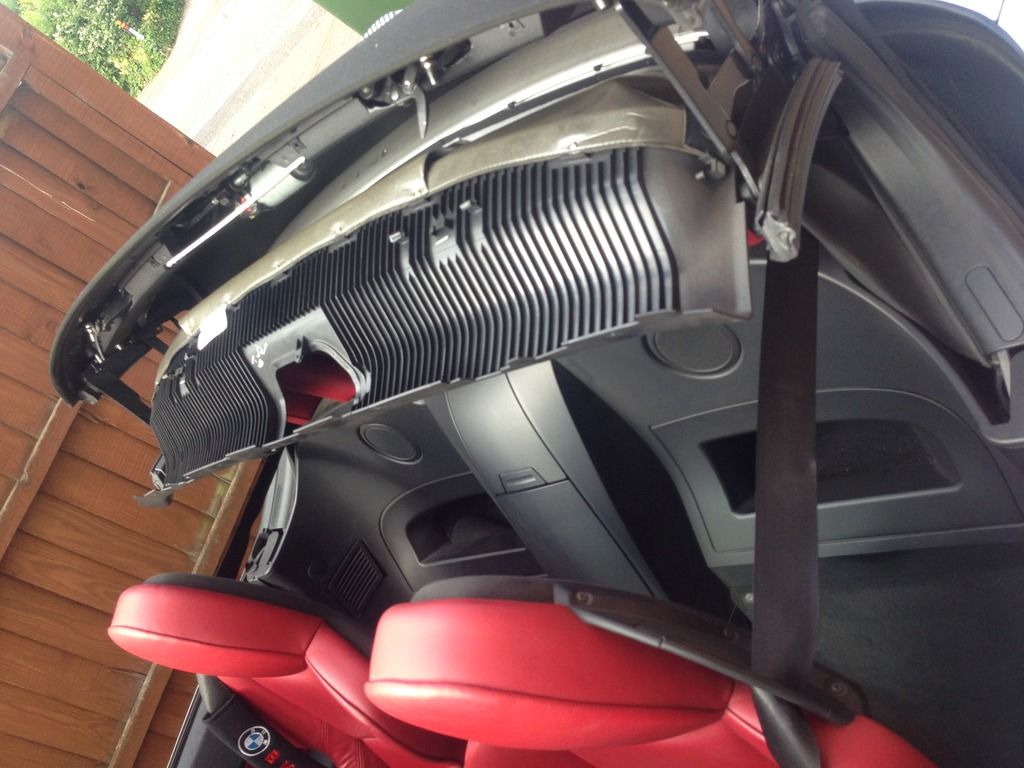
you can see the broken section on the right...
Image


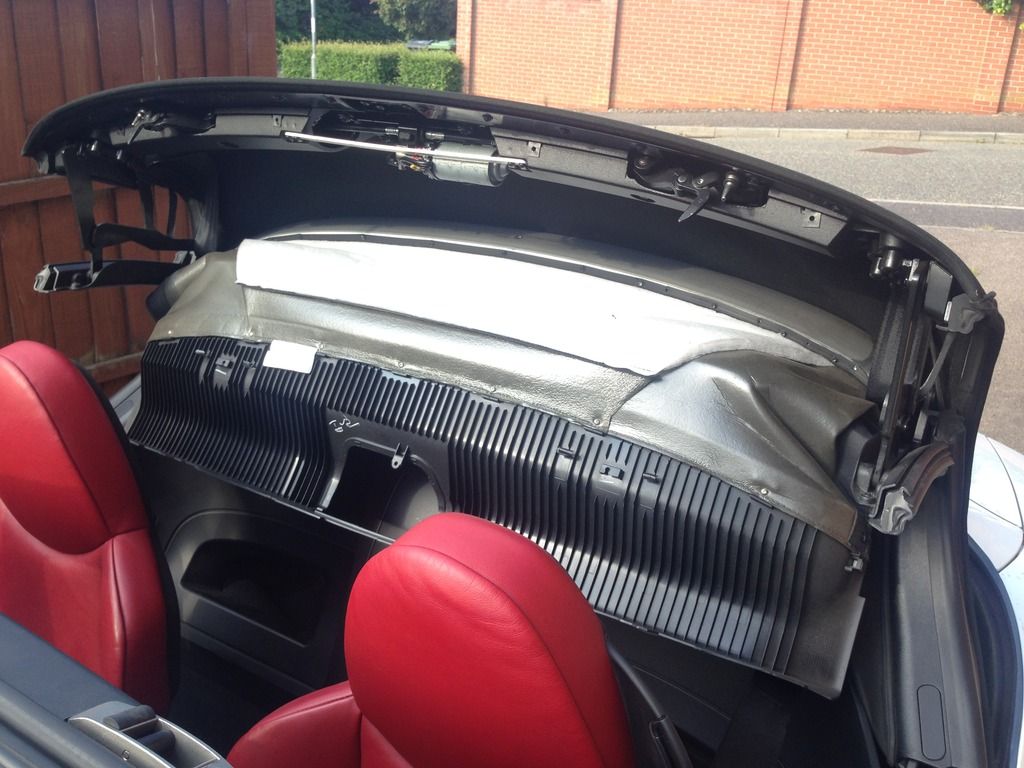
and the repaired section on the right...
Image


the broken and repaired before and after pic...
Image


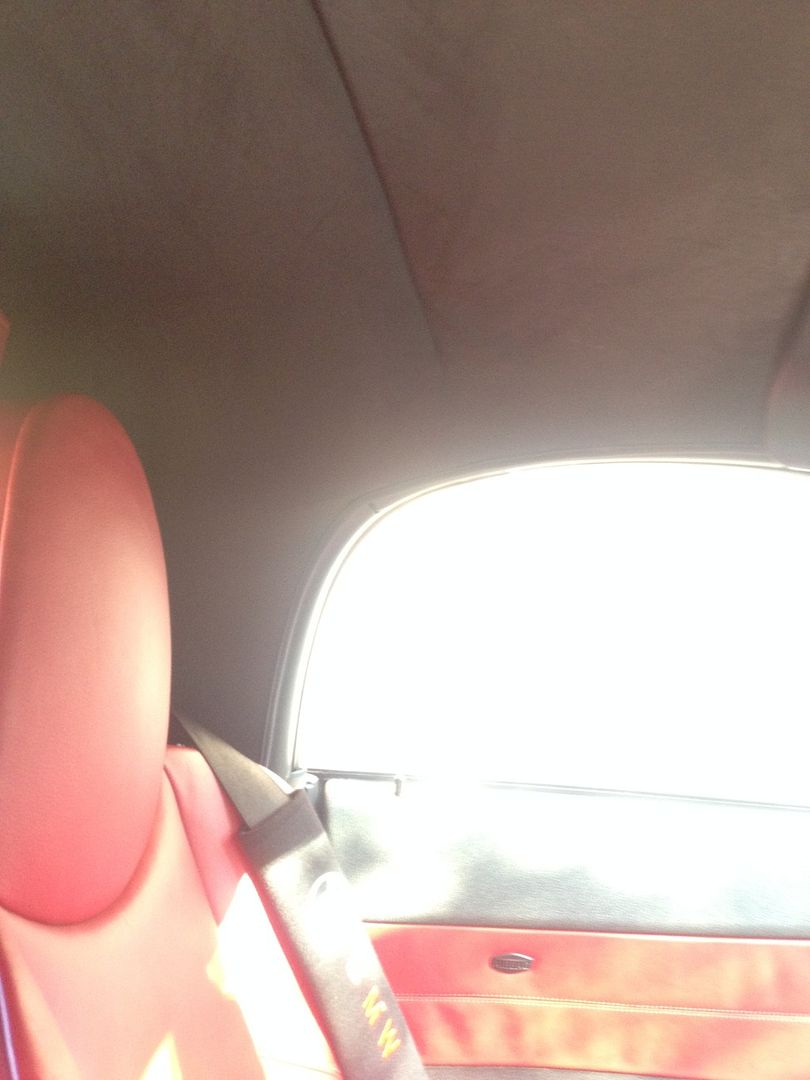
cant really see very well, but 1 fixed non sagging roof liner from inside :D ...

Image

Post Reply