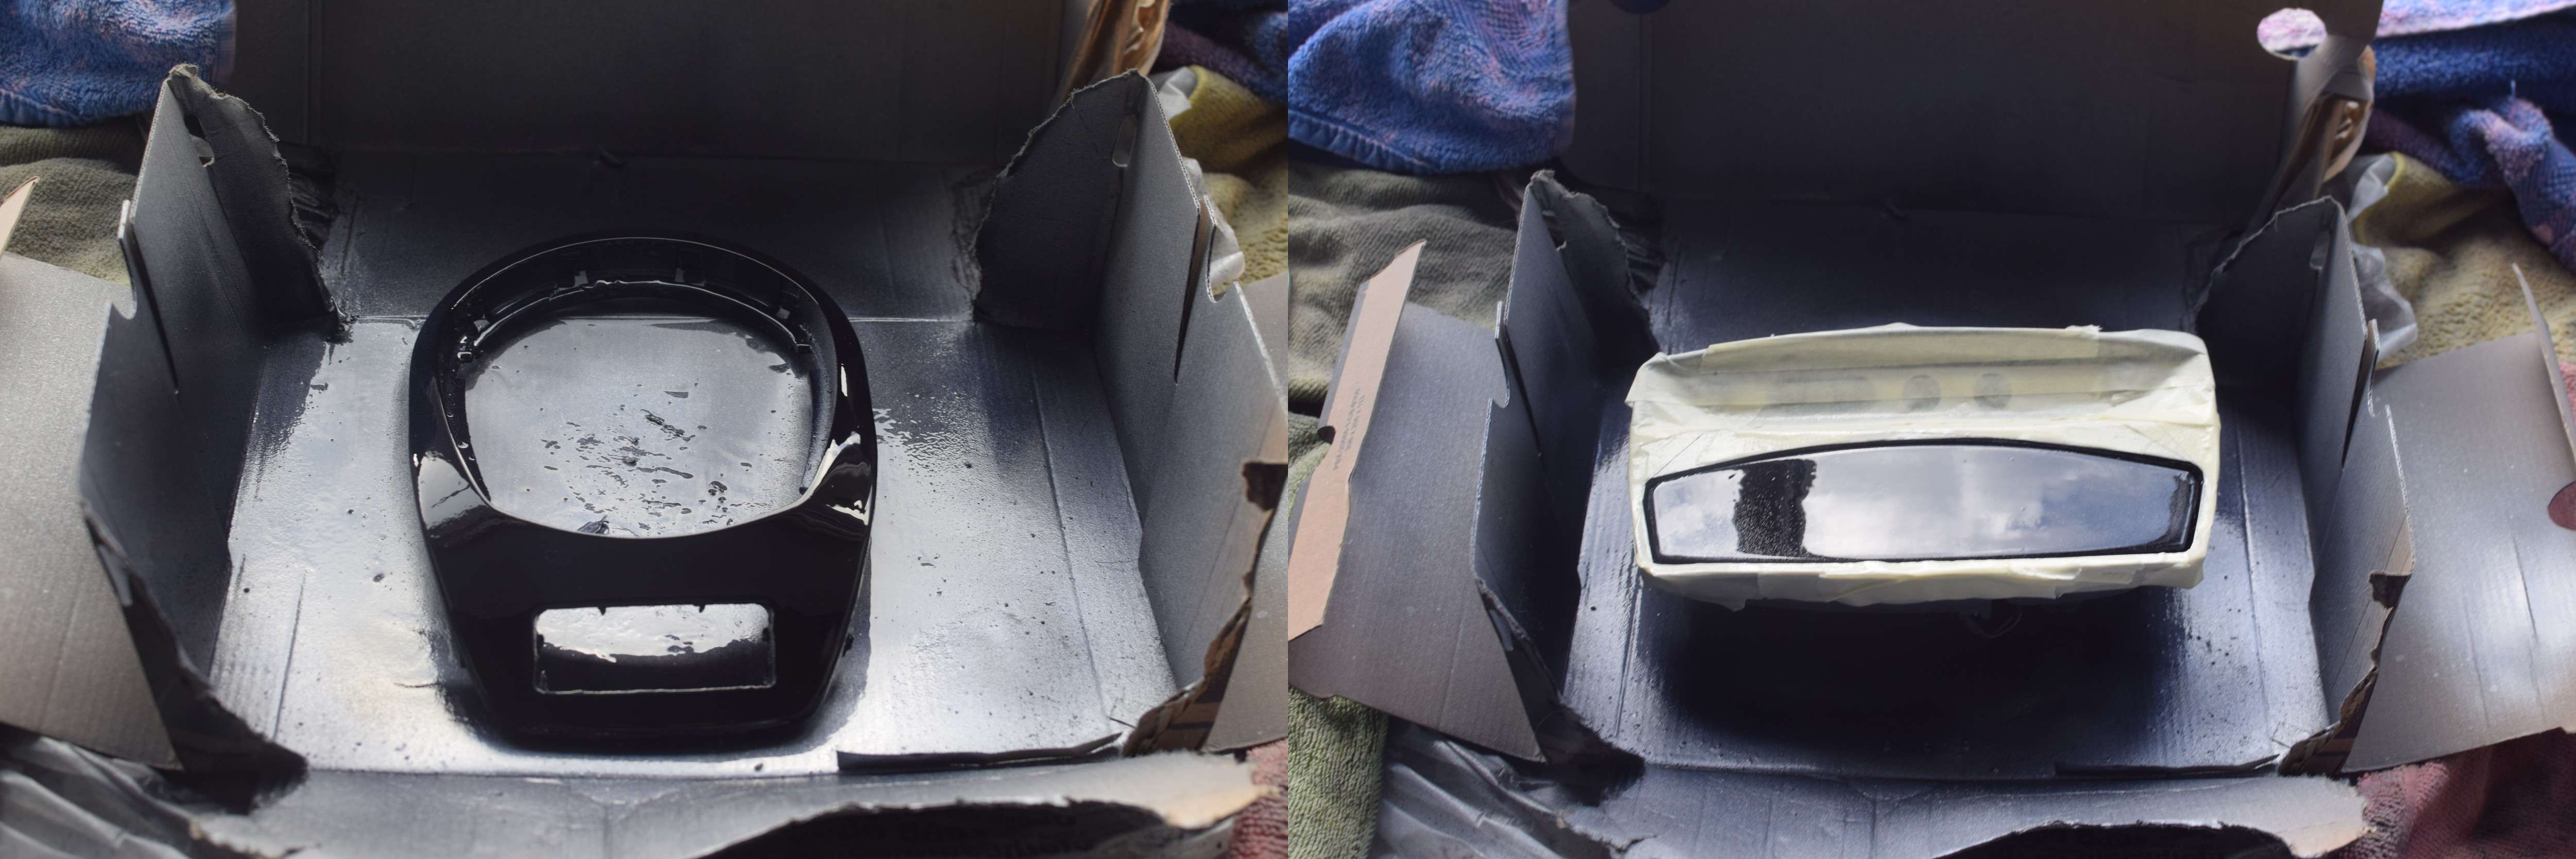
I got this idea from something I saw on Youtube and I've decided to try it out. The plan was to do this on my rear diffuser, but having woken up to yet another day of snow I'm going to be doing it on a couple of interior pieces. It probably works out better this way as it gives me a bit of practice before moving on to the big stuff!

I've already had a go at doing them in Candy Black to go with my new Piano Black center console but I wasn't happy with it so having plenty of carbon fiber in and around my car I'm going to be attempting a carbon fiber effect paint job.
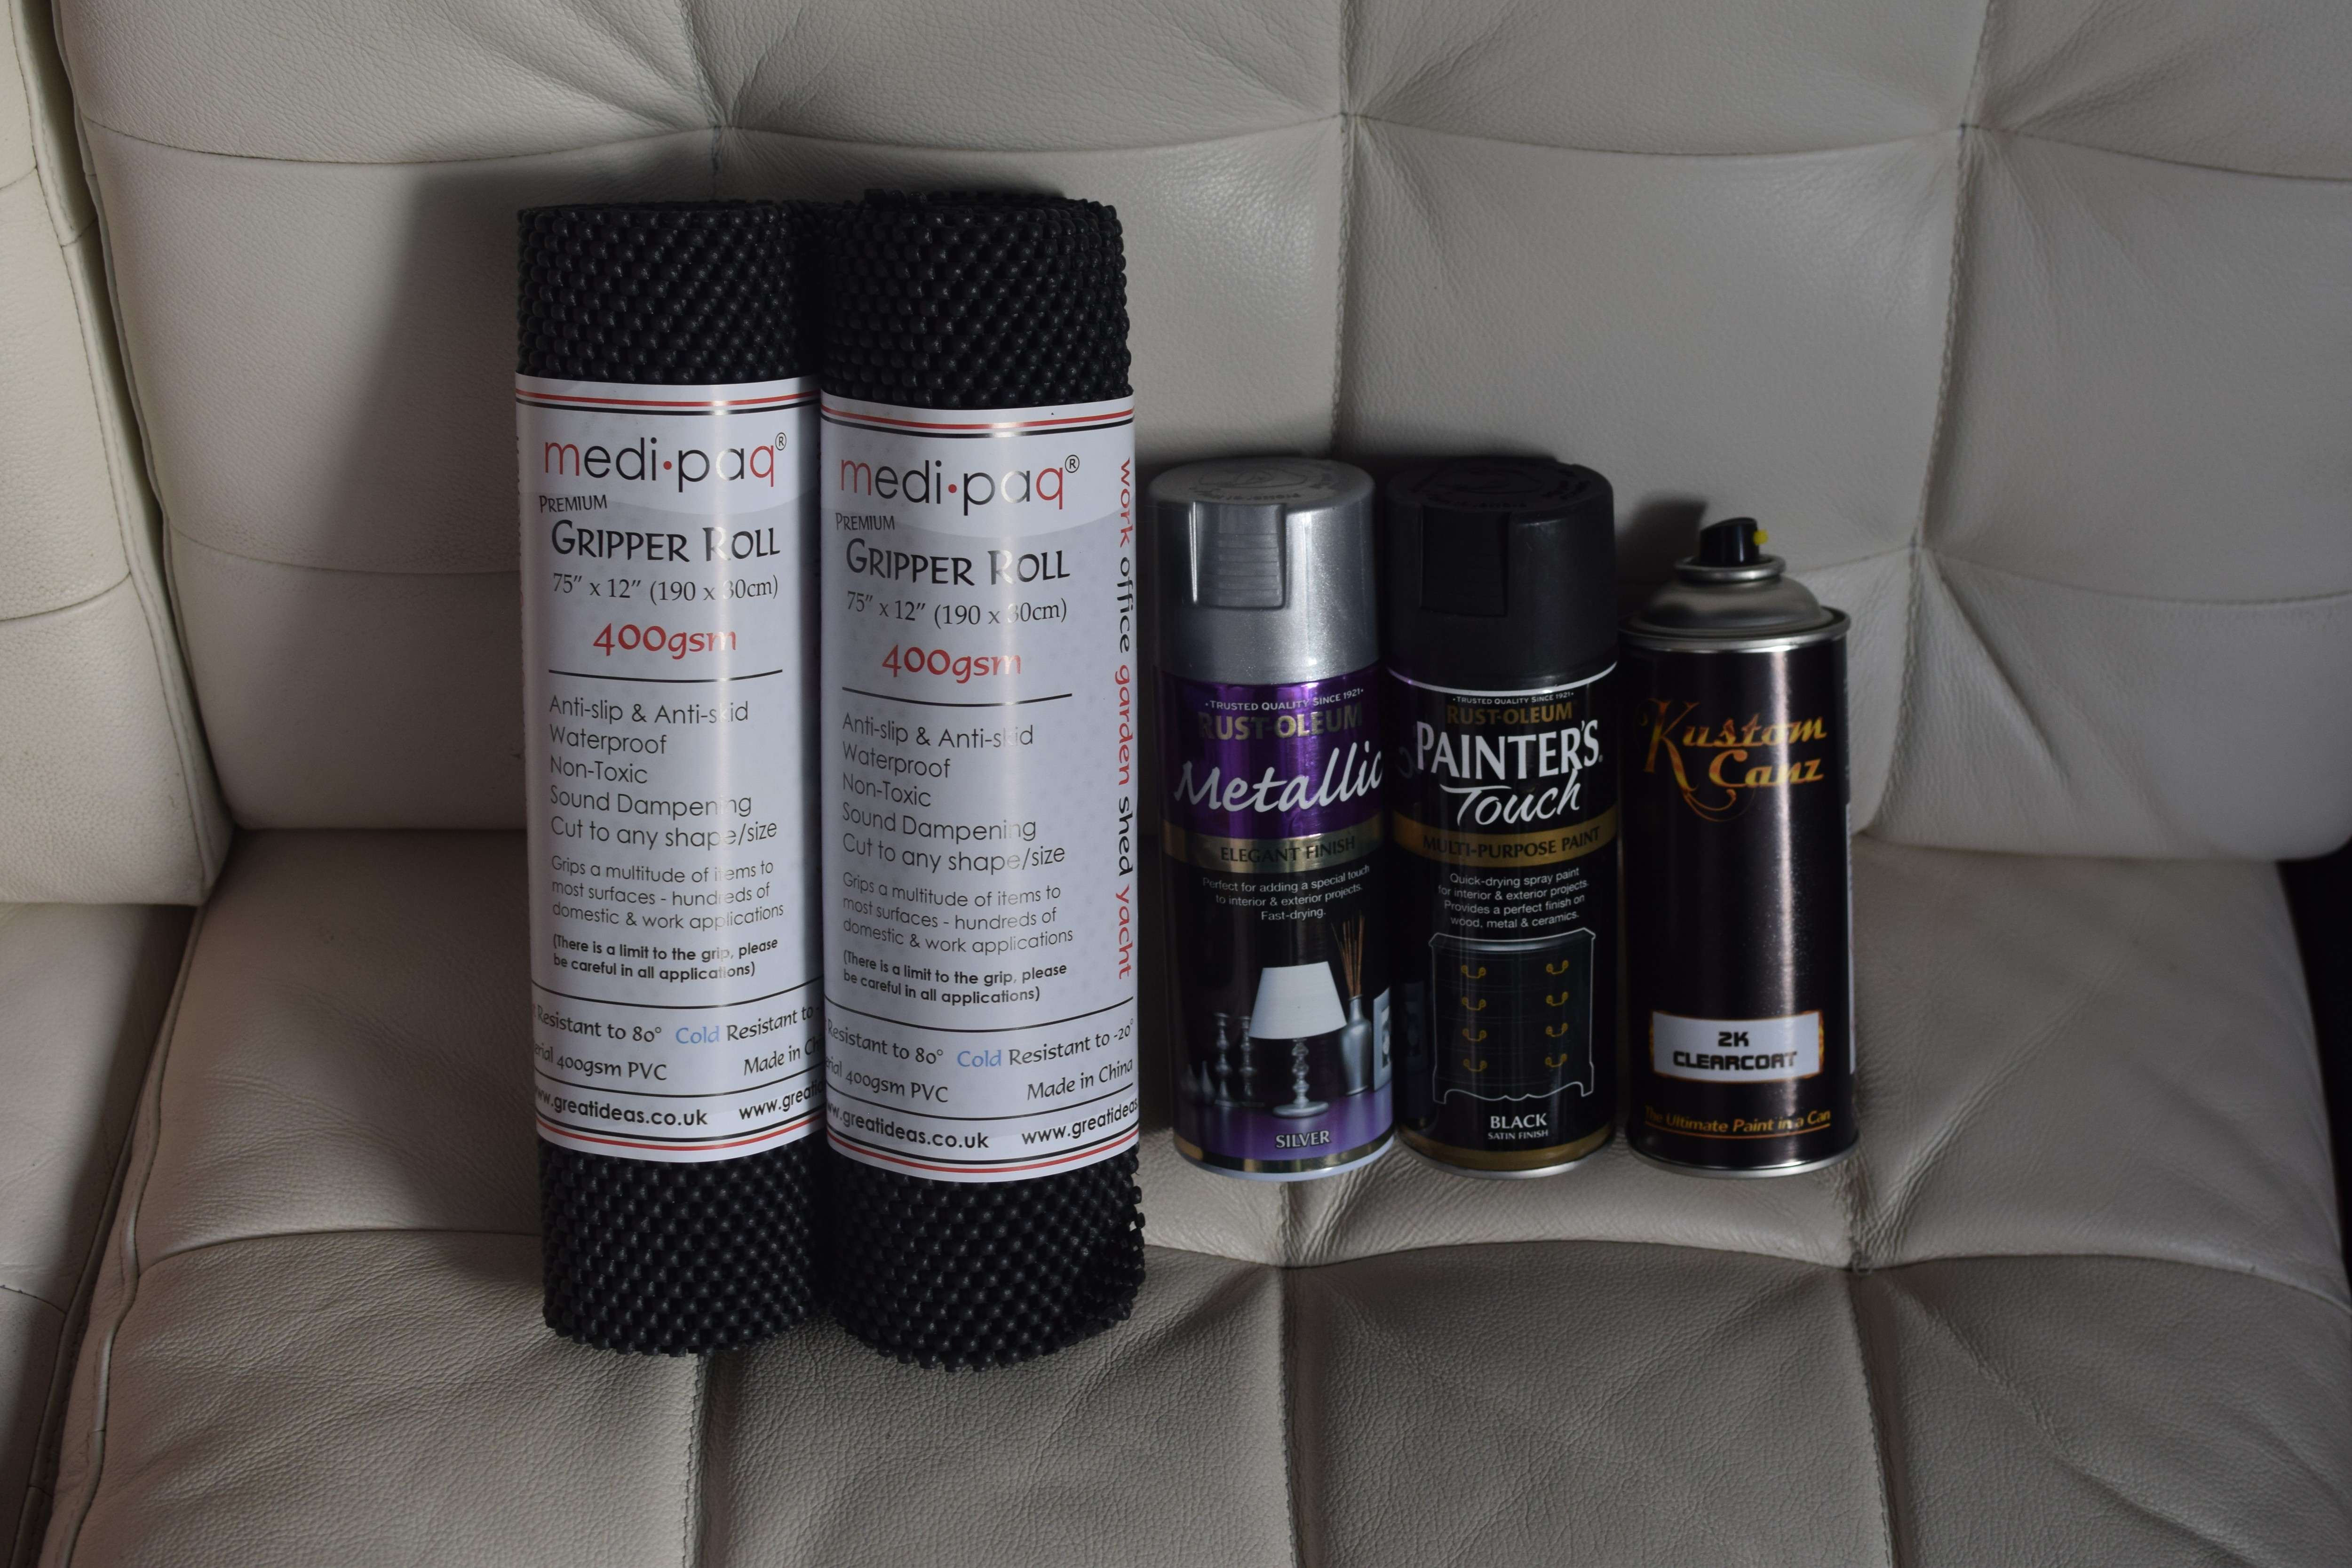
These are the parts in my makeshift painting area:
And these are my tools, fresh from Amazon:
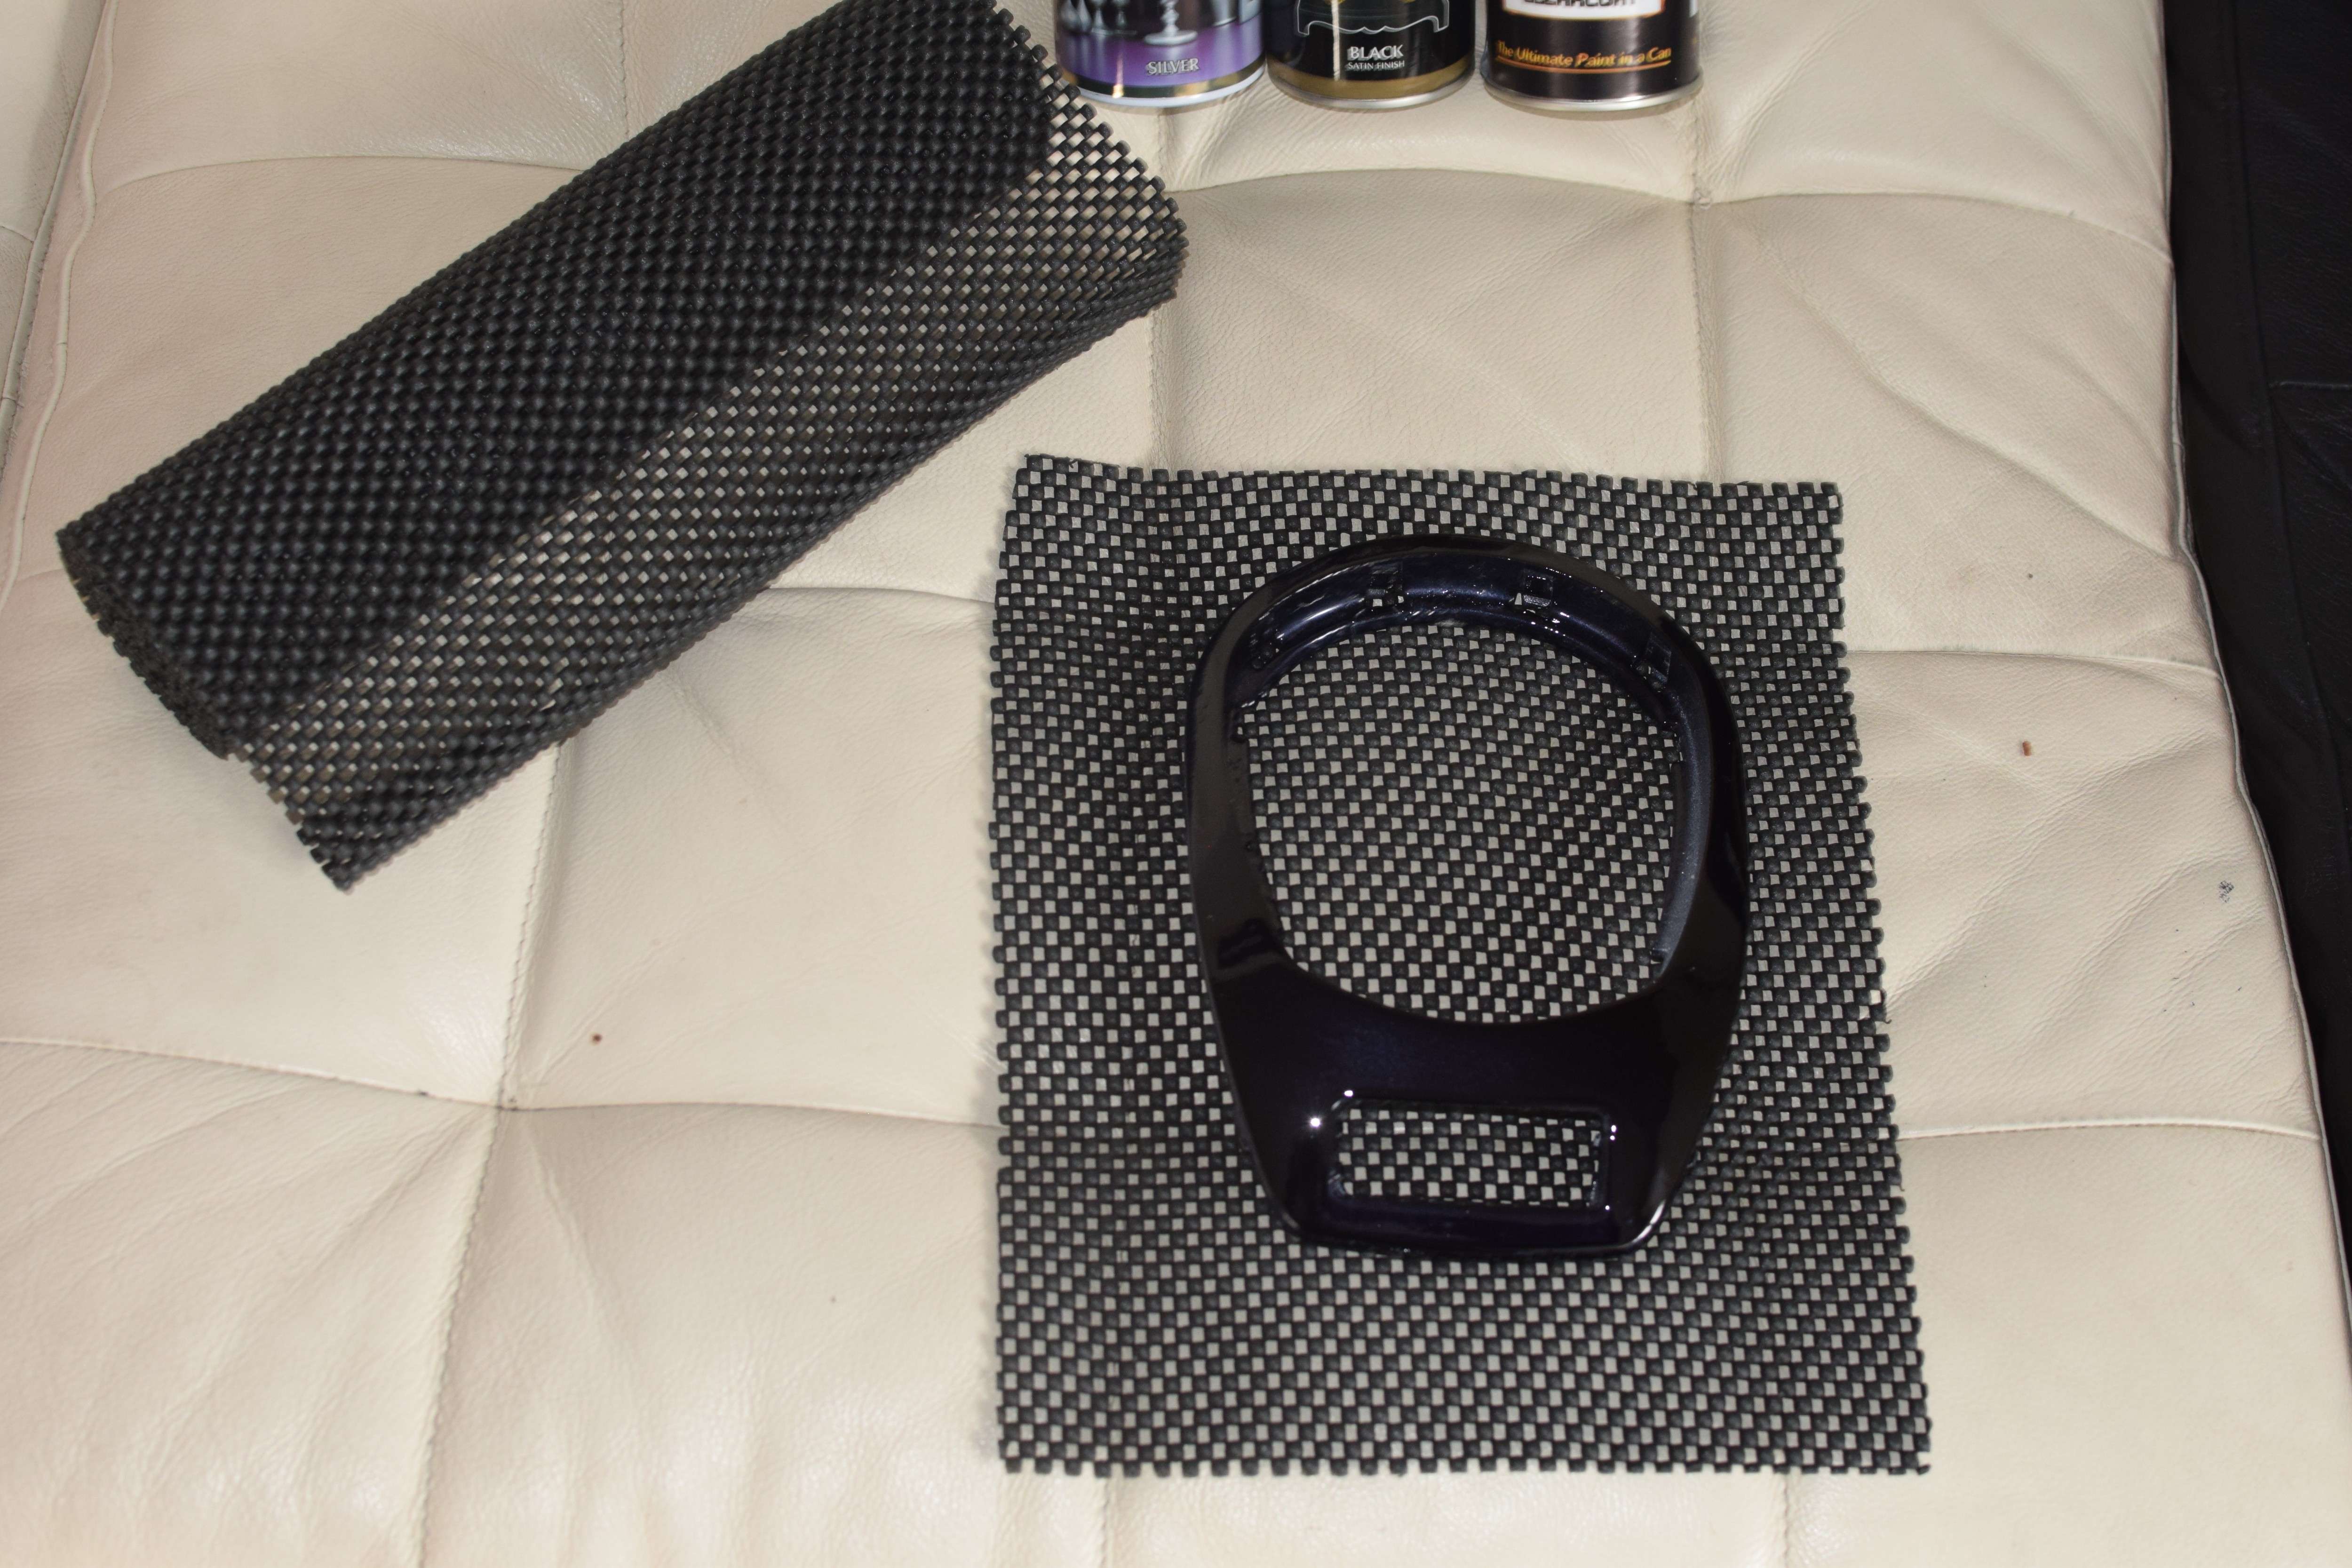
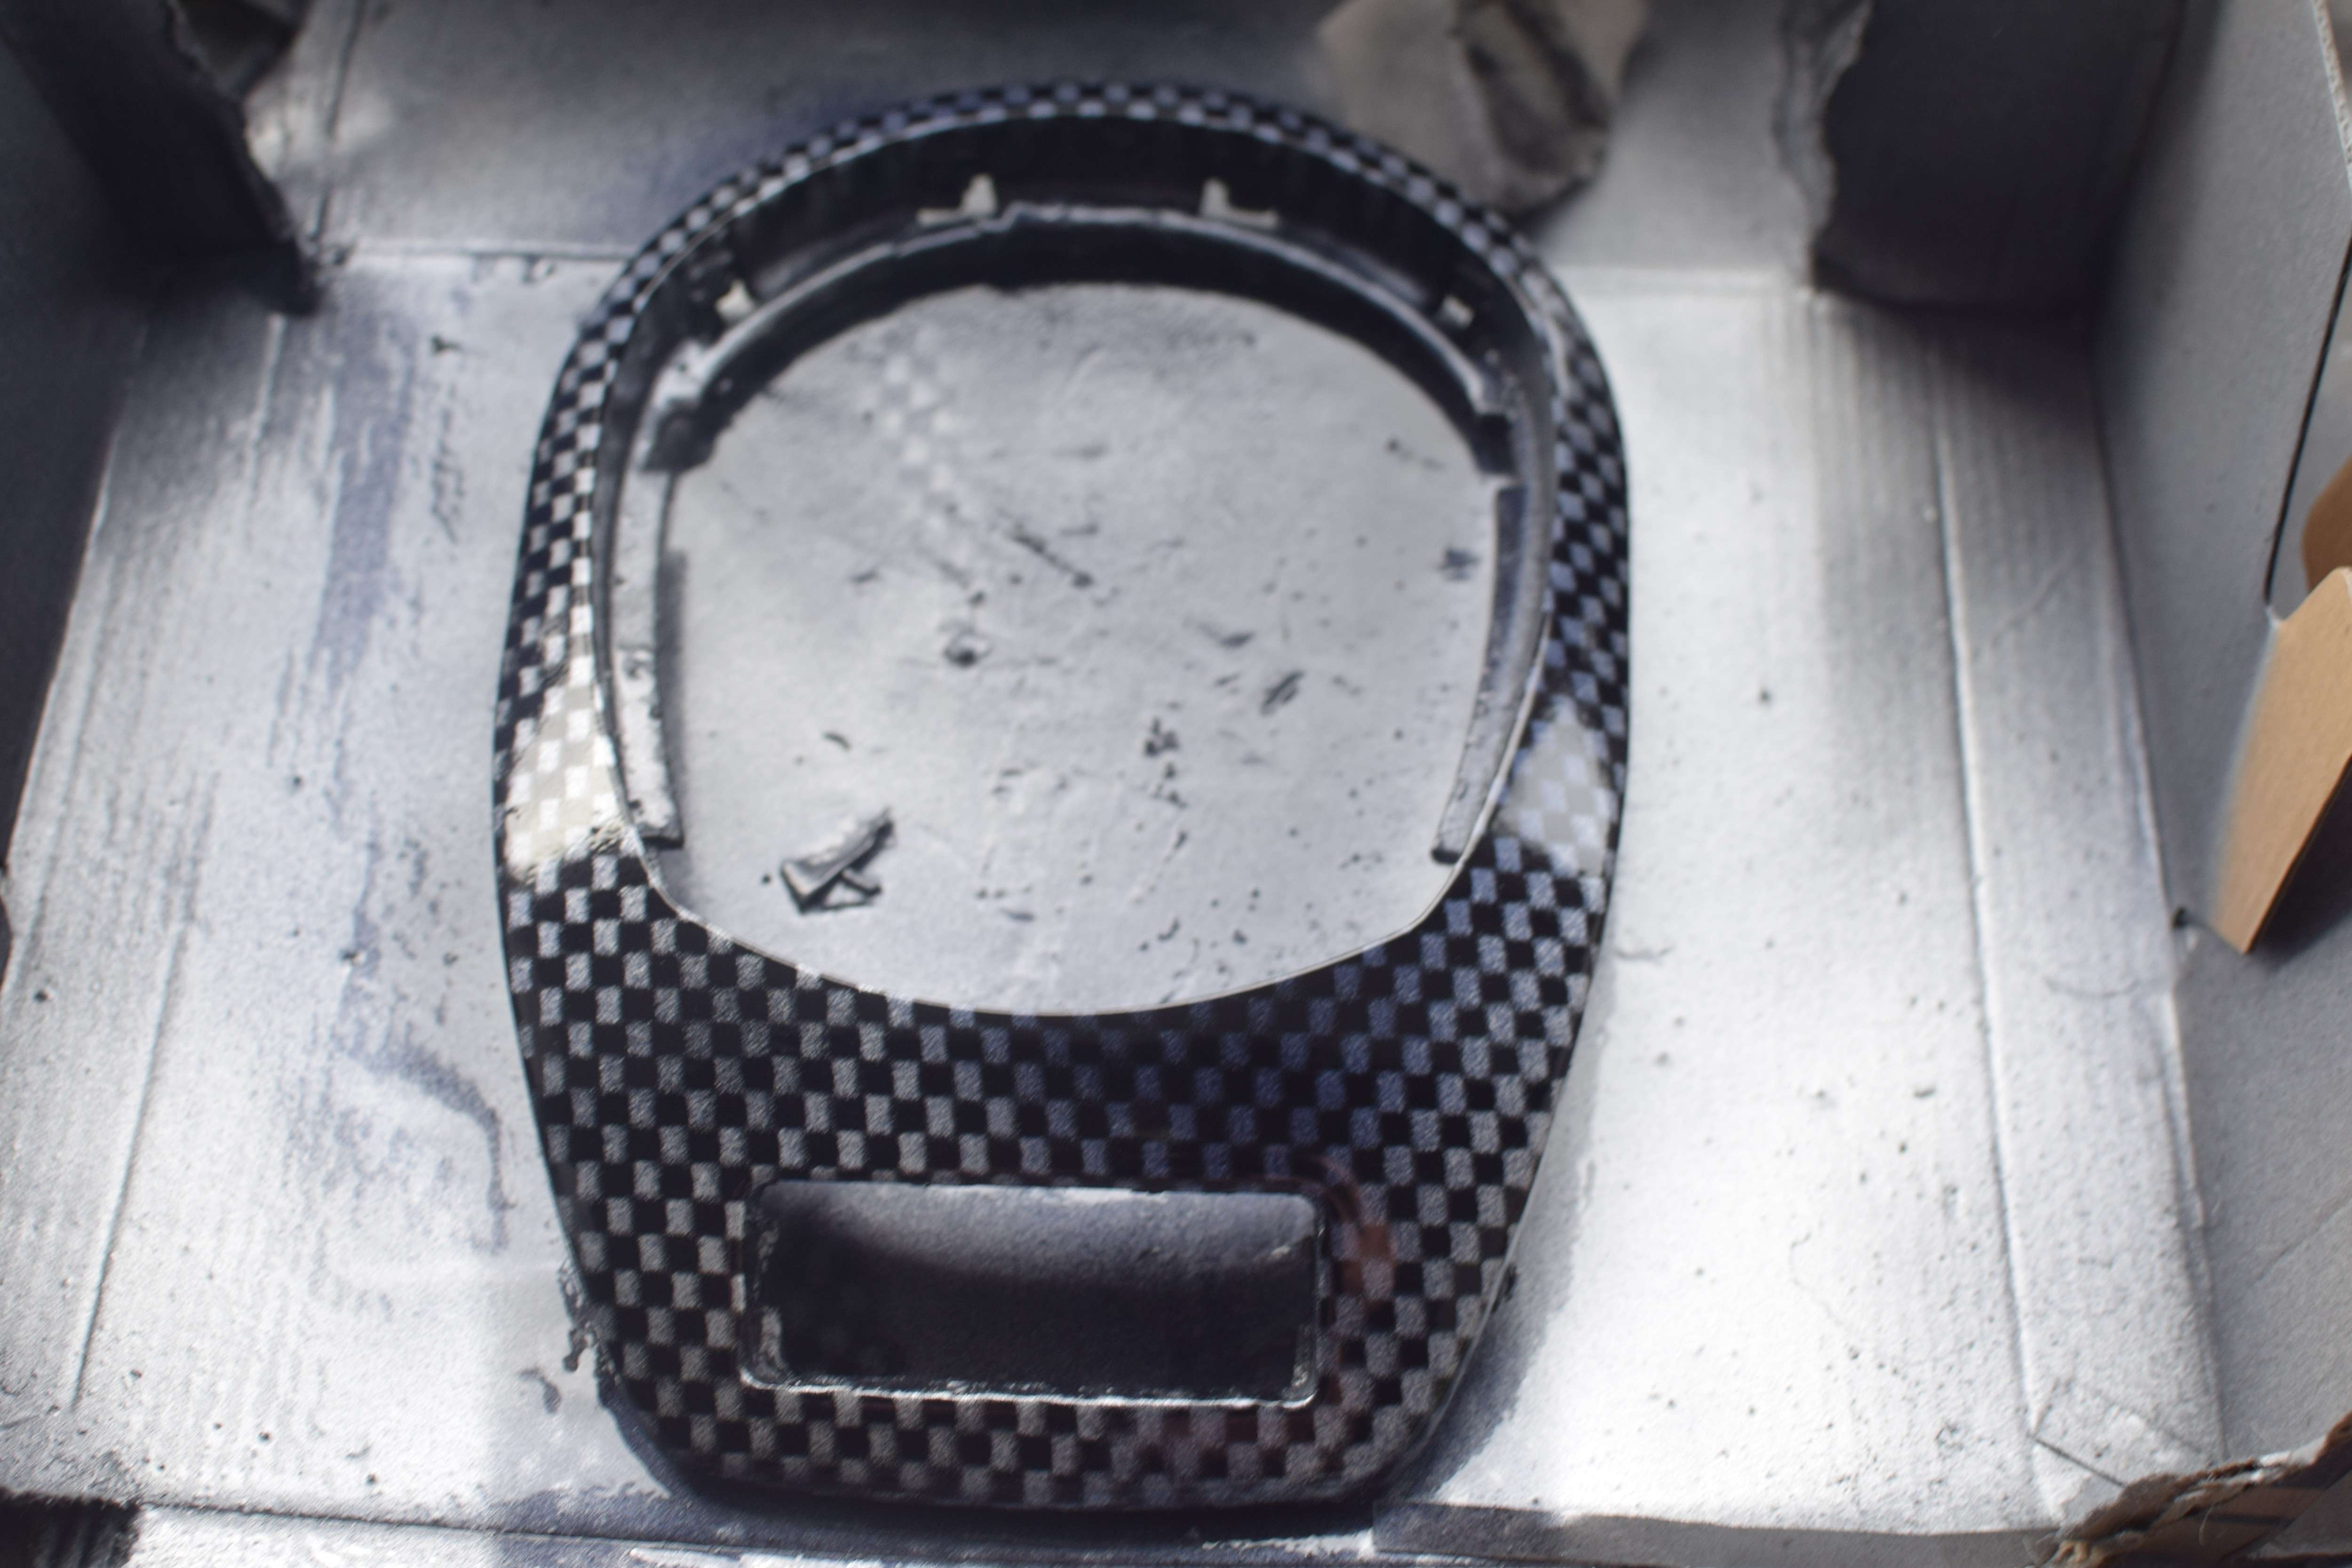
So I'm using some toolbox liner as a stencil for the carbon fiber pattern. First thing is to cut it to size to get it to sit flat on the part. My parts are already painted and glossed in Candy Black, so I'm skipping the black base coat and three layers of clear to start off with and going straight to the stencil, over which I'm going to spray silver.

Moment of truth, lets see how the first carbon layer looks...
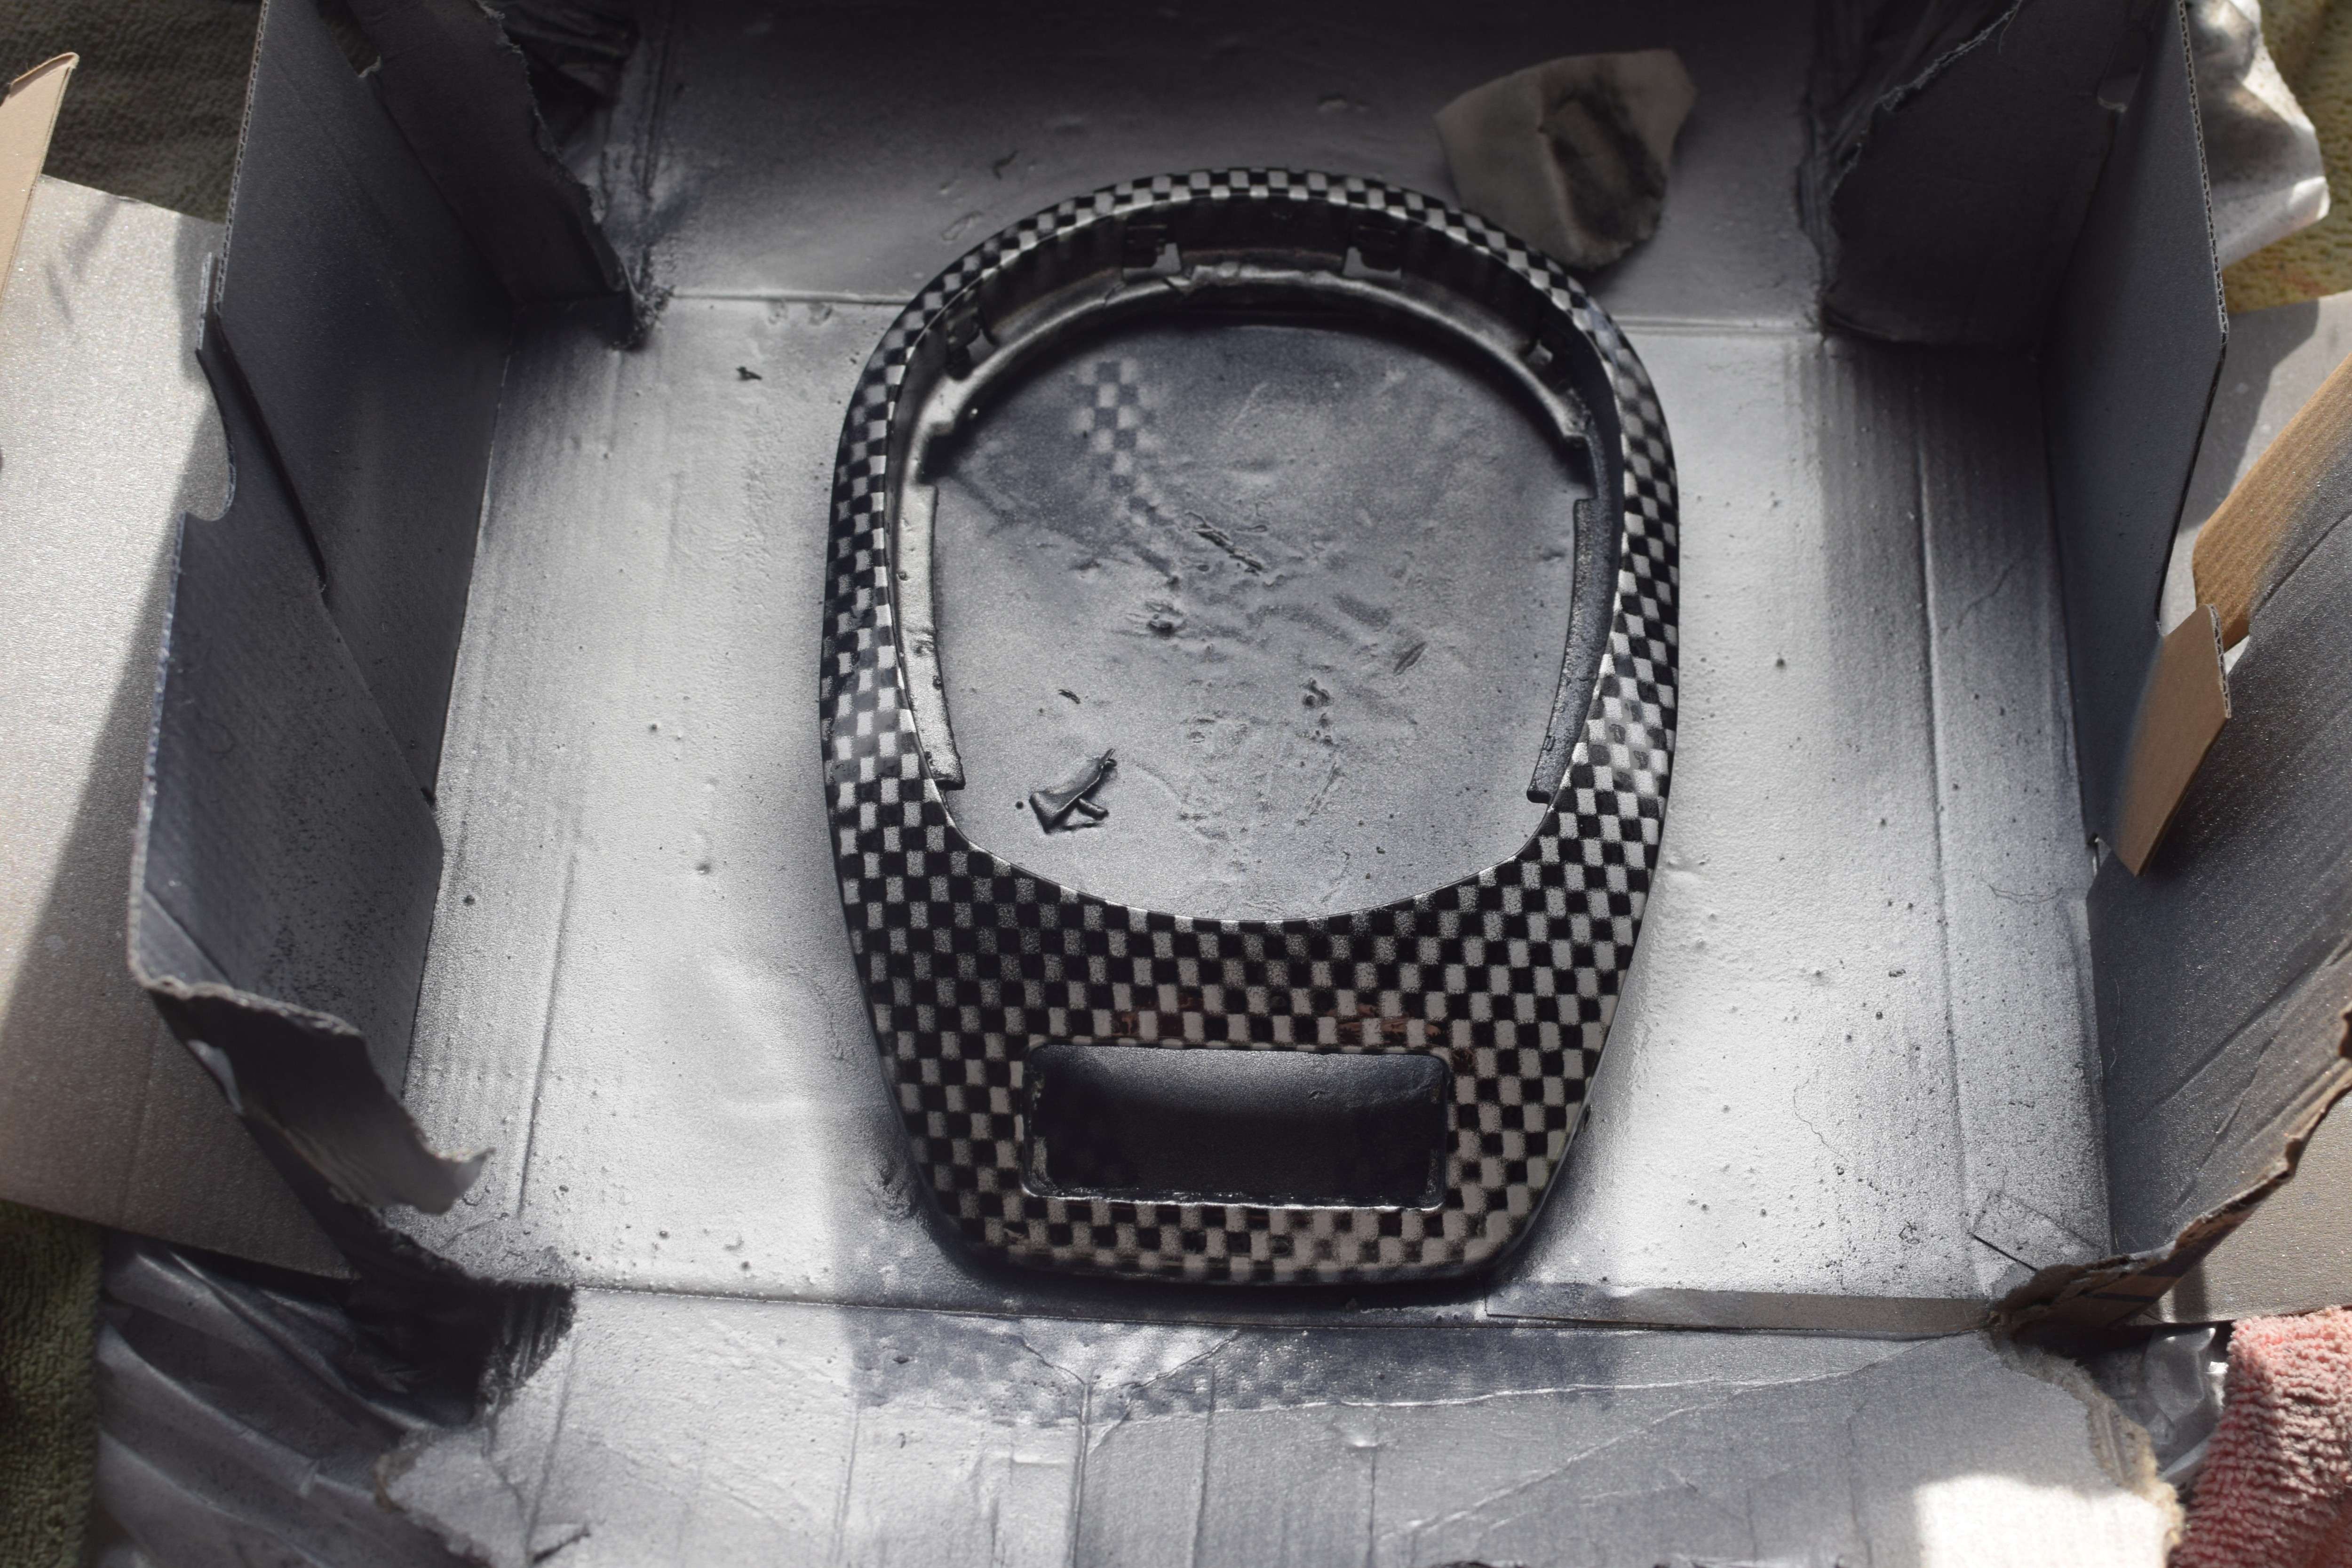
Ok not too shabby, I can see this going somewhere. Next is three layers of clear on top, ten minutes between each coat. In the last layer of clear I'm spraying my Candy Black because it has it's own transparency, but a thin layer of black is what is suggested.
Bugger! Paint decided to spurt on one spot so I've kind of overdone a patch. Hopefully it will still turn out ok
I've decided to mist over the rest with a bit more black to blend it in a bit better. Now wait for all that to dry before moving on to the next layer. I'm using 2K clear coat which has a mixed in hardener so hopefully it won't take too long to dry... I hate waiting!
Ooh good timing, another delivery has arrived so I have something to distract me for a while whilst I wait. New number plate frames...


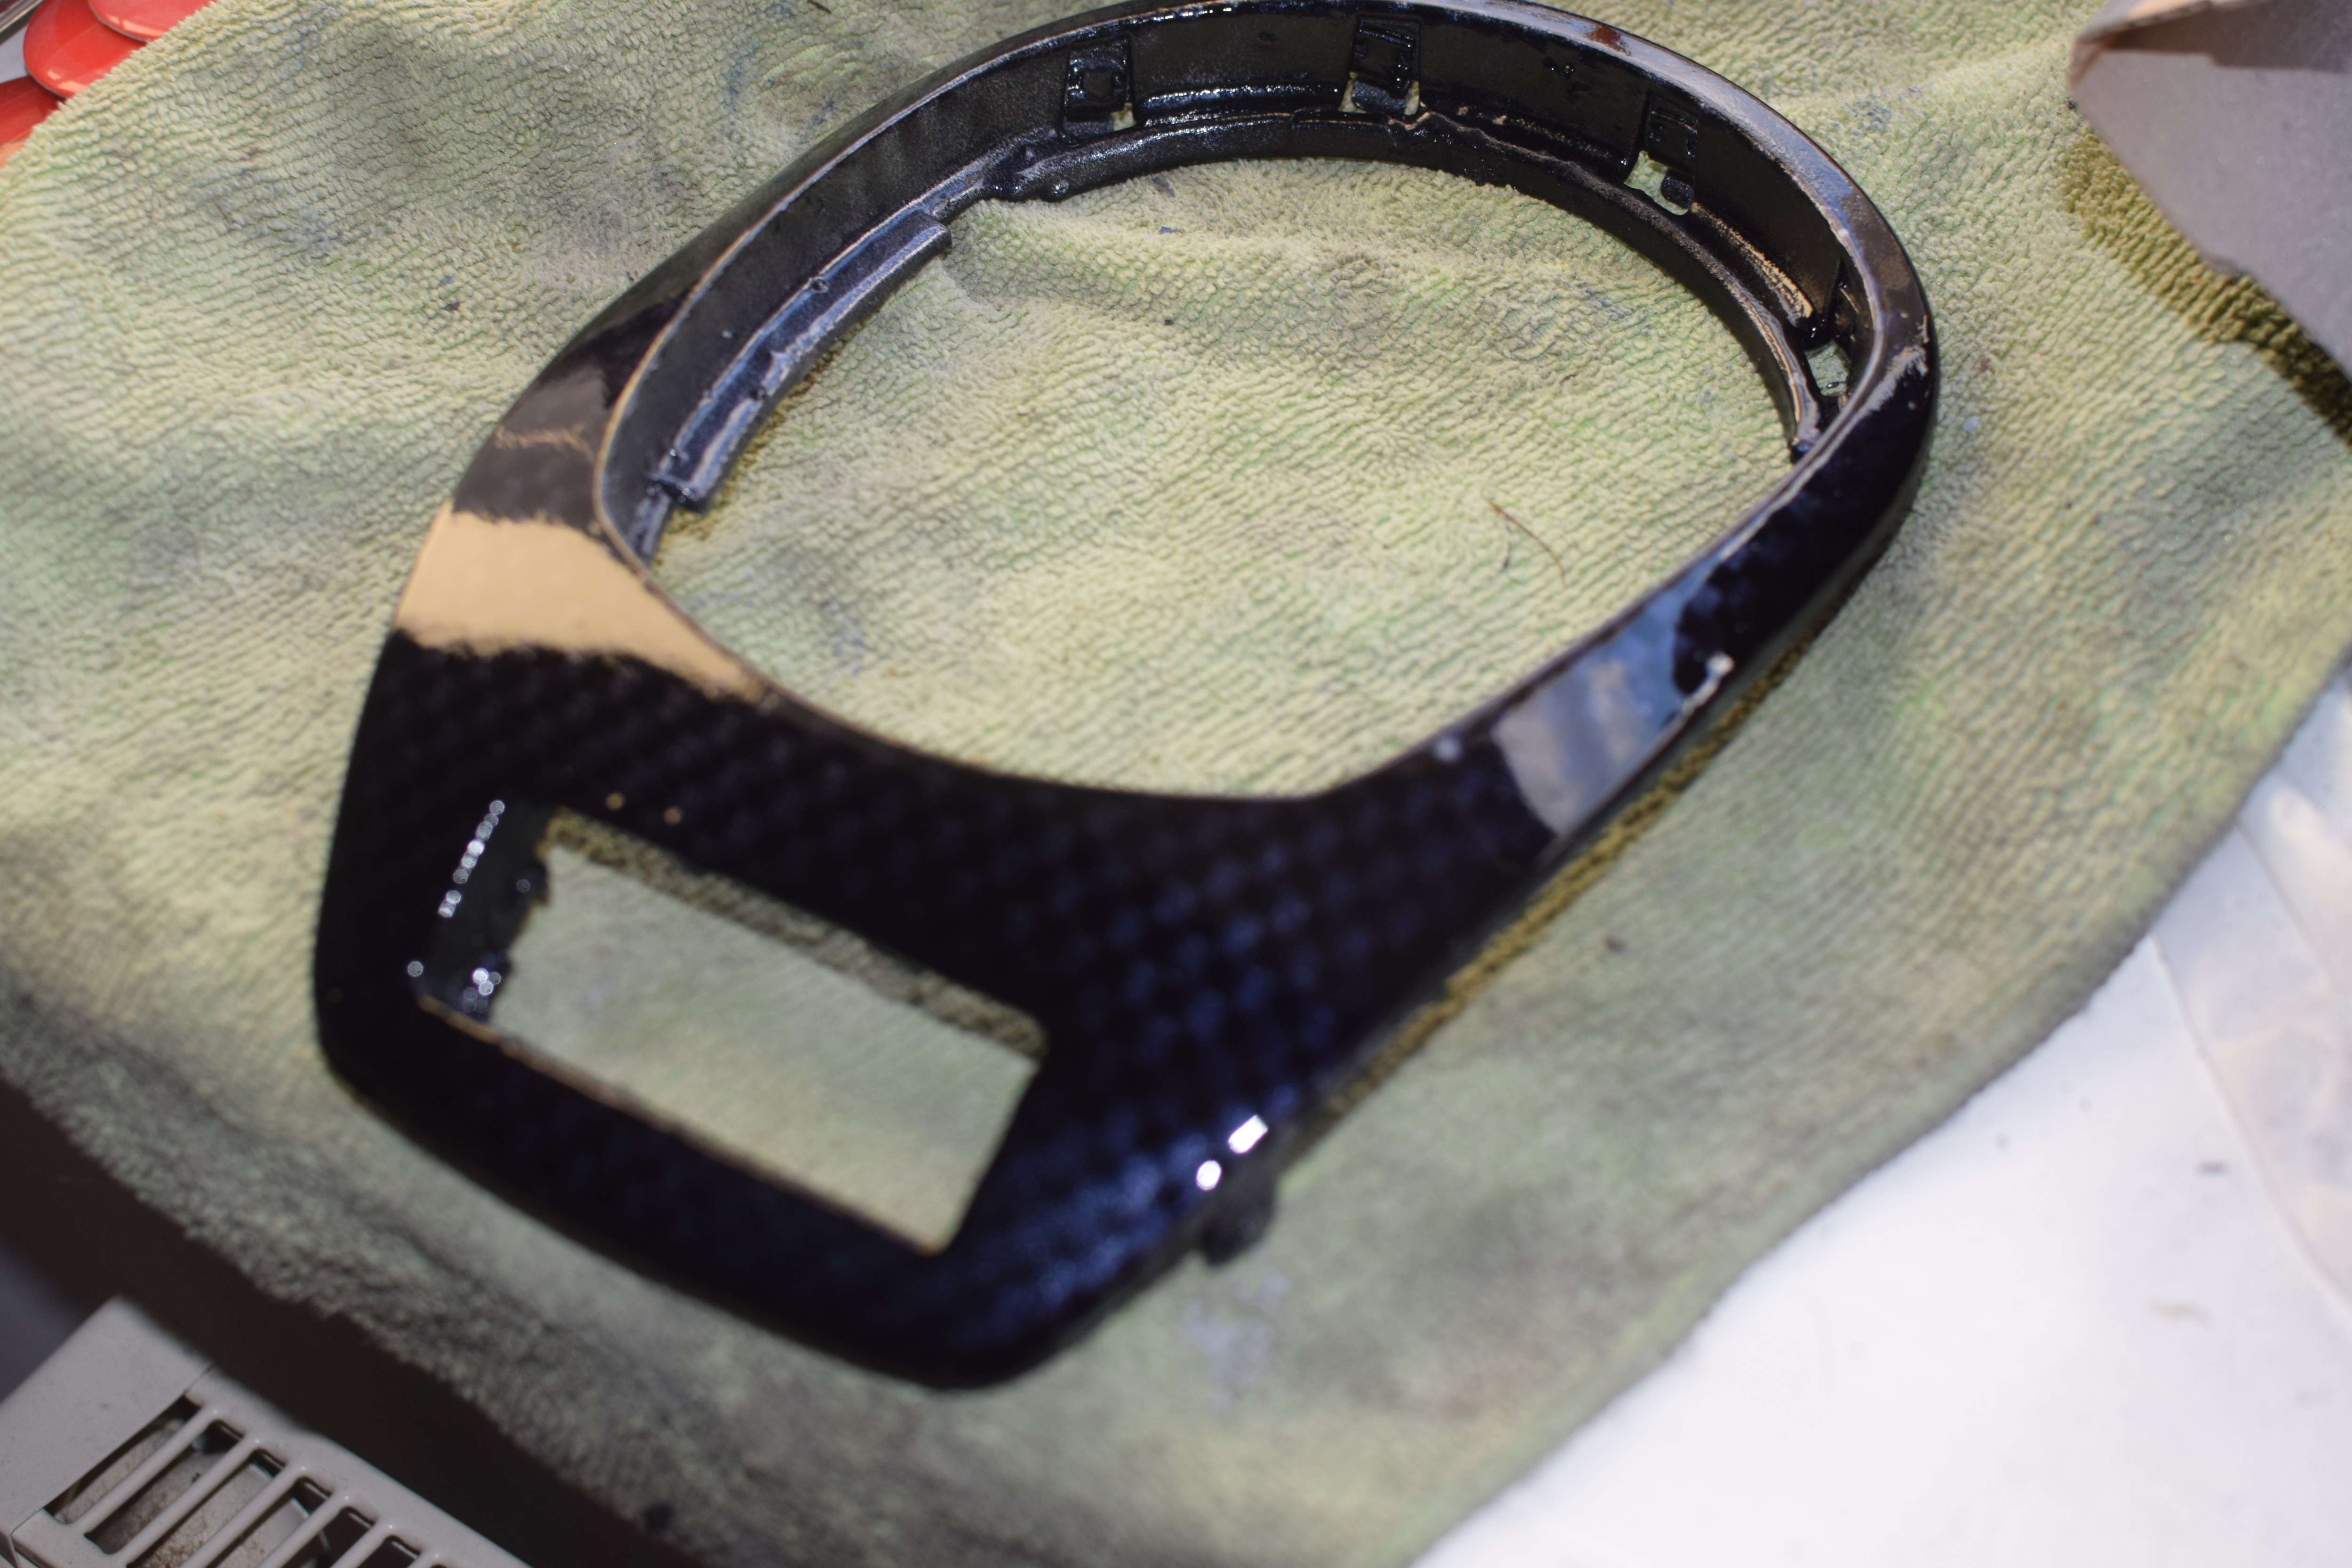
I think the trick is to lay the clear on thick to get it glossy and to separate each layer for a more 3d effect as opposed to flat so I've done another nice thick coat of clear before doing anything else. When that's dry it's time to go back to the stencil and carefully place it so the corners of each square overlap each other to get that weave effect, then another coat of silver.
Right... Ok. Well, it didn't quite go as planned but I know where I went wrong. First, the stencil needs to be cut more precisely so the whole thing sits flush and tight. Second, I didn't wait for the last layer of silver to dry off a bit before I peeled off the stencil, which should have been OBVIOUS but hey, rookie mistake and I'm not yet onto the rear diffuser as planned so I can afford a few mistakes in practice.
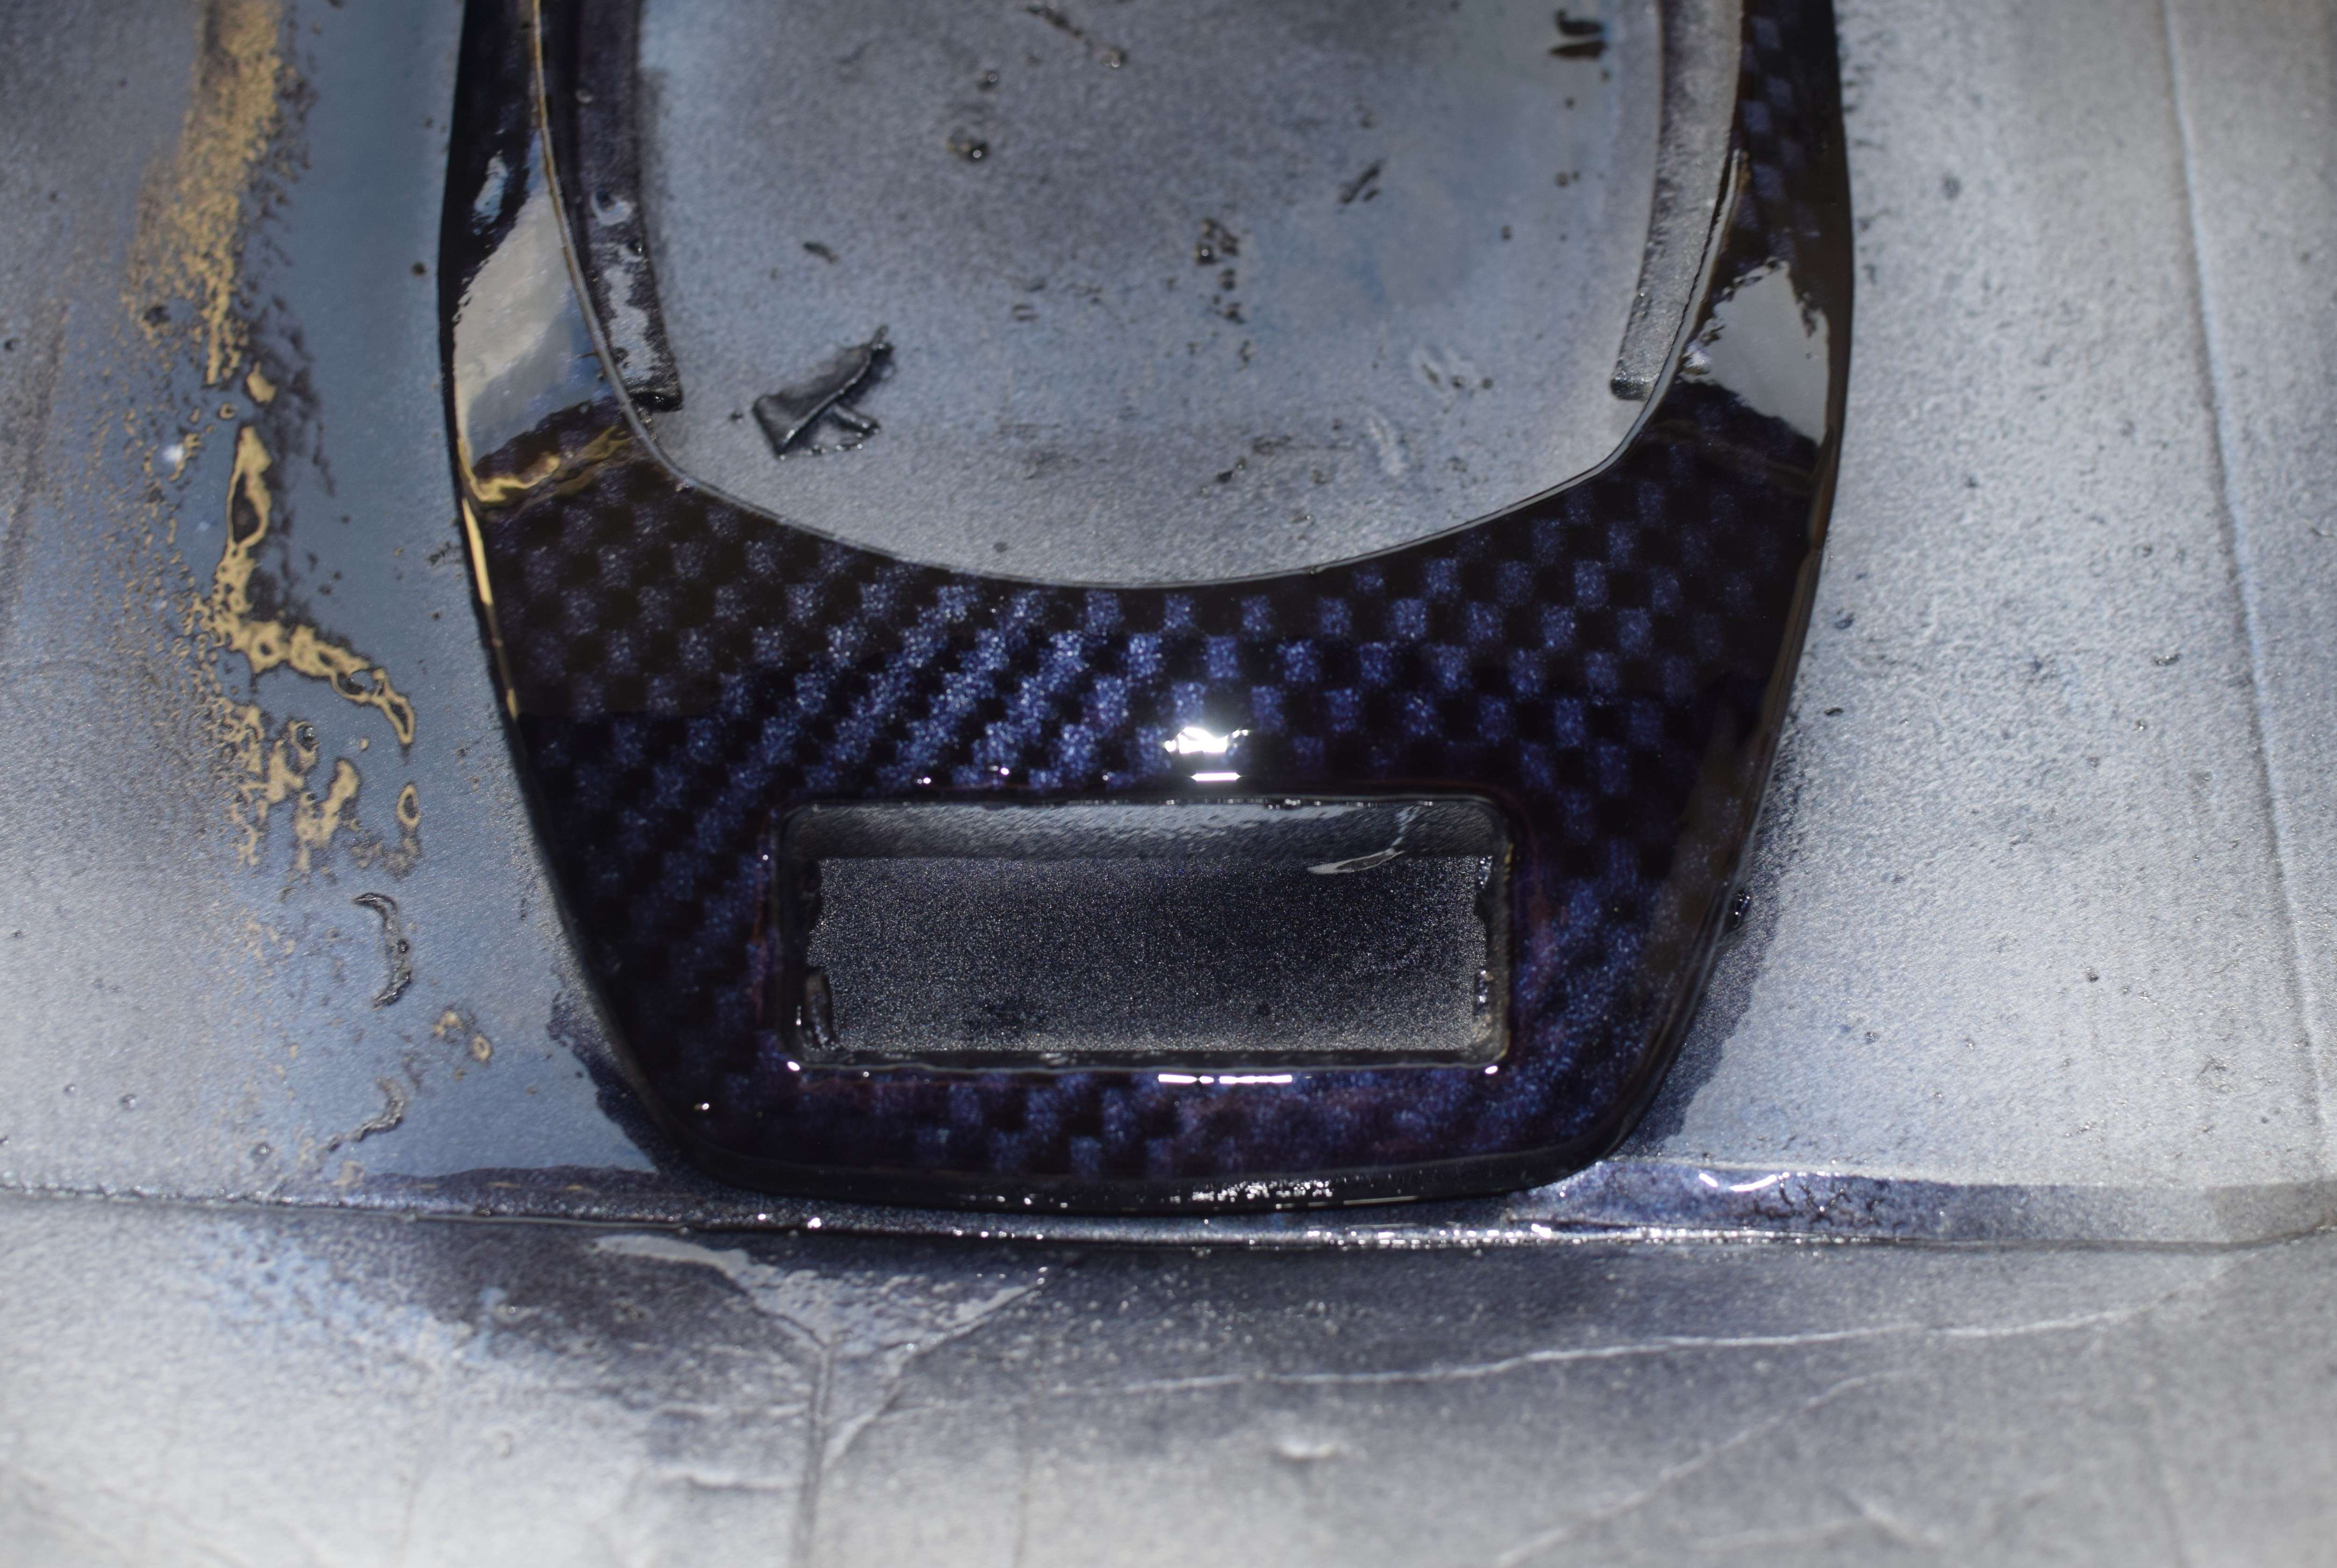
Unfortunately I don't have a photo of that last layer due to the fact that in the midst of my paddy and complete meltdown I grabbed hold of the candy black and went to town on the little f***er ready to start again. HOWEVER, a rather unexpected and totally unintentional silver lining just poked out from those black clouds, figuratively and quite literally.
Candy paint is meant to be a tinted clear layer over a base coat of a different colour, usually silver or gold. The effect it gives off is that of hint or glow of the base coat peeking through the candy paint when viewed from different angles. Well, my carbon fiber effort is silver, and when covered in Candy Black those little silver squares faintly peer out from that deep glossy black disappearing in the distance as the curves of the part .distort the light that hits your field of view. This could well be better than the effect I was trying to achieve in the first place!
It's difficult to replicate on camera as it all depends on light and needs to be seen in person, but this is the best example I could get:
So this one didn't quite go to plan then, but now I know what I'm doing and I'm going to order another can of Candy Black to finish everything off.
Time to work on part two, I'll let you know how it goes.
To be continued...