

Right up front let me apologise for the length of this post, but hopefully it answers most of the ‘how to’ or ‘could I’ do it questions on something that I could find no info on.
Following the success of my X5 Xenon retrofit and building in custom AE, I decided I fancied AE on the Z too and considered I’d enough expertise to give this one a go, despite many assurances that ‘it can’t be done’.
So it started with those well meant comments which I took just as ‘it hasn’t been done yet’. I’m not going to say this is an easy project, or within the scope of everyone, but equally it’s not that difficult, but just took a bit of planning and time to collect the bits I wanted.
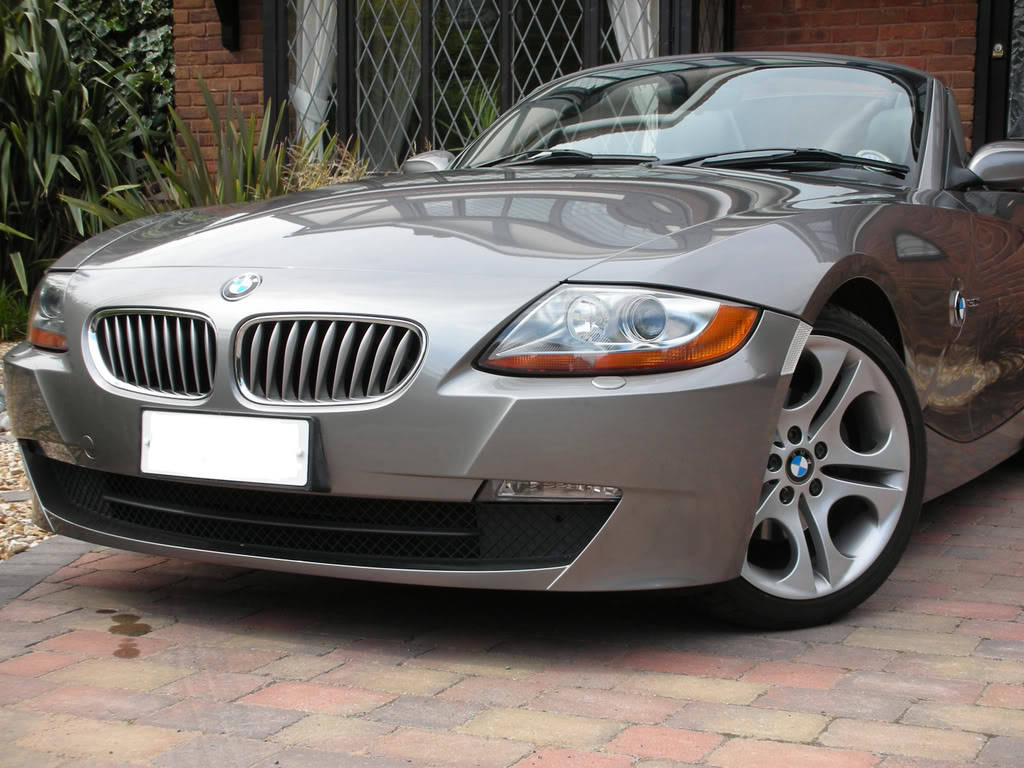
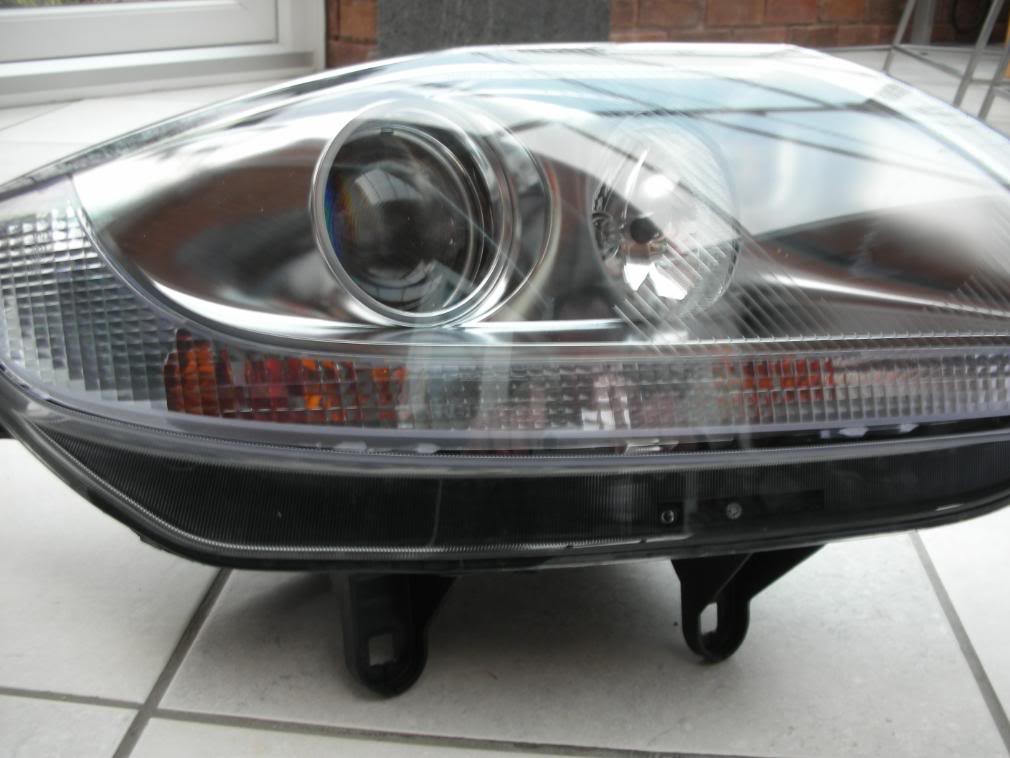
As a reference point of Xenon with amber turn signals on the original front cover on a 2003 3.0i:
How it started

2007 Front – Original Headlights
So onto the work….
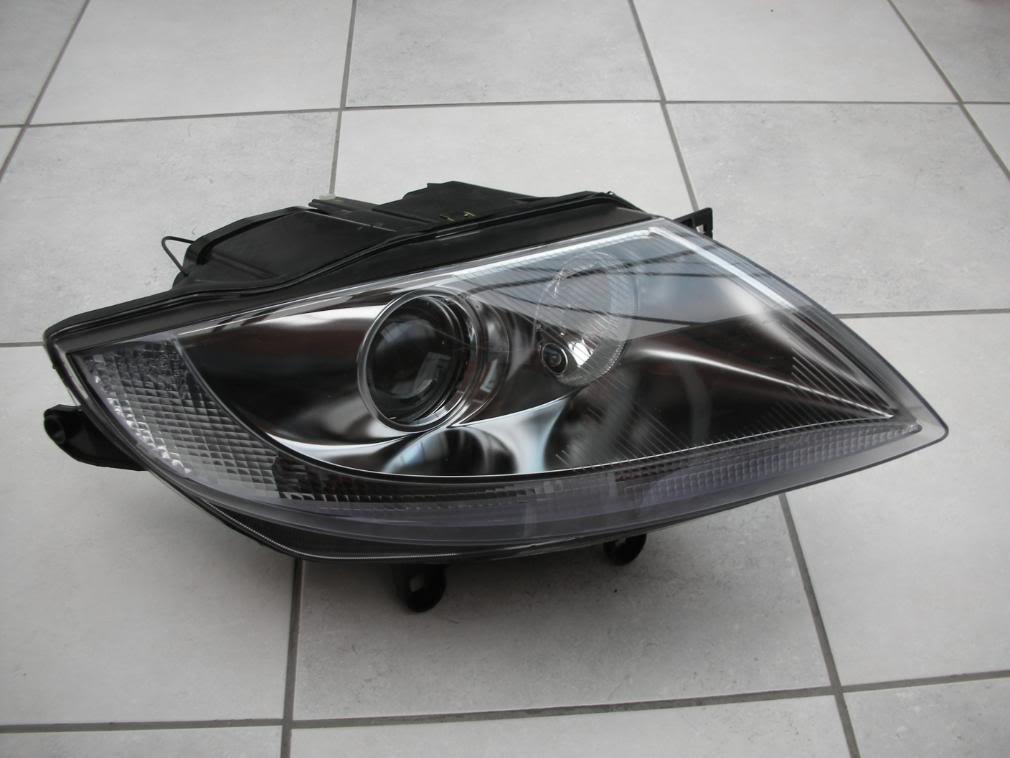
OK so the first big question is how can you open a Z4 headlight and the answer is simple – you can’t. Well not with any of that bake it in the oven or hot air gun trickery that we know of from earlier BMW’s. They are sealed with what is more akin to silicone type mastic that does not melt and are even nail pinned in 5 places. My trick involves scrap light units (well I needed the clear indicator inners anyway) so snapped up a couple off EBay from different cars with clear indicators. One a post facelift Xenon, the other pre halogen with black internals….
Poor pictures – but you get the idea and it shows you can use any light combination for this upgrade.
RHS – non Xenon, 2005/6, clear indicator, silver inners

LHS – Xenon 2007, clear indicator, factory AE, silver inners (different design)
So a real simple process next. Cut the black back of the lens of the spare light, then cut the lens of the front of the existing lights and merge them to create one new light… A bit luck here is that Hella make the backs hard and brittle and the lens very tough and slightly flexible, so it’s easy to nibble and shatter the back off leaving the front undamaged, equally the poly lens saws up well…lol. Once the lens is off it’s just a case of cleaning up the channel to accept the ‘new’ lens.
The next trick to know here is that BMW/Hella are lazy and actually all the lights are pretty much identical, be they pre or post facelift, halogen or Xenon. I discovered this trick on the X5 where you can actually build a set of Xenon’s out of halogen shells, just by switching some internal parts. On the Z4 they just change a few ancillaries inside, change the odd moulding, but the basic external shape and component profiles, internal components and structure are the same and can be swapped around easily. So for instance a facelift non Xenon internal is the same as a pre facelift Xenon. Useful to know as my kits of bit on the bench gave me all I needed to practice on.
So once you have destroyed the back this is what you get:
A clear turn lens, my ‘internal kit’, a clear lens assembly and a bit of spaghetti wire to be discarded.
Internal components

Clear lens

Next concern was that although clear lenses, the amber still appeared rather dominant, so I decided to go in deeper and the culprit was a clear bulb sat behind a large amber glass dome. This was reflecting around the housing in daylight giving amber tones from various angles.
Amber still clearly visible:

The culprit – amber glass inserts

I decided to go to silver (stealth) bulbs, but that proved futile in that the turn signals are a BAx9s bulb. It’s a 21w offset pin halogen. I decided against LED as 1) they would likely be far too underpowered with the largest that can fit the housing only 4w equivalent. Amber bulbs are available, but only in straight pin so I decided to make my own. Easy enough to paint them with high temp. amber translucent glass paint for £2.50 from a hobby shop. I had no worries about the paint as it requires baking to 170oC and is dishwasher safe, so well tough enough and on bench testing did not melt after 5 mins.+ constant on.
Original Vs ‘DIY’ amber

This was better but created very amber ‘spots’ from certain angles
Version 1 - inserts removed and amber painted bulbs

In the end I decided to silver the glass domes using mirror glass film. Scraps off EBay were sourced for a couple of £’s and the end result was something like this:
Version 2 - Silvered inserts, clear bulbs, no amber at all….

The end result is a cleaner white look that flashes very amber and survived a harsh bench test ……
Now we turn our attention to my existing lights and here we have to be brave. Bumper cover off, lights off and to the bench and let rip with the power saws, and cut off tools (Hell they’re only £1500+ a pair….) A bit of deft work with a dremmel and sharp knives to clean off old sealer and we have a rear light assembly in which we can build a new light, picking and choosing the pieces we like from our previously assembled ‘kits’.
My original light looking very ‘amber’ and worryingly expensive

With the lens cut off awaiting cleaning of the remaining lens, channel and adhesive

Now I really wanted CCFL AE, but of course nobody does them specifically for the Z4, but I found http://www.oznium.com who despite being half way around the globe, in the USA, could supply a set of 80mm external diameter full rings and 12v inverters. 80mm and 4mm diameter – oh that’s just the exact inner aperture dimension of both the inner and outer light housings and being only 4mm diameter are such a neat OEM look and fit. These guys shipped quickly and within the order supply 2 spare rings and 2 spare inverters, so a real bonus. I’d recommend them.
1 set of 2 rings and 1 inverter
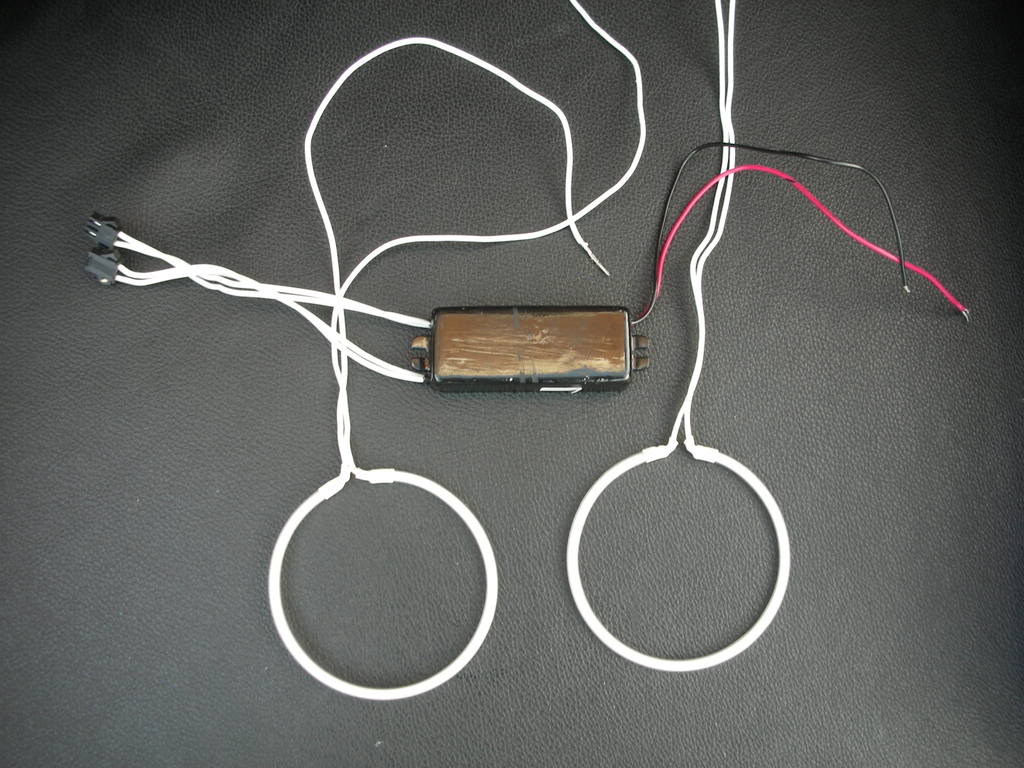
Test lit they were so bright conventional photography (well my limited ability) can’t pick them out clearly, but you get the idea….
AE ring & inverters - 80mm circle, 4mm diameter

Then a quick test fit to the inners gave me exactly what I as after and where to notch the housing, drill few holes and bond. I opted to mount the inner into the reflector as it’s the exact 80mm and drilled the top edge to feed the leads out. The outer I chose to bond onto the silver reflector, again an exact 80mm radius, feeding the leads out of holes and notches drilled in the upper edge slightly inward of centre line. Both result in an impossible to see wiring run, unless looking up from below the bumper.
Test fit AE in reflectors (note not where the leads were eventually fitted)

These are simply fitted, bonded in with heat resistant clear silicone and wired internally to the side lights (for you non UK guys these are small parking light circuits built into the main beam housing). The inverters are hidden inside the light body accessible via the rear cover, but protected from dirt and water. They are tested, tested and then just in case, tested again at each stage of the build.. why – ‘cos I ain’t taking the fronts off again, ever….
Picture of AE bonded in and ready to rebuild. Inner in housing, outer on silver trim

Finally I did a bit of internal wiring on the lights. It was not required, but I wanted to set it up such that just by moving connections accessible via the service hatch at the rear of the light I could change between AE or neon sidelights, or both. I could also add or remove resistors to overcome ‘check light’ warnings and easily exchange the internally mounted inverter if it ever failed. The rings themselves I had no worries over with a duty cycle of some 50,000 hours.
So now we have AE, Bi-Xenon, silver internals, clear indicators, UK style ‘flash to pass’ halogens and no wiring worries as they’re really still the original lights . My biggest concern was perhaps heat from halogens onto the AE rings, but they are usually only on at night, we rarely run main beam for long periods and right in front is a plastic housing, so it cannot be that hot and amazingly the halogen housing is actually a composite resin that is silvered…. AE’s were said to be good to +90c and on my X5 I’ve been running them for nearly a year, so a calculated risk here.
All that remains is to silicone the lenses back on, well after cleaning them until a detailer would be proud of the clarity and ensuring not a single speck of cut off plastic is left anywhere as one day it will appear on the lens I did this in such a way that if heaven forbid I needed the lens off I could do it all without damage.
The lights refitted, front bumper cover is bolted back on and of course the beams tested and adjusted.
I thought I’d need ballast resistors to compensate for the lower current draw of the new AE Vs sidelights, but seems the inverter draws enough current to fool the ‘check light circuit’ so they were left off and bar a few minor tweaks perfect first time.
And finally the end product:
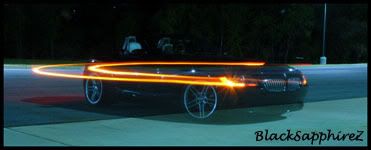
Night time
First test in the garage

Indicator captured on flashing amber, to demonstrate we are legal and the final colour is a good amber.

The rings look stunning on at night, but my camera skills are not up to capturing it. They are wickedly bright and clear, whilst looking very fine with the rings being narrow.
Just AE alone on….but oh soooo bright.

Finally some daytime shots:


(My earlier X5 project light is just caught in this shot)


Over the coming days I’ll decide if to retrofit (plug in) my neon sidelights to supplement AE, or run just AE.
Was it worth it? Yes – an emphatic ‘Yes’. I could have gone to BMW and snapped a pair of clear 2005 clear units for about £1,500+ ($3,000+) but this project cost me a total of £150 ($300) and I’ve got unique headlights with AE, clear indicators and the satisfaction of doing the project.
And the final costs: - Lights £110, AE £30, Sealer, mirror film and paint £10
Elbow grease £0.
It may also be the only Z in the world with proper AE???
I know I’ll start walking away from the Z accidentally leaving the AE on. It happened with the X when I did that…lol
Now it’s over to you for comments and thoughts…..


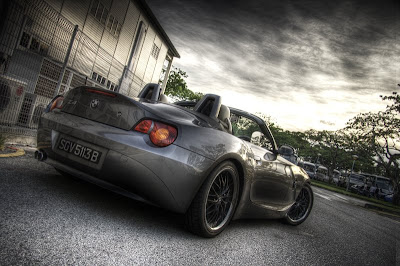


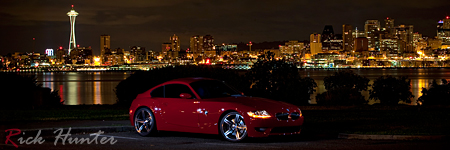
 Coupé
Coupé