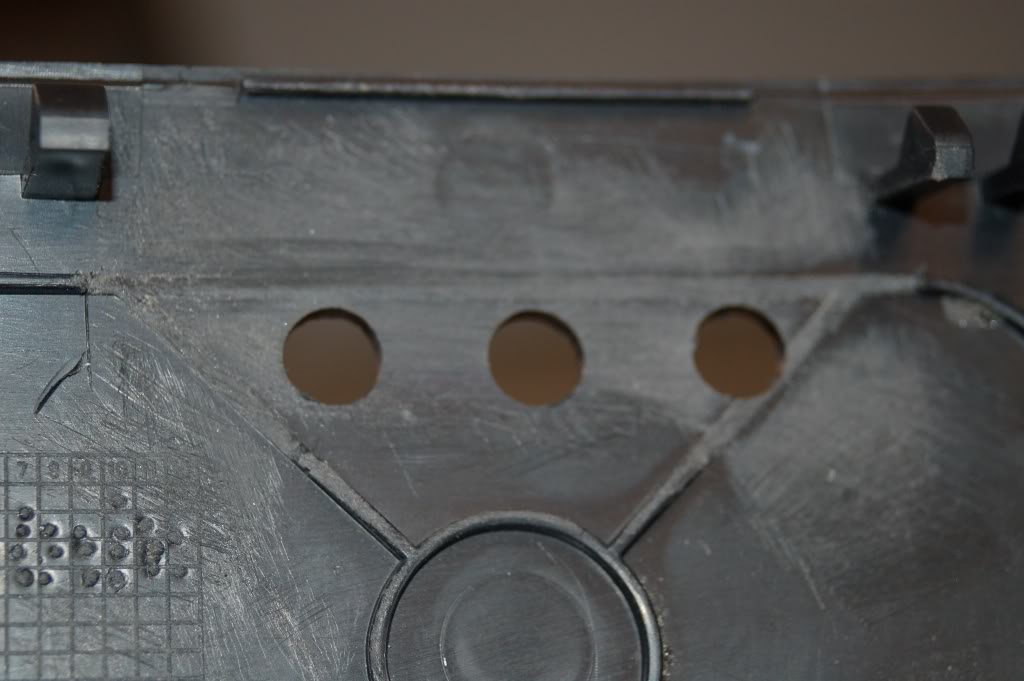
First, locate the plastic panel underneath the AC controls (back of plastic panel showing downward orientation)

Locate placement of Homelink device, Mine is closer to the driver. Mark holes and drill carefully as not to scratch the plastic (recommend starting with small drill and working up to the proper size) note that the bracing on the back is sanded off this is useful if you want to mount the home link buttons directly to the panel (with oval holes and forgo using the provided cover shown below).

Cut away all plastic of the housing surrounding the contacts and drill hole below the other three holes in the cover for epoxy (discussed later) otherweise the housing is too big to fit.


Using below self adhesive spacers, cut 3 small circular extensions to attach to the ends of the homelink rubber buttons.


Mount buttons to the front of the Panel cover without any glue.


Use standard super glue and light clamping pressure to secure homelike cover to the panel cover (be sure to allow for the curvature of the panel or else the cover will not fit right)

Back and front of the finished product note the plastic spacers on top of the homelink buttons.


Using 5 min epoxy fill in the circular area of the panel cover and Line up the previously drilled drill hole so some of the epoxy can flow inside making a good bond between the cover and housing.

Remove the cig lighter/ coin holder assembly which is mounted with one screw. (Note the gear s**t should be placed in away from the assembly which means the car can roll away if not careful) to allow for removal of assembly. Then, locate the harness for the cig lighter and disconnect it. LIVE WIRES!!!!

Now this requires finesse. You need to strip both wires without cutting them. So you have a place to solder the home link harness. (THE WIRES ARE LIVE, CONSIDER DISCONNECTING THE BATTERY). Note that the wires are not stripped next to each other and are masked as not to short.


Pre-solder the homelink and the cig wires so they can be connected easier. Note the hook shape at the end of the homelink harness.

Pics of finished product. (please note that If you don't put the cover back homelink side first, it will look like the Pic below otherweise it fits fine with no odd gaps.


Take all precautions to protect your car’s interior, including masking the aluminum, putting heat resistant material on the seats, the plastic, and the steering wheel to protect form HOT soldering iron. Use Teflon wires to reduce accidental over-heating and possible fires. Etc. Use your good judgment and Good luck. This was a 2-3 hour project (note: if you Don't put the cover back homelink side in, it will stick out like the pic other weise it will look fine.)