

Internal Door handle lights
External door handle lights
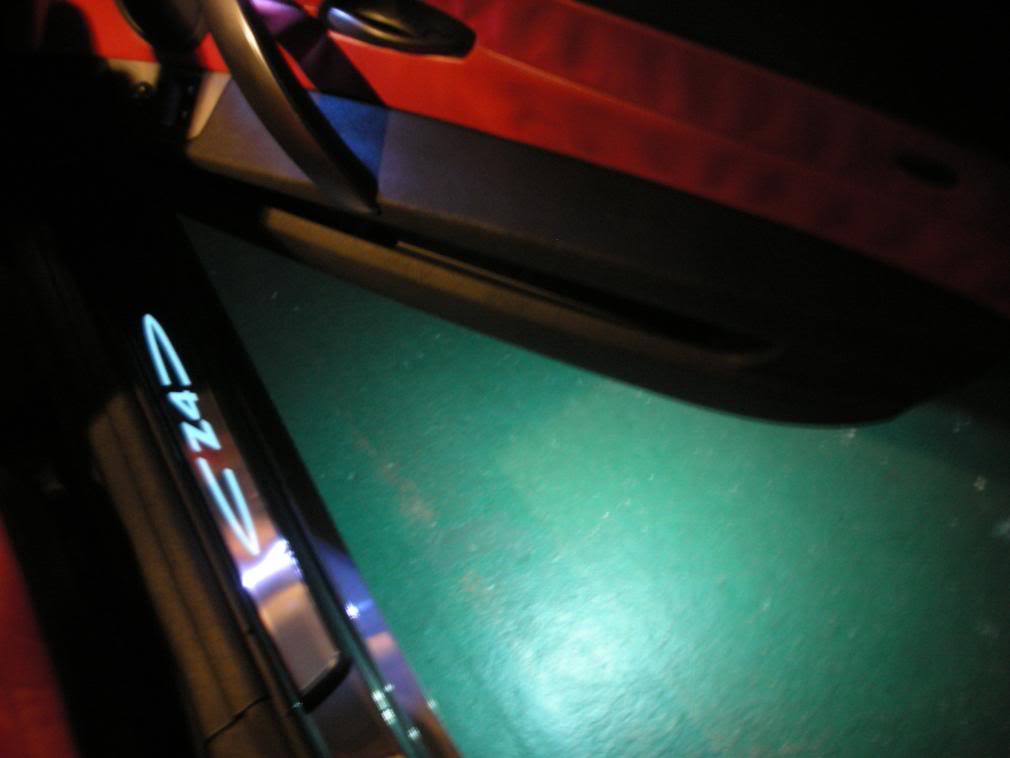
Puddle lighting
Unfortunately the project had to be put aside and not finished when I had the doors in bits, as for some reason the cable I wanted to tap into was not powered in the door on my Z . I also decided to source some special LEDs from HK.
I traced back to the LCM, but could not get a clean circuit to do what I wanted, so decided to make my own circuit and work from there. Having sourced a few bits required I could finish this one.
So here we go:
First step was to find a feed connected up in such a way as it would operate all the LED’s how I wanted. The footwell lights were the ideal spot.
They come on with the door opening by key fob, dim automatically once the door is shut and come on again once the door is opened from inside.
This was perfect for my need:
Step one was to simply tap into the footwell loom. I ran a wire from here up the footwell, through the grommet by the speaker to the inside of the door wiring connector. No worries on wattage as LEDs draw close to zippo and have an advantage of giving out no heat so no worries about embedding them into fixtures nor of exceeding the cable capacity.
Speaker removed to route new lead

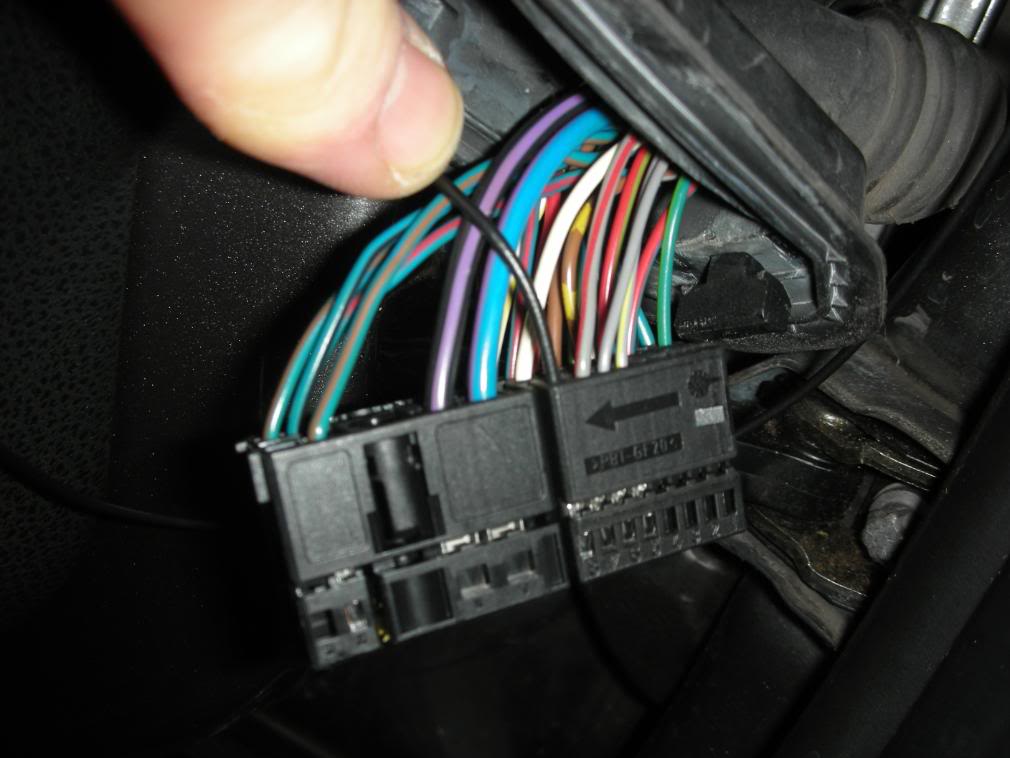
Door connector

‘Spare’ wiring connectors ready to be used

Looking a the door connector there were several blanks, so using a few spare pins and plugs from an earlier project slotted a new connection through Pin 8. One lead was connected to the loom with a simple splice, the other threaded through the convolute tube into the door.
Door side of connector with cover removed to reveal leads

Car side of connector pulled back inside car for access

New wire in and out of Pin 8 on both halves of the connector

A quick test proved that as the interior lights came on, dimmed and extinguished my new lead would replicate it on a test bulb.
No need for a second earth wire as there is already adequate provision for that in the doors with the brown earth cable
Inside the door now – somewhere I seem to have spent a little time of late.
Having threaded the new wire in I created a little loom that ran from front of door to top of door handle, down to the bottom of the door under the window and back up to the external door handle. Zip tied into the existing loom all the way
Puddle lights first
I did not want to damage any metal on the door and create potential rust spots, so looking under the panel noted there are 3 access plugs. Of the 2 at the rear of the door one is not used for much, so I embedded a bright neon cluster into the plug enabling it to easily be removed if needed. This is a 1w Neon and designed as a sidelight replacement s o has some serious light.
Super Bright cluster LED

Puddle light assembly
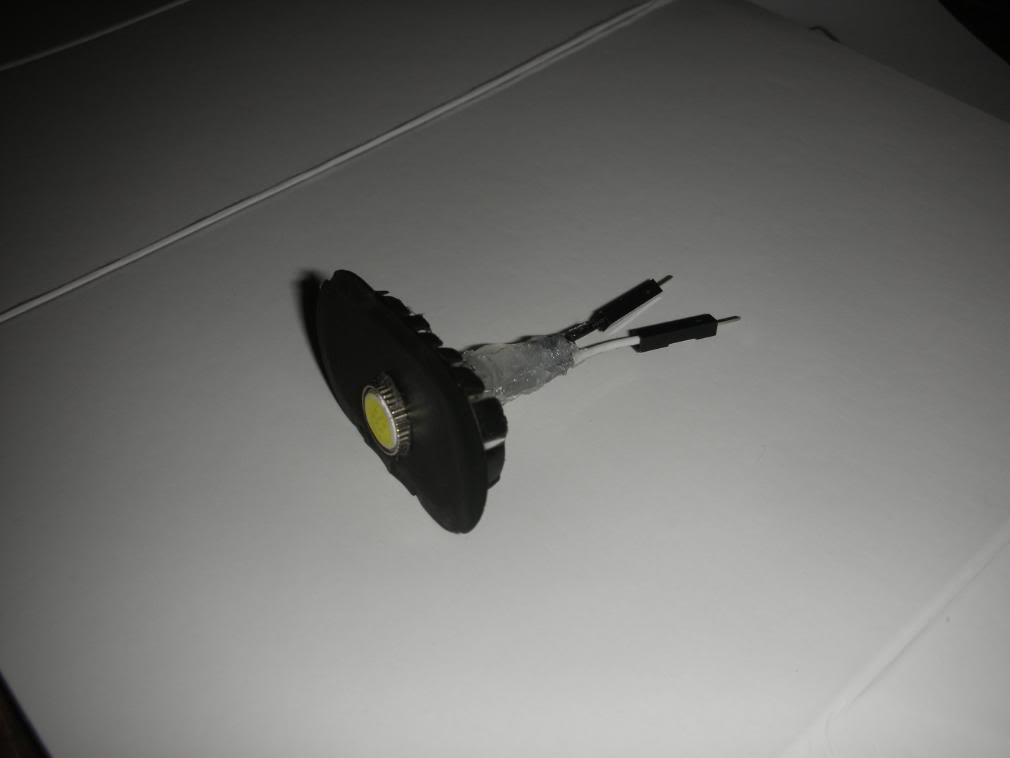
Bench tested these were really bright

This proved perfect – very bright, almost flush with the bodywork and in the right position to light the ground when stepping in or out.
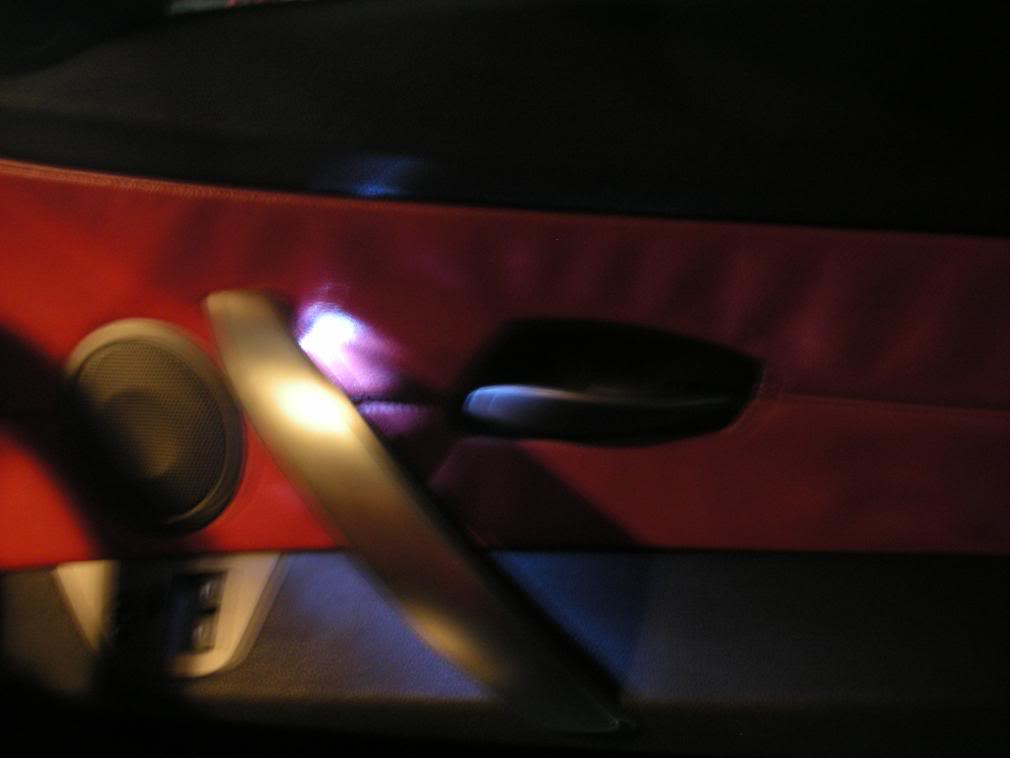
Next the Inner Door Pull Handle
I’d already pre wired for these when building the leather door cards which involved drilling a small hole in the door card and handle and then threading a cable inside the handle. BMW sell a purpose made LED for this (BMW part # 63316902239) but at £10 each they offered little benefit over making some.
All I now needed to do was to silicone LEDs into place and attach connectors.
I sourced some nice 5mm LEDs fom Ebay with 25cm leads already attached, so reducing the need to worry about wiring and sealing them. Also at 20 for £5 inc. P&P I’ve a lifetimes of spares…
Pre wired LED’s

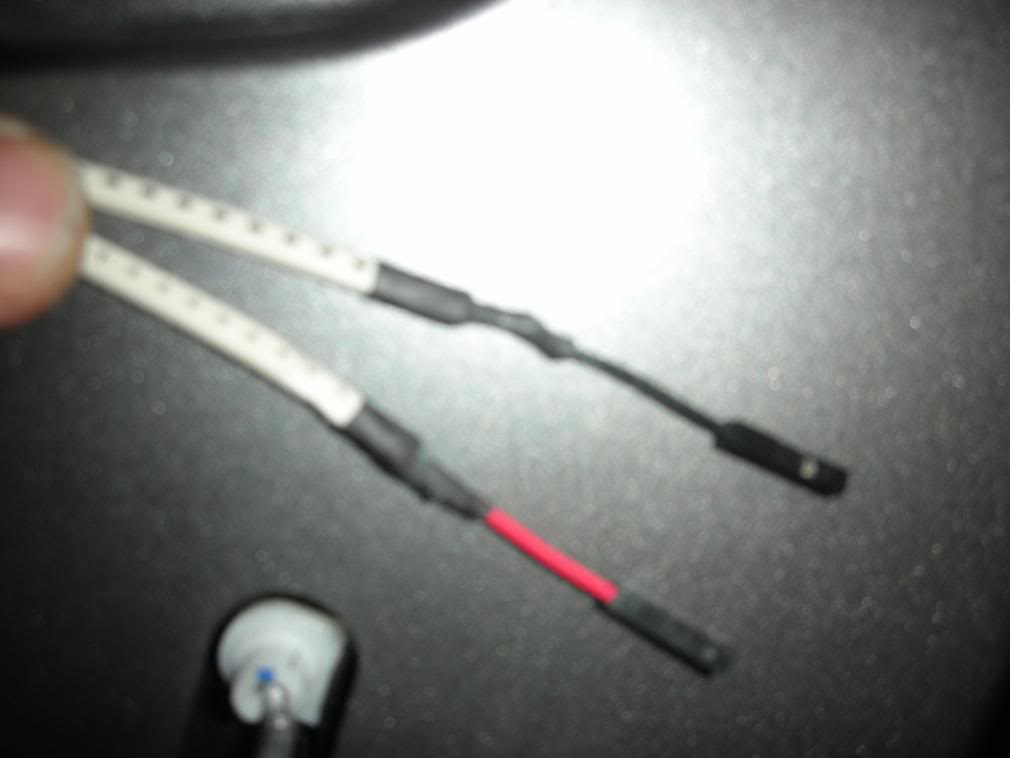
Each light in circuit is connected to the loom by micro connectors I made up. This allows each item to be detached from the car for service, or replacements to be slotted in.
These were made up using Maplins connectors. Chopped in half they make a plug and socket that can be soldered into the loom and corresponding LED.

Connector fastened to loom
Door Pull Handle lights – detail

Finally the External Door Handle.
Here I wanted LEDs that would illuminate the handle and while I suspected it would be obvious where the handle wished to create a certain ‘welcome’ by the car when opened. The bravest bit here – to drill into the door handle. No turning back here….
The LED slotted in perfectly from inside the door and siliconed in to be waterproof
Inside door handle
I was initially going to fit a 4th LED on the inside door pull but decided this would be somewhat pointless as it would light only when you pulled the handle (in which case you already knew where it was) Using the key you’d be outside and if anything it could distract you from the illuminated pull handle which is where you need to focus to close the door.
Some images of them working (apologies for the dodgy photos):
Door Pull Handle lights – ‘on’
Puddle light illuminating ground (this is the light not camera flash)
External Door Lights

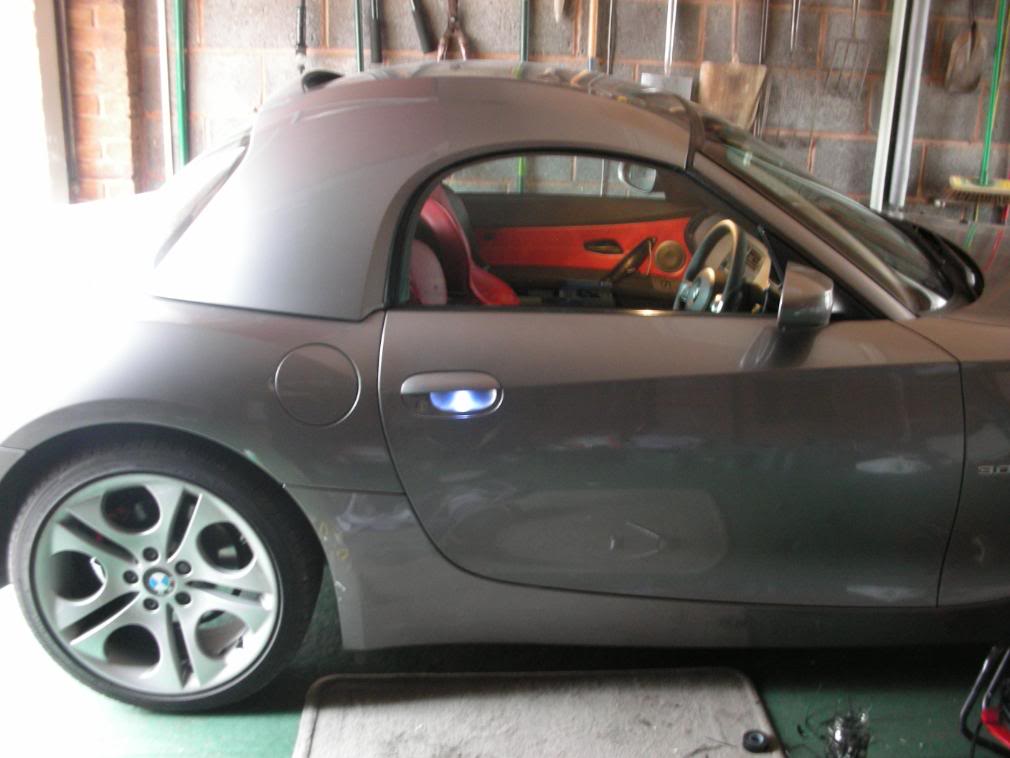
Photos don’t do it justice but on key blip the eerie white/blue light that fills the door handle as you approach and the car does look classy. The puddle light is very bright and functional and the inner door handle ligths that area nicely.
So there it is a project that probably cost me <£10 and has given me a bit of state of the art lighting on the doors and adds to the depth of quality of the Zed.