Post
by chris_rayner » Fri Jul 26, 2013 11:15 pm
OK chaps. The replacement mirror arrived last week. The total cost of supply was $134.00. The kind supplier declared the value on the documents as $10. Not strictly accurate, but it saved me the attentions of the customs. The removal of the circuit board from the back of the failed unit and attachment to the new one had to wait on other tasks, but was done over the weekend. The process is well defined in the links shown, but there are a couple of points I think worthy of amplification.
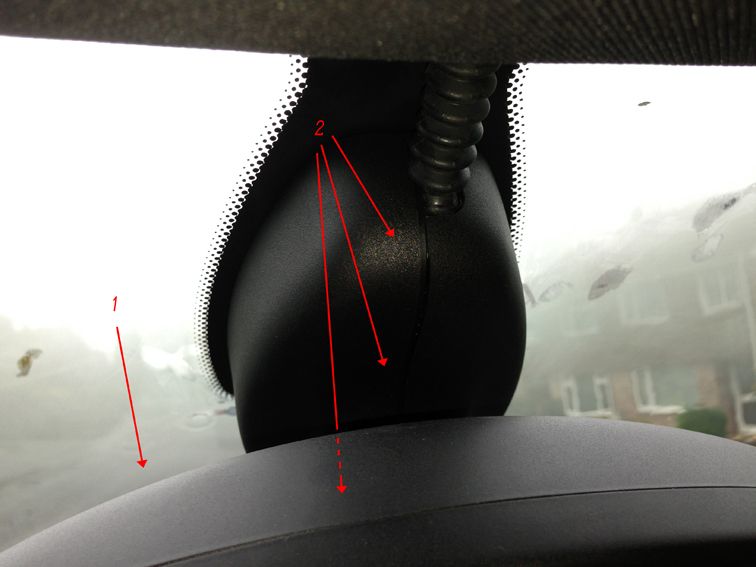
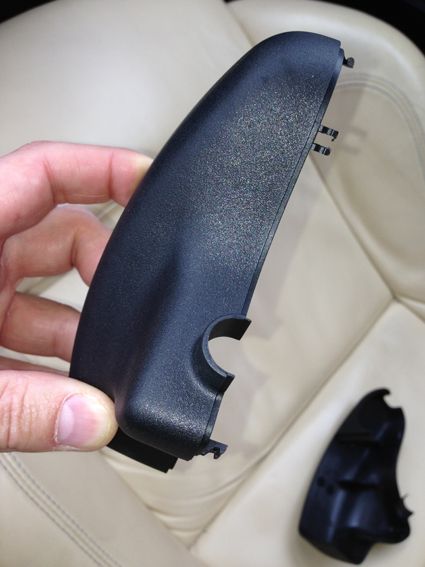
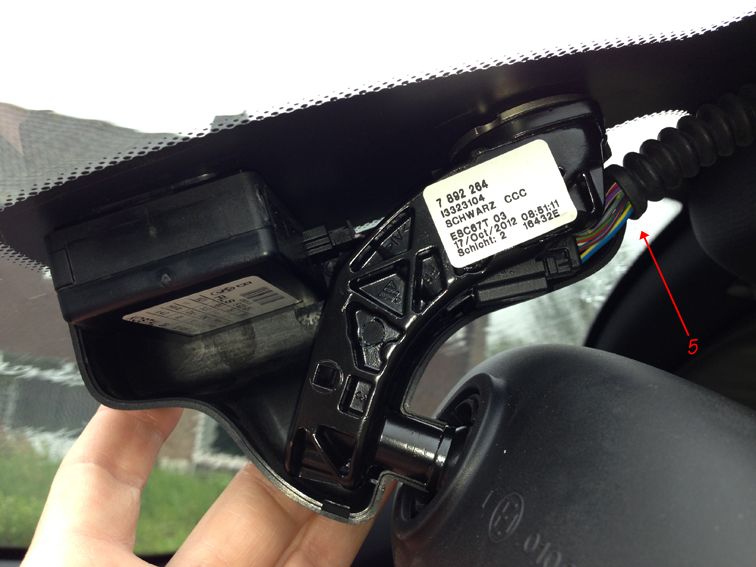
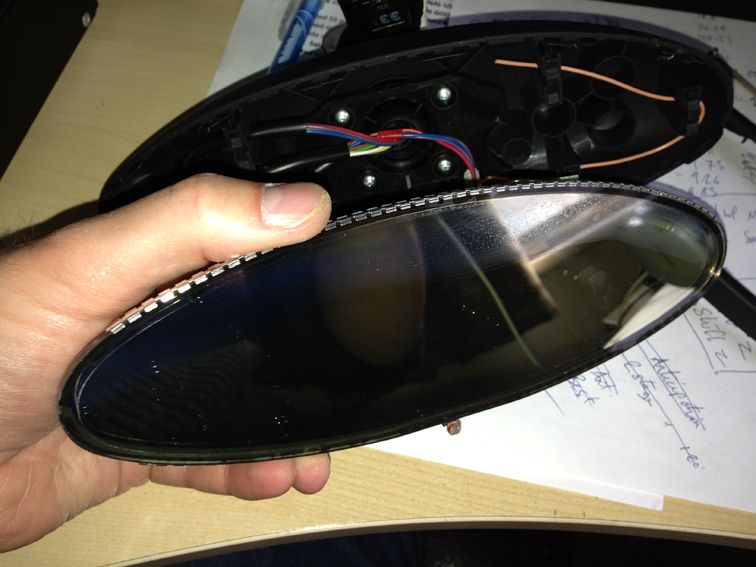
The splitting of the casing surrounding the mirror support on the windscreen is fairly straightforward, but the opening of the mirror itself requires quite worrying amounts of force. The clips holding the front and back components of the mirror case together are clearly designed for assembly but not for disassembly. They will break. The reassembly, at least in my case, did not feel so secure as the original unit. It is not actually falling apart, but the seam around the mirror is not so tight as it was. I'm going to keep an eye on it,and if it seems to be tending to fall apart I might be inclined to use a bit of hot melt glue to keep it together.
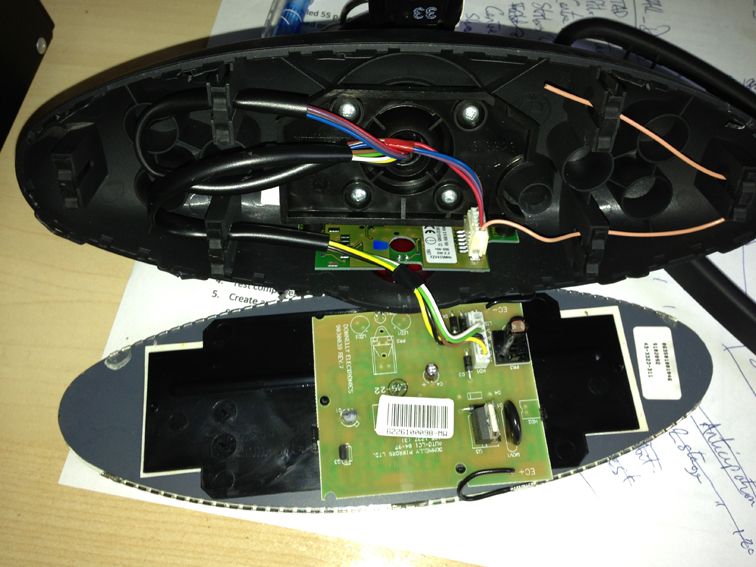
Removing the circuit board proved to be a bit of a bore. I used a small Stanley knife, you know; the kind with the replacement blade which retracts into the handle and has diagonal scores across it to allow the tip to be broken off many times to get a fresh cutting edge. I found that if the blade was fully extended it could be slipped in between the sticky tape and the back of the mirror so that the tape and mirror came apart and there was sufficient stick left to put it back on the new mirror securely.
Unsoldering the old mirror was easy, but I was a bit nervous about soldering the new one. After all, soldering involves molten metal, and the little clips to which you are soldering are quite thin, and so there was a chance the heat might damage the new mirror cell. I need not have worried. With a hot and reasonably large iron the soldering required the merest touch of the iron, and the job was done.
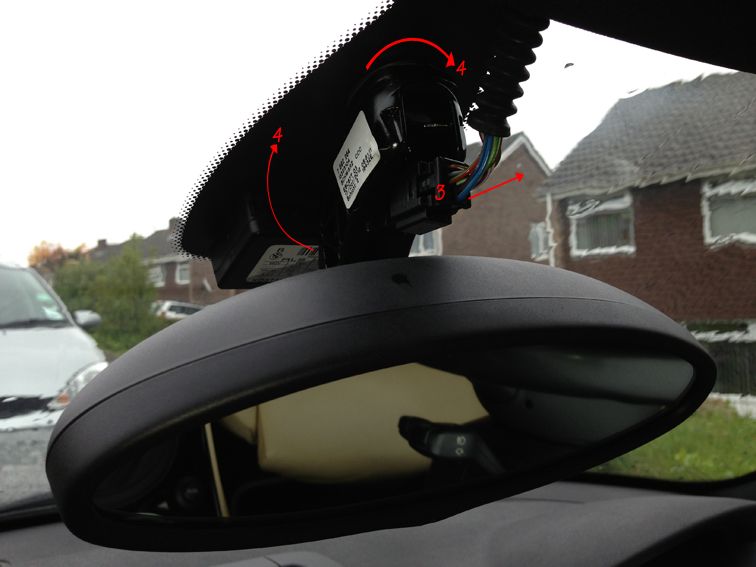
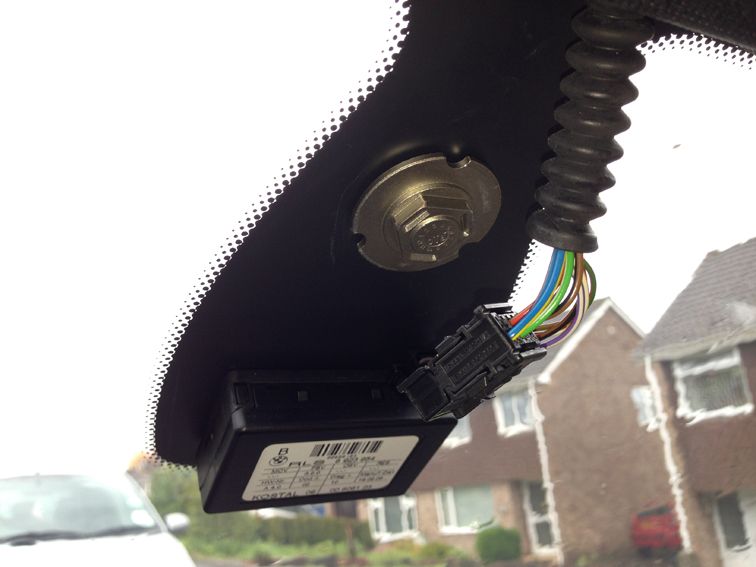
The final task which I found quite fiddly was the repositioning of the two halves of the mirror base shroud. There are two harnesses of wires underneath the split. One of them runs in the metal part of the stem, and cannot be anywhere else. The other is quite mobile, and tends to get caught in the gap and prevent you from closing the two parts. I found you could deliberately pull it to the right away from the gap, and it adopted a position to one side and ceased to be an obstruction. There is also a little black rubber trunk which enters the top of the shroud. I tried pulling it down to trap it in the hole in the shroud, but found I needed three hands. Eventually I clipped the shroud together and then poked the end of the trunk in its hole with a small electrician's screwdriver.
Finally I took the car out for a run this evening in the twilight. I works!
I gave myself a small pat on the back. And thanks again to Radar Mirror for the wherewithall to do the job. Saved meself the thick end of £500.